This step-by-step guide will allow you to partition your hard drive (HDD, SSD, NVMe) so that installation goes a little more smoothly. This will work for a multi-boot system as well, but you will have to resize your Windows partition first and you will be using the Windows Boot Manager EFI partition instead of creating one. Otherwise, partitioning is pretty much the same. Please be sure to perform the steps in Before You Install prior to attempting any of these changes. Mistakes and rushing may cause you to have to re-install all operating systems. Take your time. This guide places /home in a separate partition, a recommended practice that allows for you to maintain your customizations across several installs of different Ubuntu based Linux distributions. If you choose not to use a home partition, make sure to use a much larger system partition (if you were thinking a 30GB system partition, double it, at least).
GB vs MB
Important Note:
All of the sizes I have given are in GB. Why does this matter? So you can be specific as possible when creating partitions, partition managers usually list sizes in MB (be happy, it used to be KB if you were lucky). Every GB size you want to use needs to be multiplied by a thousand twenty four to be the MB equivalent. Example:
20GB x 1024 = 20,480MB
Please be aware of this as you make your partitions. You can get away with using 1000 instead of 1024, you will not be that far off. If you specify the amounts as if they were GB, you will most likely be short on space in your partitions
A drive's partitions cannot be modified while it is mounted and in use. What does this mean? You will have to boot to a live image (USB or CD). This goes for any OS you may be trying to resize. Since you are interested in Zorin OS and have the ISO downloaded and verified, let's boot into that. I'm going to proceed as if you have already followed the instructions in Before You Install. I mention it again because it is important. Boot your USB with the Zorin live image and select Try Zorin OS. Once your desktop loads, left-click (here-on-in referred to as click or double click) the Z on the left of the taskbar to access the App Menu. In the search box of the app menu, type: gparted. Double Click the icon in the window, on the right, below the search box. This will open GPARTED in the center of your screen.

First, choose your hard drive in the pull down in the top right corner of the GPARTED window. Make sure you don't choose the USB you installed the image onto (Your hard drive will be larger). You may only have the two listed, It depends on your system and how many are installed. As you see, I have an 80GB unallocated drive to work with. The upper left has an icon of a page, missing a corner, with a plus sign, click it.
EFI PARTITION:
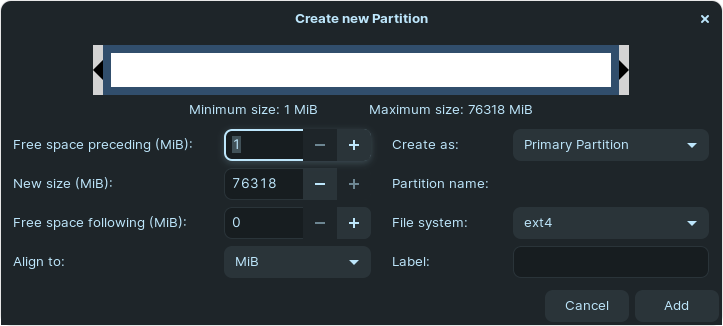
This will bring up the Create New Partition dialog box. It will be pre-populated with the entire unallocated size in the New Size field. We are not using the full size. The first partition you will create will be the EFI partition.
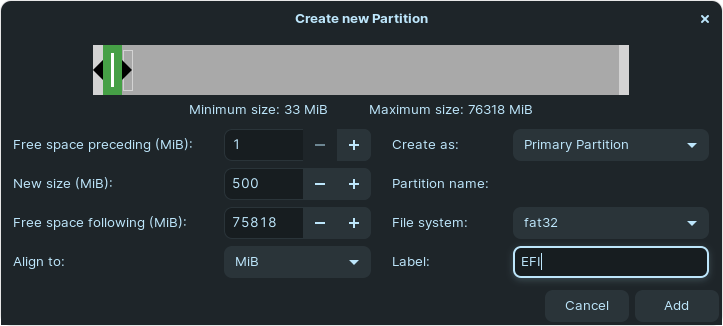
The EFI partition will be around 500MB in size, a primary partition with an optional label of EFI. Click add.
SWAP PARTITION:
Now you will have something to consider before continuing. Will you use hibernation or not. This will be a big deciding factor to use a SWAP Partition instead of a SWAP FILE, which is the setup if you don't use hibernation. If you are using a SWAP Partition, set it up now with the size of Twice Your installed RAM, Primary Partition with a File system of FAT32. The system partition is as follows:
SYSTEM(ROOT) PARTITION:
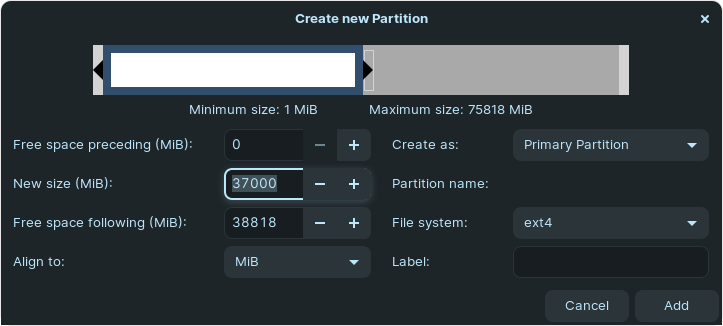
The minimum recommended size of a system partition is 20GB. With updates and installed software, it will get to this size quickly. I'm using half the unallocated space after creating the EFI partition. This will vary depending on the drive you are using and whether you are dual booting. Next you will be making your home partition.
HOME PARTITION:
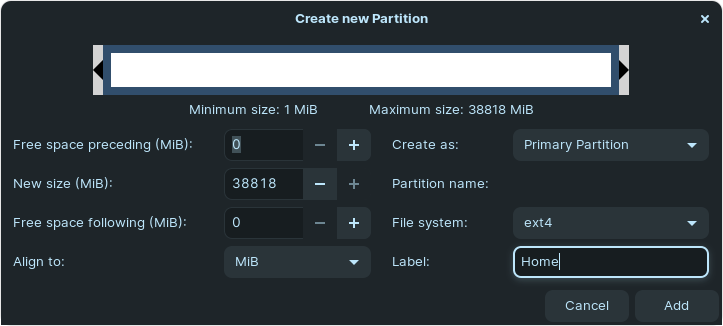
Here I have used the rest of the unallocated space to create the Home Partition. The recommended is the same size as your System partition or more. Why? This is where all the configuration files of your customizations (for most applications), Documents, Pictures, Videos and Downloads are stored. This will be dependent on how you use the computer. Gaming, you will want much more than a 30GB System partition and a 30GB home partition. Again, this will also be limited by your hardware.
With these partitions made, you only have to commit the changes to the drive.
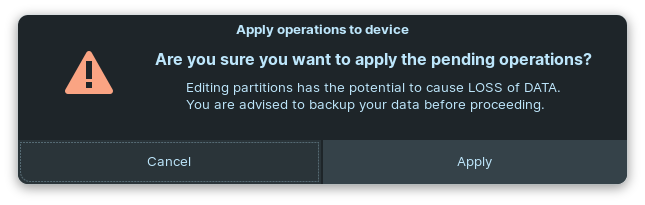
This may seem scary, but it's to ensure you have everything as you want it. It can be changed now prior to writing it to disk. Otherwise, click apply and let's get on with the installation.
Installation of Zorin OS 16:
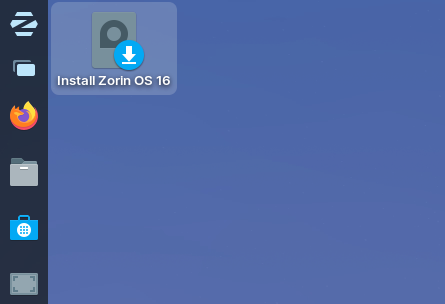
Double click the installer in the upper left hand corner of the desktop (the only icon on the desktop).
This opens the Installation Window in the center of the screen:
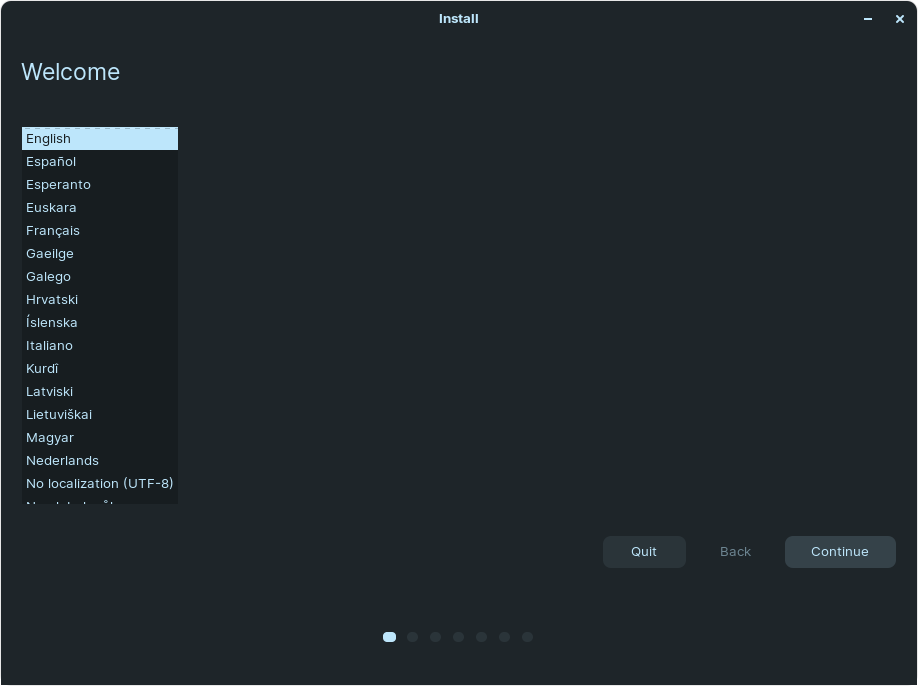
Choose your language.
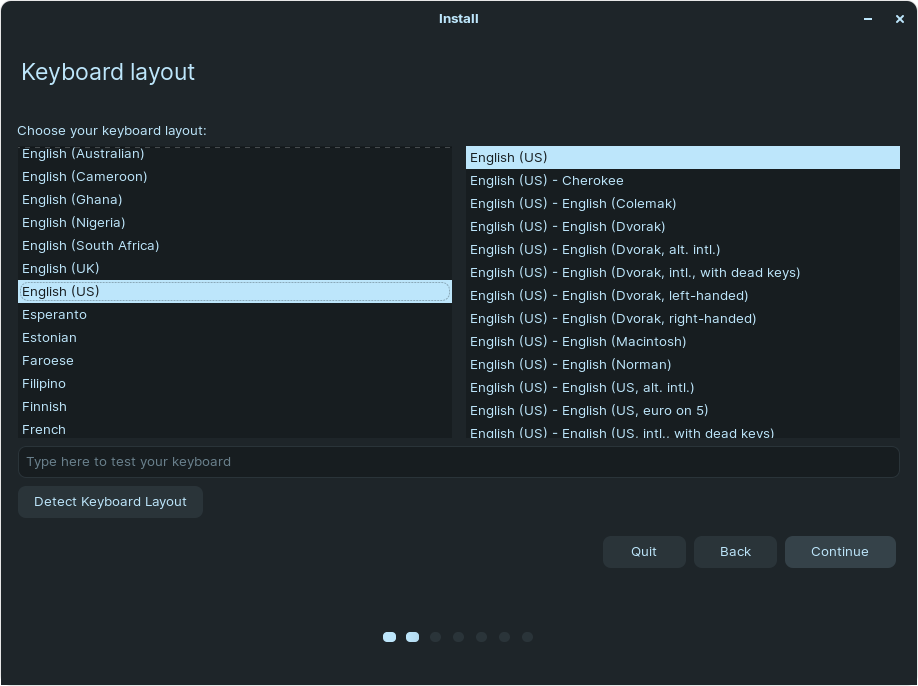
Choose your keyboard layout.
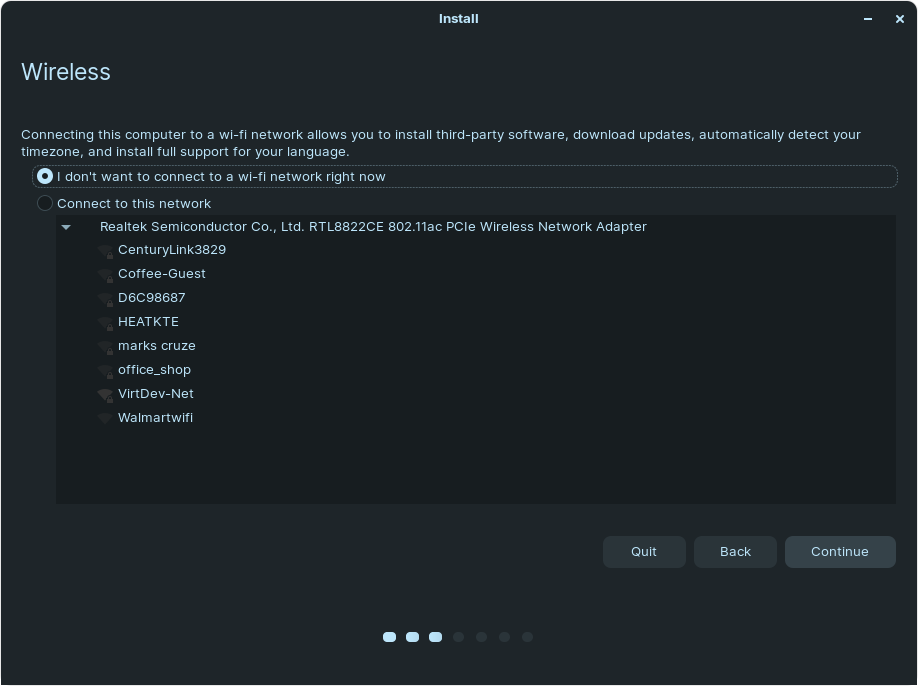
Decide whether you would like to connect to WIFI prior to beginning installation.
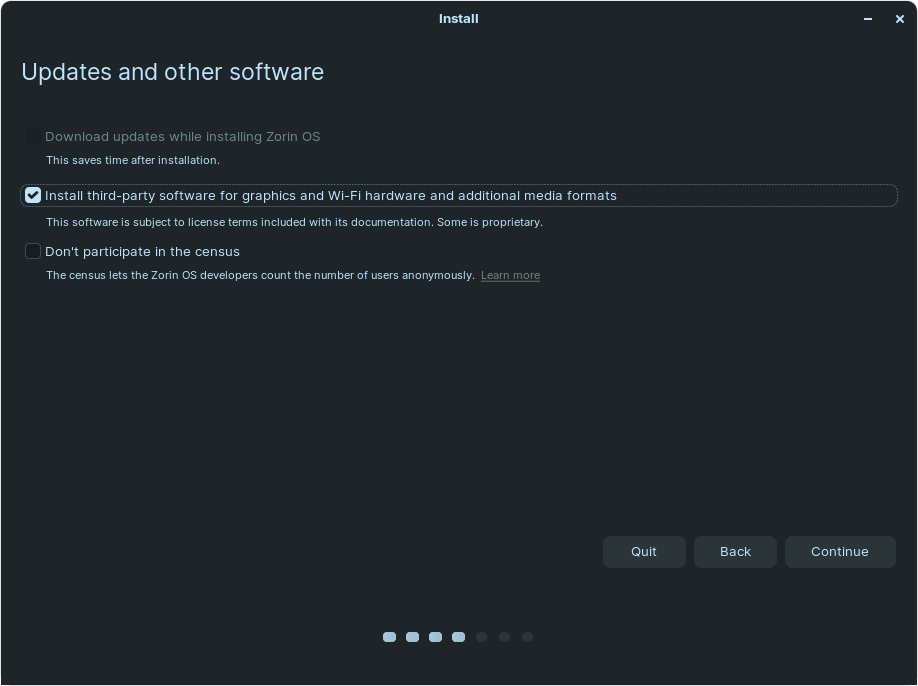
If you chose to use WIFI the top option will be automatically selected. I wouldn't change much on this screen, unless you want to manually install proprietary drivers for your computer. The census only shares that you installed the os. That is the extent of the information gathering that the Zorin's do. It is your choice whether to opt out of this.
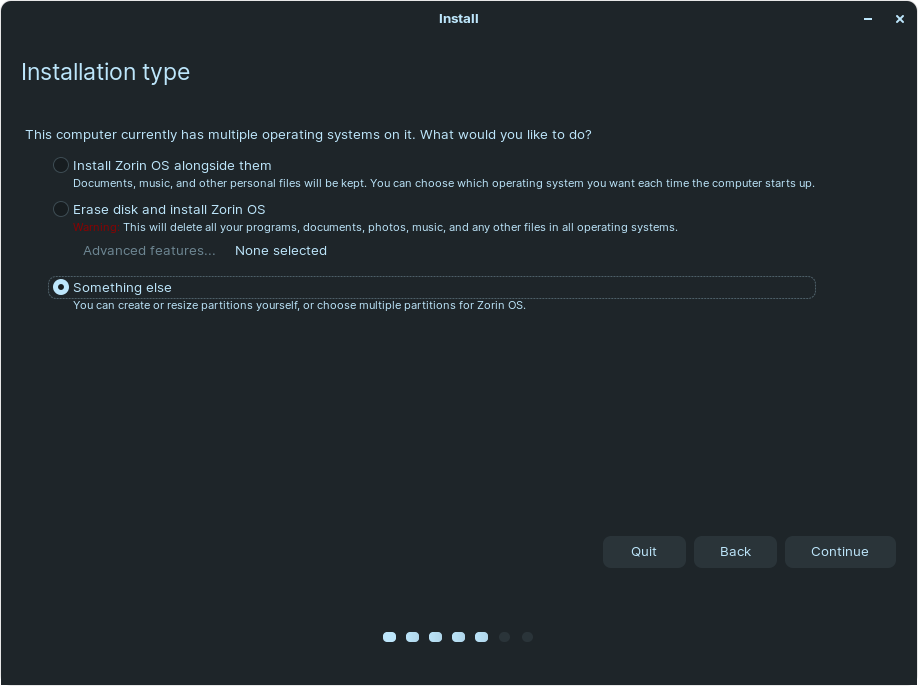
This is a controversial screen. Installing alongside other OS's resizes the installed OS partition, if you haven't, and splits the difference between a system and swap partition. Not ideal, but will work for most. Erasing the disk is as it sounds. It will create an EFI, swap and system partition using the entire drive. There is very little option for control of how things are created and placed. The last option is what we will be using here. Something Else gives you the most control over how things are done.
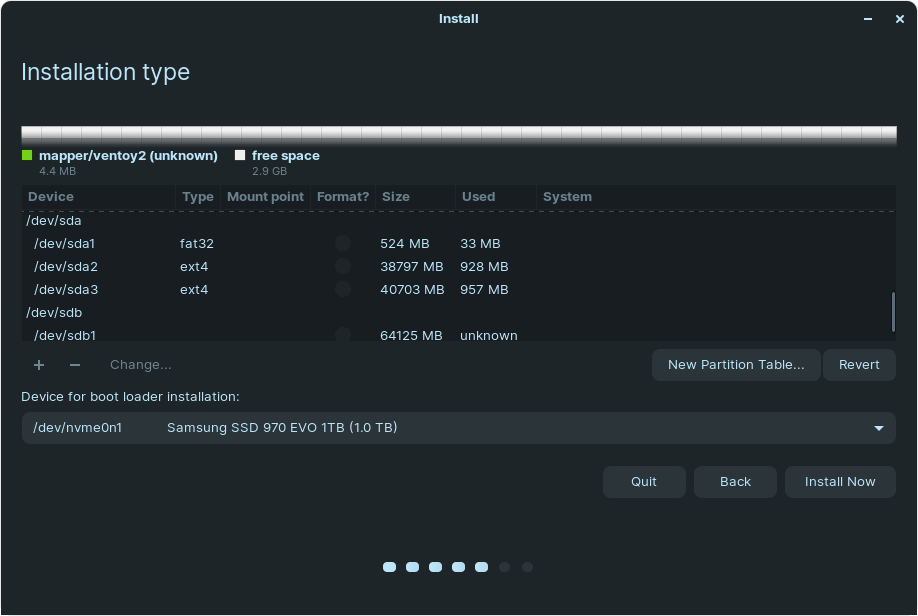
As intimidating as it seems, this window is actually very informative and useful. The drive it chose to display is not important (mapper/ventoy2...). The window underneath is. This is a scrollable, as you can see I'm almost at the bottom of my device list, embedded window, though it doesn't look it at first glance. This is Ubuntu's decision with the Unity installer. Any complaints should be directed toward them. We are going to do a few things in this window.
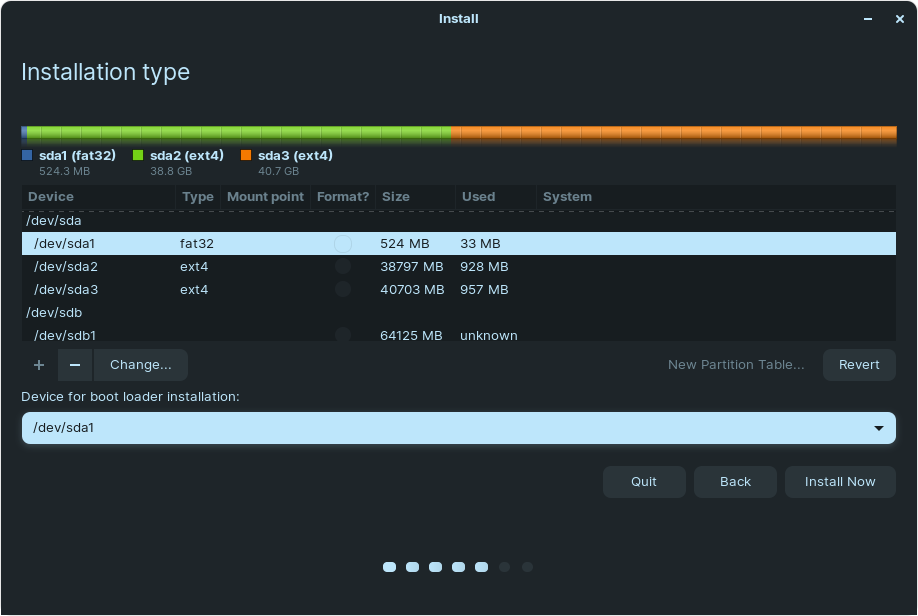
In the device window, scroll until you find the partitions you created and click on the efi partition (around 500MB size since it's not showing our labels). This will place the drive partitioning preview at the top of the window (colorful bar). The colors are to help differentiate the partitions.
We are going to use the efi partition we created earlier as the Device for boot loader installation: It is a drop down list. Make sure to choose the partition, which has a number associated with it, not just the drive. The importance of this is that if you choose the drive it may attempt to create another efi partition in any available free space on that drive. Choose a partition, not a device!
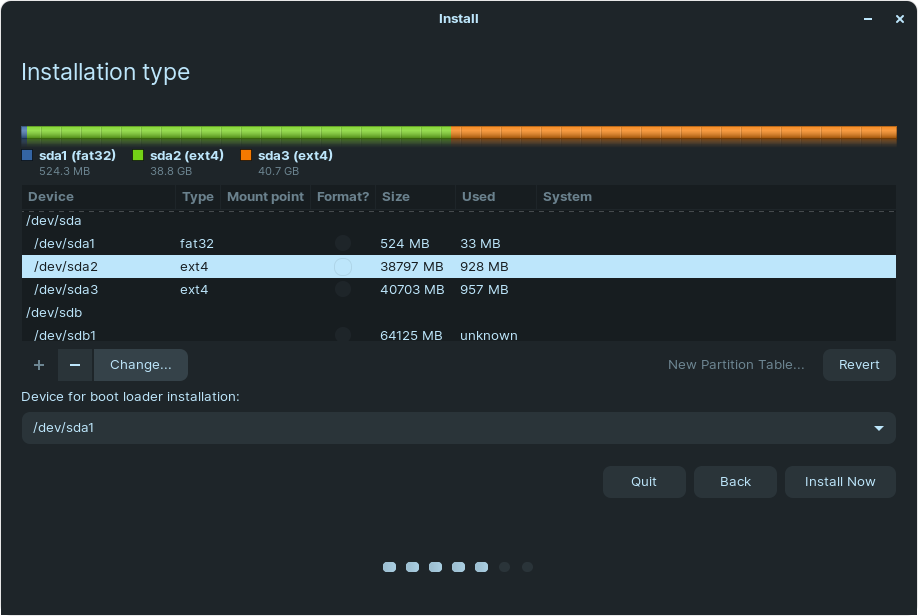
Select the next partition in the device window and click the change button.
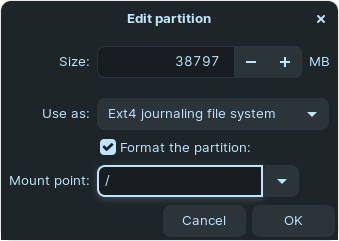
This is where you will change the pull down list in the center from Do Not Use to the Ext4 journaling file system. This will allow you to change the size if you wish, but shouldn't be necessary since we already set this up earlier. Check the box to Format and the Mount point: field is both a pull down list and a field you can type in. This allows for customization of where you want things. Type a / in and hit ok.
If you created a swap partition, you will select it and choose ext4, Format and a mount of /swap in the change dialog.
Do the same for the home partition, select it and choose change.

Again, click the Do Not Use drop down and select ext4, Format check box and the mount point will be /home. Once you click ok, there isn't anymore to do.

You will see the mount points (except for the boot loader) and the format checks next to the partitions in the device window. Click Install Now.

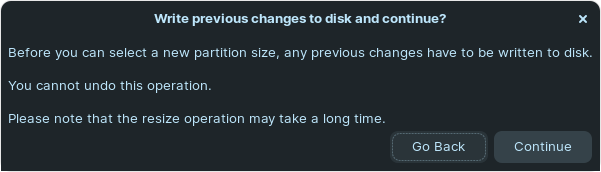
You may see either of these warnings. Click continue and the installer will continue getting the rest of the information it needs.
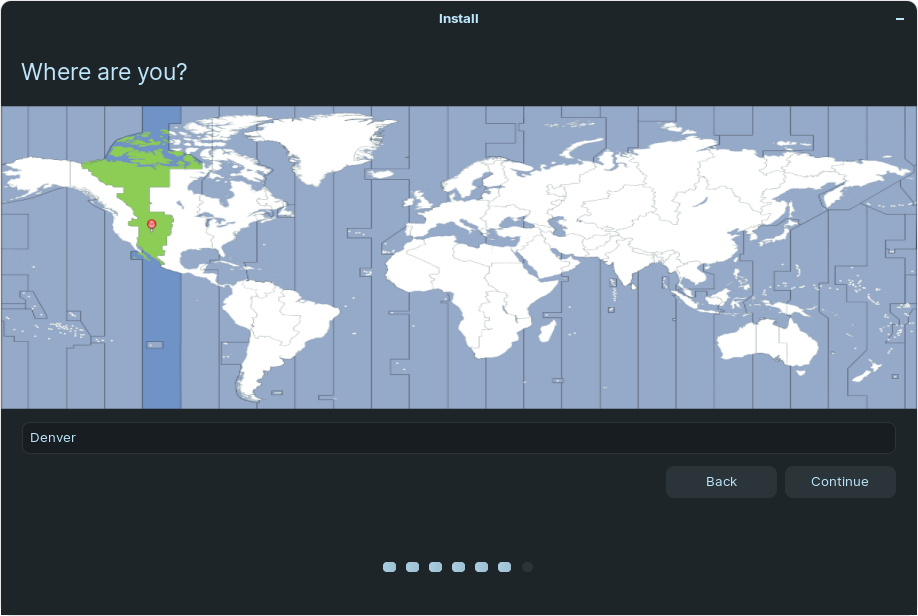
Select your time-zone.
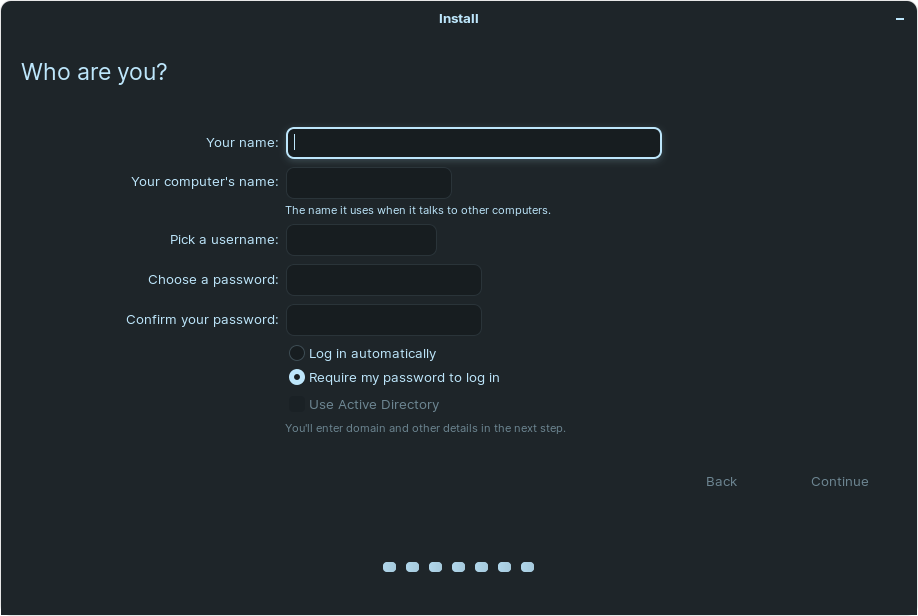
Enter your name, computer name, username and password. Then choose how you want to log in. Finally hit continue.
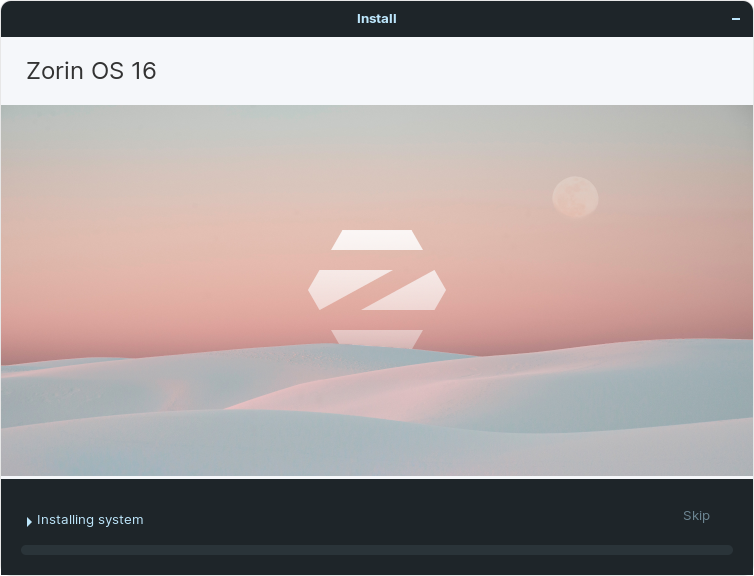
The installation will begin and run.
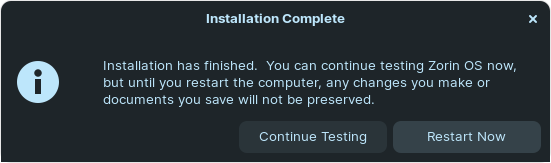
Once it's complete you will see this. After clicking restart, stick around a moment. You will see the Zorin screen with instructions to remove the installation media and then click enter to reboot.
If you are using an SSD or NVMe drive I recommend you turn off journaling. EXT4 is a journaling filesystem. Meaning it keeps track of changes on your system (app installs, config changes, new files of all types) in case something gets corrupt or interrupted. This doesn't sound like a bad thing, but this is done every few minutes. If you are using your system all day, it won't be long before you use a few thousand writes to the drive. This is important in SSD and NVMe drives because they are limited to a certain number of read and write operations. To reduce the number of writes the system is doing, we can disable this feature. By disabling the feature you increase the chance of corrupt files if you have to hard reset your system. I would make sure everything is working and you have no freezes prior to executing this step.
This must be done with the partition unmounted, so you will need to boot back into the live image or, take note of the /dev/ in disks before rebooting, and you can press 'c' at the grub menu to perform this operation.
Once everything is setup and working properly, reboot and press 'c' at the grub menu. You will be given a command prompt. Here you will type:
tune2fs -O ^has_journal /dev/<drive-n-partition-id>
What is this doing? tune2fs is a built in command that allows you to adjust features available for the partition/drive.
The -O (that is a capital O) tells the command that you want to change an option.
The ^ in front of has_journal tells the command that you are disabling/removing the feature attached to it....in this case, has_journal.
The last part is the patition/disk that you are changing.
An example for my drive, being NVMe is:
tune2fs -O ^has_journal /dev/nvme0n1p4
After you boot into Zorin again, you can run the terminal and the following command to ensure it is disabled:
sudo debugfs -R features /dev/<drive-n-partition-id>
You will get the following output:

As you can see, has_journal is not in the listing.
Check out the Customization Category to learn how you can customize your new OS. Be sure to look around the rest of the Tutorials and Guides section also for things to improve your experience and productivity. Enjoy Zorin.