Ok everybody, did you know that today is the big day? I got lots of lovely photos for you fine folks. So grab a cup of coffee, sit back in your chair, and like Jonna and the Whale, your going in.
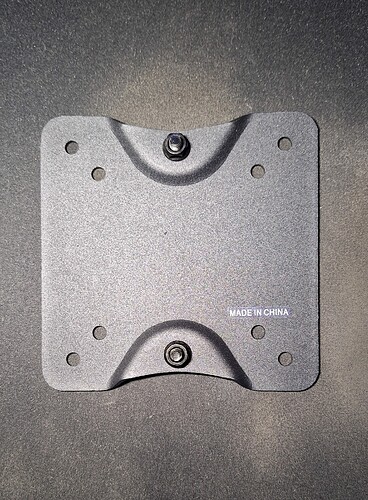
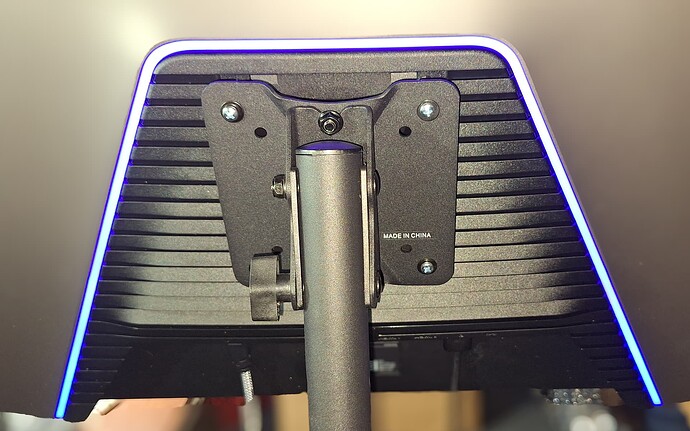
If you look at the mounting plate, its a sturdy nice piece of metal. You would think however, that Mount It would follow standard VESA dimensions, so that the entire plate, could be installed, into the recess square, in the back of the monitor. But they felt they knew better, and to make the place bigger in all dimensions, so it wouldn't fit.
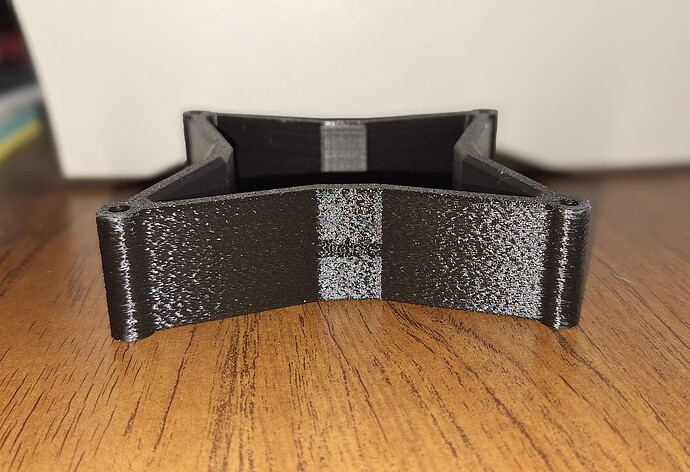
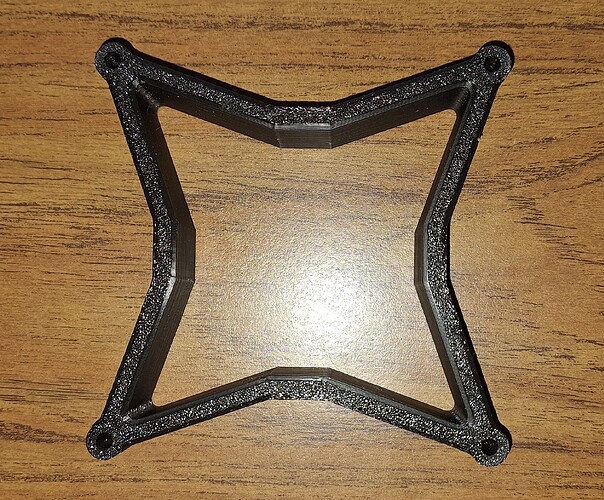
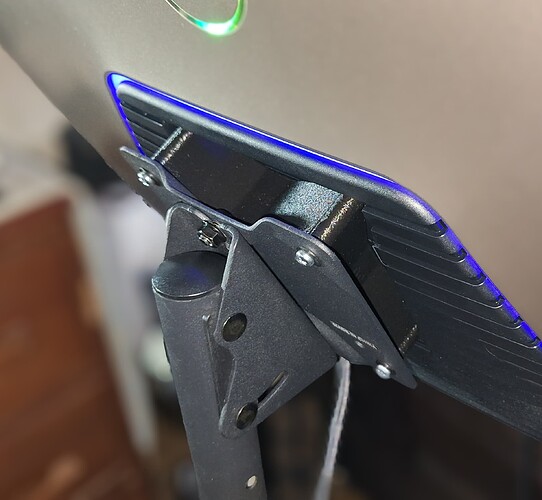
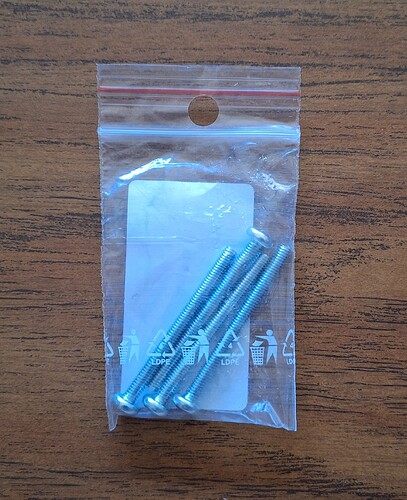
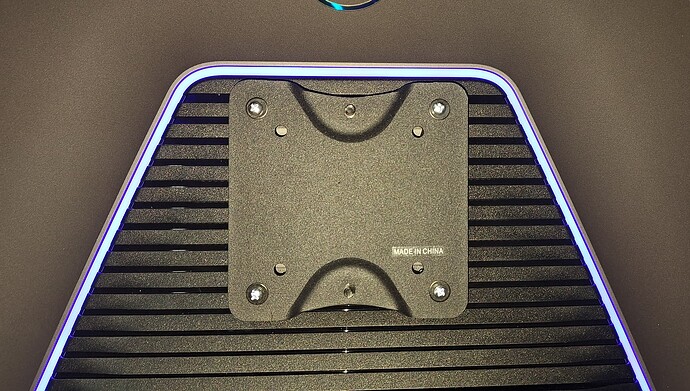
The VESA spacer, is made for 100x100 mounting pattern. Not only does the X shape provide structural integrity, but it also leaves room for the center bolts, that are used to mount the plate, to the stand. And thankfully, they provided screws that are plenty long enough to get through the plate, spacer, and into the monitor.
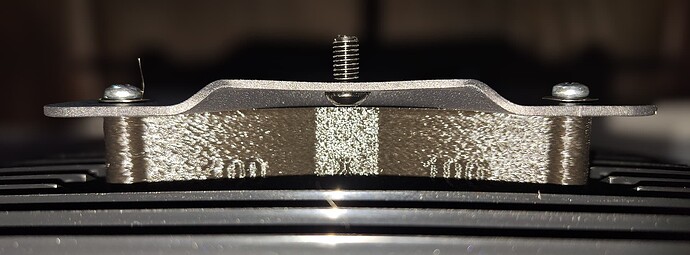
As you can see, the spacer provides just enough distance, and fits within the recess without needing to do any crazy modifications, that could utterly lead to disaster. That PLA is some strong stuff!
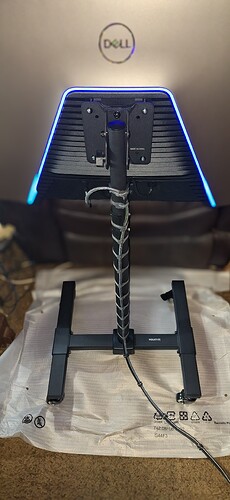
I also got pictures showing how it all looks mounted to the stand. As you can see, it provides a very neat fit, and overall, looks professional.
Then all I had to do, was run the cables down the stand pole, and use those nifty cable straps I got, which ended up being a couple inches too short, but I made them work. I continued down the line with the cable straps, in order to keep both cables together neatly, reducing possible snagging disasters.
If I remember correctly, the screws were supposed to be M4 x 40mm, so yeah, plenty long, so glad 3Idee, included those.
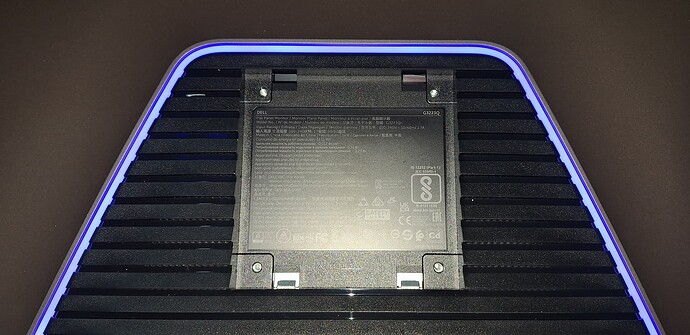
I made sure to get a better picture then online, of the square recessed hole. Again, I get why they did this, was so the desktop stand would fit inside, making a perfect meshed fit, and it does work decent for that. But for VESA mounting purposes, its a PITA!
I also got a picture of just the plate and spacer mounted on. Yes, believe it or not, I was the crazy one who did all this with the monitor powered on. LOL. I been around for a long time, got loads of experience, I knew I would be just fine.
I think the stand looks absolutely excellent! I even appreciated how the spacer was textured to pretty much match the stand's textured spray pattern. I think I did good with the cable straps, I used plenty trust me! I was trying to aim for a professional job, basically one you might get paid for.
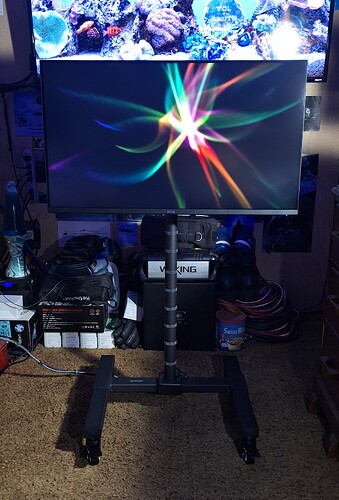
I did have to raise the stand by a few more notches, to get the monitor at proper eye level. If you don't have great skills, I would high recommend getting a 2nd person to help you. But with good skills, this can be done by 1 person, but the process will go slower, and you have to be really careful, when you do the actual mounting process.
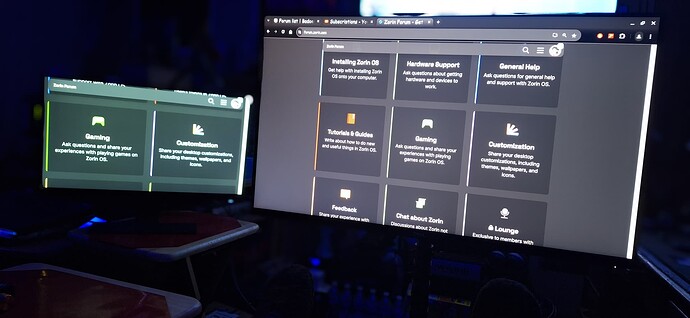
And lastly, a picture showing both my new monitor up close to me while sitting at the couch, and my old BenQ monitor off to the side, for soul usage of chat and forum's. I don't understand why the camera decided to make my BenQ monitor green, trust me, the screen aint green like that.
I could have activated the camera flash, but all your going to do is flash the Dell monitor, and thats pointless. I would have needed to activate my photo key lights, and I wasn't going to do all that BS for a simple picture. Anyways, hope this post was informational, and entertaining.
I really love my new monitor stand, and I can most certainly recommend it!

