Ok, you can undo that. That was an assumption on my part - since I cannot see your actual work.
But you have since clarified the reason why that line is a different color.
I also tried with cutting the image, but also didn't help.
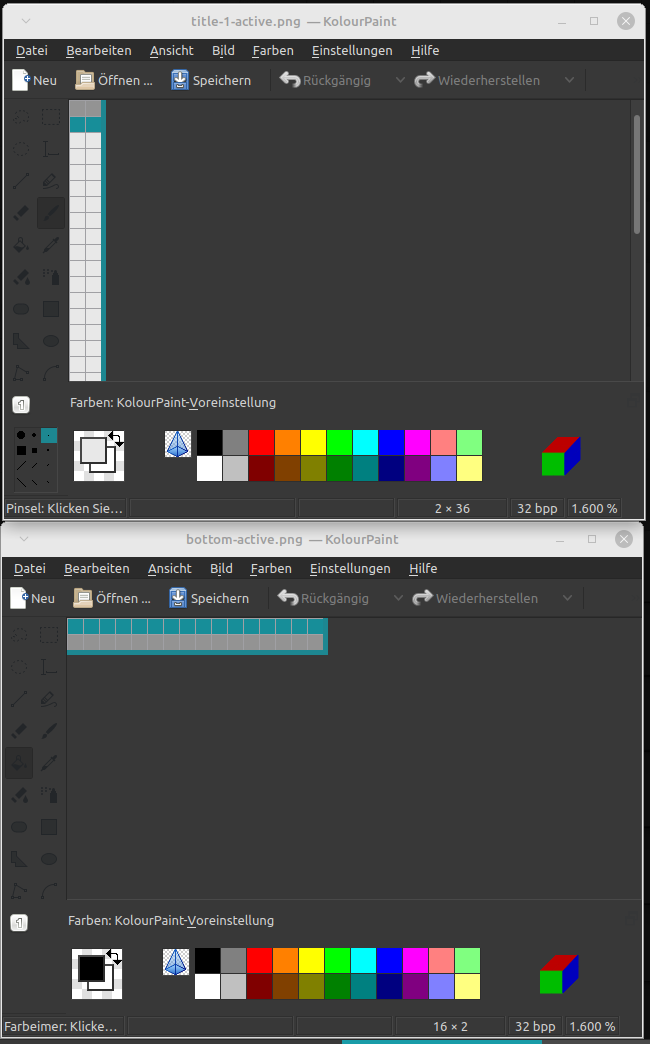
Fact is, that in the original images of buttom, right side and left side the border line is 2 px thick and in all images of the title and buttons 1 px. I think that is set from the theme creator this way.
You can check your themerc file to see if the titlebar height is set with title_vertical_offset
If it is, change that value to 0 or remove that qualifier
1 Like
I feel really incompetent. At the same time, I'm happy about every little bit of progress: that I now know where the files I need to edit are, that I have to enlarge them before I can even edit them...
The unsolved problem with Gimp kept me awake last night... That's why I'm glad I've now found a program that's not quite so difficult to use, doesn't crash all the time, and lets me change the colors.
I'll try later if it is possible to expand the images upwards by one row of blue pixels.
1 Like
I made some progress by looking at the MX matcha xfwm theme, which already had a blue border. In this XFWM theme, the border was 2 px thick on all sides. I copied the XFWM theme and replaced the blue color with a brown color to match the brown hue of the folders.
It was a lot of work, but once you understand what you have to do, it's not difficult, just monotonous.
I was able to get around the problem with the warnings that the image could only be saved in a very low color depth by not saving all the edited images, but instead exporting them to the same location (replacing the originals in the testing theme-folder) and then clicking “discard” when asked what to do with the edited file. I hope that was the right thing to do. Unfortunately, the brown color is a little dark to use with the dark theme, but my only concern at that moment was to learn the procedure in principle.
@Aravisian Which themerc file do you mean? One of the gtk theme or xfwm theme? I'm not sure if such themefiles are used for my current themes because when I search for "themerc" in / of thunar, there are no themerc files found at my themes folders, only at Downloads.
Thank you very much for supporting me!
(Adding a row with blue pixels to the other theme didn´t work, I don´t know, why).
The themerc file should be inside the "theme-name"/xfwm4 folder.
1 Like
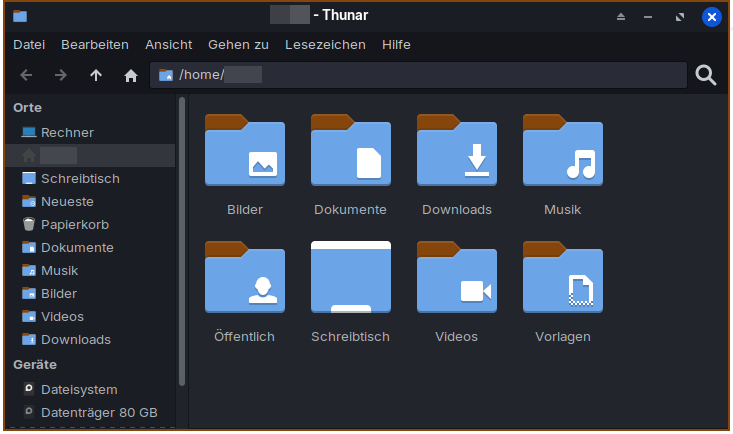
So, now I edited the Mint Y teal theme to get a teal colored active window.
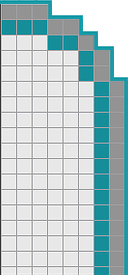
Is it right so, especially the upper border line? The rounded corners at the right top and left top of the window are a bit difficult. I`m not sure which pixels belong to the image and which one are added by the image viewer to show a rectangle image. The teal colored pixels are those which I added, before they were in light grey as the other ones below.
I'd like to have more rounded corners in the active window.
Maybe I'll try it with a two pixel thick border in teal and not two-colored grey/teal as now. Perhaps it is more highlighted then.
In the Mint Y teal theme the themerc value for title_vertical_offset was set to 0.
Edit: With a 2 pixel thick border in teal it looks better now:
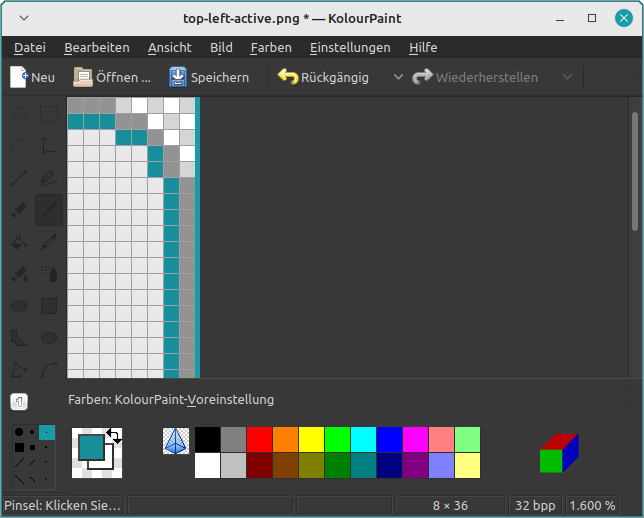
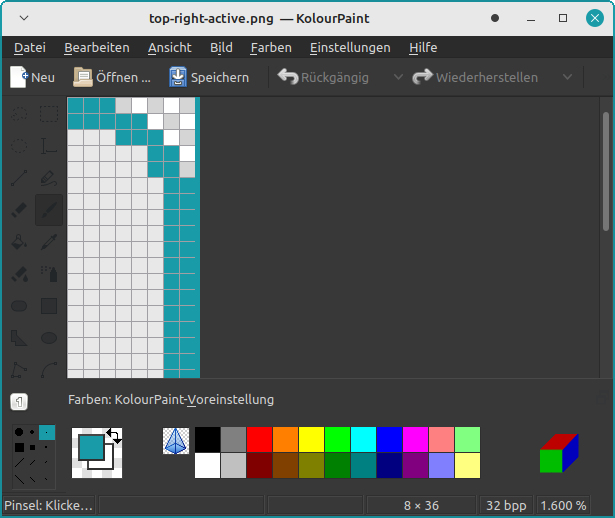
I edited the top right image this way:

I have a problem in Linux Mint 21.3 with the file chooser e.g. in Kolourpaint or browser which I don't have in Zorin 17.3: I can't turn on with ctrl+h to show the hidden files. Thunar is set up to show the hidden files and shows the hidden files, but not the file chooser.
When I press ctrl +Alt+t to open the terminal, the ctrl key works, so I'm wondering if I have something messed up with xcape. I think all xcape commands should be removed after logging out when they are not added to autostart, or not? What can I do to show the hidden files in file chooser without entering the file path?
Edit: Solved. Right-click beside the folders, then a window appears where you can select "show hidden files".
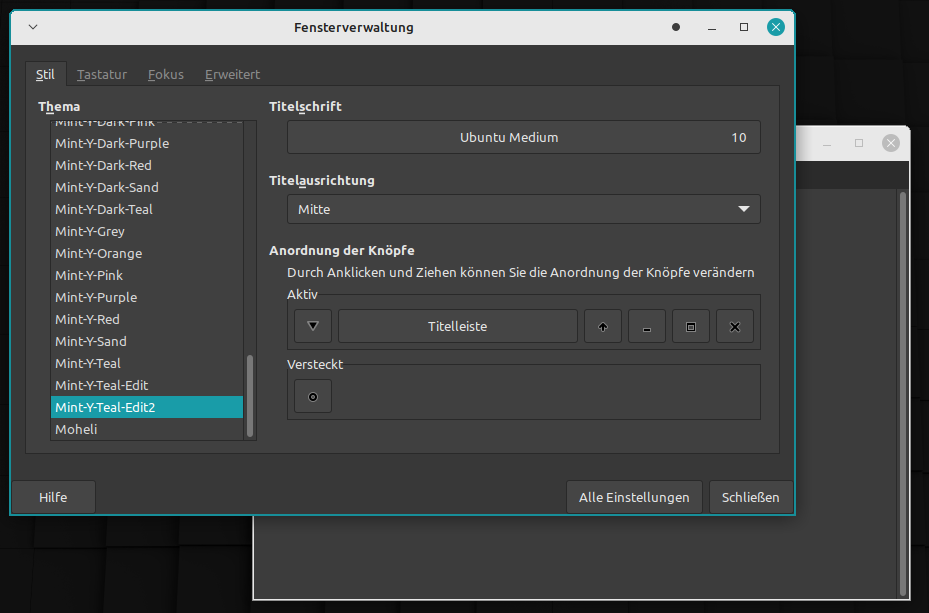
The image editor shows the transparent background with alternating lighter and darker squares, whereas the solid background image within the theme window lacks alternating squares.
You can follow the curve of the rounded window:
1 Like
That looks the same to me as your first image.
Ups, you are right! I didn´t notice that the corners have been better there at the two colored border and I made it worse when I changed the color and added some pixels. I think I can leave it as it is now.
Edit: And I just now see that all title 2, title 3, title 4, title 5 images link to title 1. I edited all separately. In the filechooser the arrow-links were not shown. So next time I can edit title 1 and export it to different files. Your tip with mirroring the images helped me also much.
What determines the grab-area of a window? Defines the width of the border where you can grab the window to drag it? Does the border width change by colorizing pixels in the color of the border?
Could I now add a row of pixels to the images, for example, to make the grip area larger?
I asked this question some time ago, but at the time it was too difficult for me and I didn´t figure out how to use Gimp.
I found another image editing tool which needs not much space and is not so difficult to use: mtPaint. It's in the repo, doesn't crash like pinta, is not so difficult to use as Gimp and Krita, offers a higher default zoom than Kolourpaint and the menu tools are better readable in dark mode as it is no QT App. I'll try it next time with this app. It seems to be good for editing such small images.
On XFWM4, yes.
On Gnome, it is set as an invisible margin in the .css, not by the image size.
On XFCE, the grabbable area is determined by the size of the image used. If your left or right border is 10px wide, that is your grab area. Ten is a good number. When users complain it is too small is when you get below 3px.
Transparent areas do not count toward grab area, however. If you leave an area transparent - the cursor will not grab it.
I just installed mtpaint and will try it out...
Edit: I nuked mtpaint from my machine due to One Simple Issue.
By default, the canvas is a glaring white.
MTPaint offers no Settings or Preferences anywhere.
Attempting to find out how to fix this one simple, but very necessary thing became a dive down a rabbit hole of lacking and missing documentation, removed options from newer MTPaint... and searches unable to distinguish between MTPaint and MSPaint.
The easier solution was to remove it. I dislike apps that remove and limit the User Controls.
1 Like
I also found it a bit difficult to use when I took a closer look at it yesterday evening for half an hour. There is no button or keyboard shortcut to close a file without saving changes, only to exit the entire program. Or you have to open a next file, then you are asked to save or reject the other one.
It only opens one instance. When you want to open another image the program closes the current one. However, a newly created file always had a black background for me. I found a setting to change the grid color, but not for the background behind the grid. It takes some getting used to.
Unfortunately, I haven't figured out how to deselect tools and stop the one that is running. That was my biggest problem.
The pipette tool, on the other hand, worked right away to pick up color from the screen, and this was then immediately set as the color to colorize pixels. I had failed to do this with some of the other apps I tested (they surely work, but you have to know which steps you need in the right order).
Well, I find both Pinta and Gimp (2.20 to 2.99) to be easy to use.
I downloaded the Mint-y themes and looked them over.
And the way they do it... I can see why that is confusing. It is minimal, too minimal.
Since you are on a road I have been walking, would you welcome critical suggestions?
Yes, please. What do you mean?
With distrosea I searched for nice xfwm themes yesterday, and for me MX Linux had the best theme diversity and the nicest ones. Many XFCE desktops don't look good with the default themes. Peppermint has a special xfwm theme with a color in the topbar and thicker borders. It's a bit clumsy, but I could look how it is made there.
First, I suggest I send you an XFWM4 theme that is formatted for ease of modifying (With intent you modify it so it won't match what you have in mind). It will include all the optional pieces, so you know what is what.
It can also include a README that defines them.
I recommend Gimp - but not the 3+ version Zorin Includes. It is a nightmare.
I installed using a .deb package.
Open a piece in Gimp, like top-right then tap the 5 key to max zoom in.
At this point, it is a matter of placing your edits where - if it is easier, you can ask pointed questions and get direct answers in a DM/PM
This way, you construct from the ground up.
Once you are happy- set the theme.
Then... Spend time looking at it thinking about how to improve it.
Things to change, fix - anything.
That creates the Learning Repeat that nails it all in.
It's very kind of you to offer me an xfwm theme. If you don't mind, I'd be happy to accept your offer. However, at the moment I don't know what the differences are and what I can do with this theme what I can't do with others.
I could look if it is possible to edit mx matcha xfwm theme to get a thicker border.
I have never worked with such professional image editing programs before, and the GIMP version of Zorin 17/LM 21 is not the latest, but I still couldn't get to grips with it. I spent hours on it and didn't get anywhere.