I have been thinking of sharing a small trick I have been using since my first home assembled desktop back in 90s. Original method was with heavy/expensive 3.5 inch HDD trays, but it is much easier to implement these days thanks to more compact/inexpensive 2.5 inch SSD/HDD docks.
Before we start, here's a prerequisite:
- *Front accessible chassis
- Fillips no.1 screwdriver
- **Power supply cable directry connected to PSU (no Morex to SATA adapter
 )
) - ***Icy Dock fllexiDOCK
Icy Dock flexiDOCK MB524SP-B Review Killer IT Service Desk Hot Swap Bay - Your willingness to touch the PC innards

*This type of chassis is now out of fashion and you might have to look hard to find it.
**Do not use any Morex to SATA adapter. I had a small fire  incident which took one HDD with it
Apparently, I was not the only one who had such incident. See, for example,
PSA: be wary of cheap molex adapters! (fire damage inside)
Our Wall of Shame (Molex to SATA adapters)
***While I highly recommend this dock, power buttons on each drive tray are rather fragile. It is better to use eject button to cut the drive off rather than using power buttons. I had to RMA one dock because of one broken power button after a few months of use.
Now I gave you enough precaution, here's how my main desktop looks like.
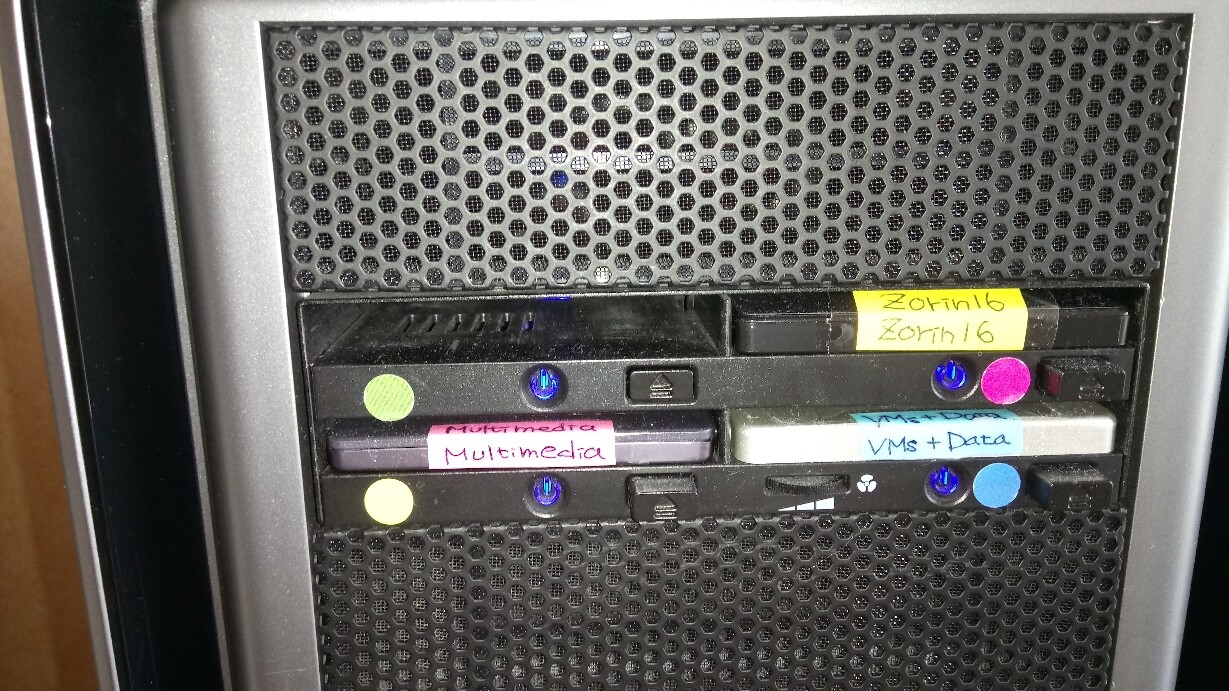
By changing OS drive (currently running Zorin 16), I can run any OS I want to use. Data drive and Multimedia dive can remain in the place between the OS change. This way, I can avoid usual complications associated with dual/multi-boot.
I hope this small tutorial will give you some idea.
If you have any question, please ask. I am more than happy to help.