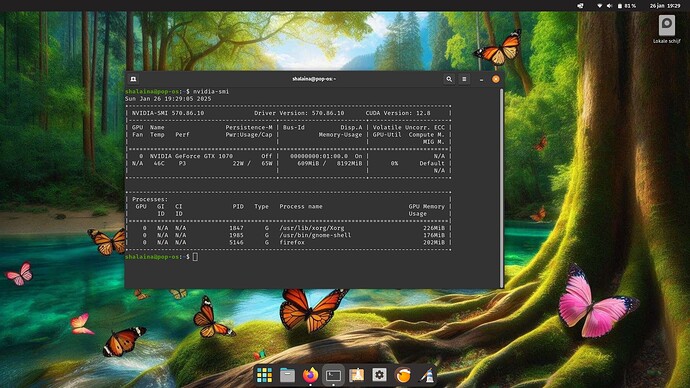
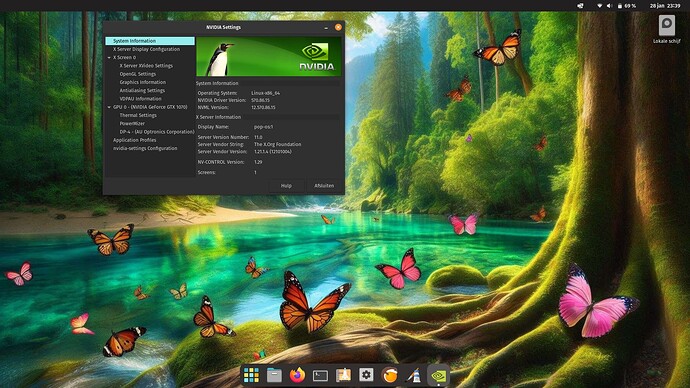
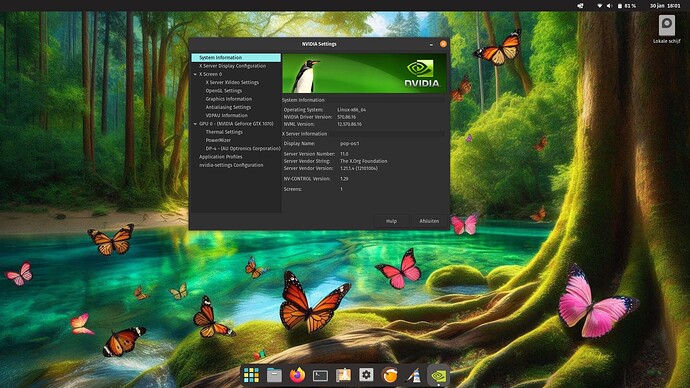
Install the latest Nvidia driver on Zorin OS 16/17 & Pop! OS 21.04/24.04: People with legacy cards (+/- 10 years old) needs legacy drivers (390.xxx.x) and also needs to downgrade the kernel to 5.15.xx. For legacy drivers i would advice to use the drivers released by your distro.
- Download the official Nvidia Driver and place it in the home folder
Optional: you can rename the NVIDIA-Linux-x86_64-565.57.01.run driver to 1.run. I personally use 1.run because i don't want to write the whole nvidia name into the terminal. In the tutorial below i use the original name from nvidia, it's up to you what you want to use.
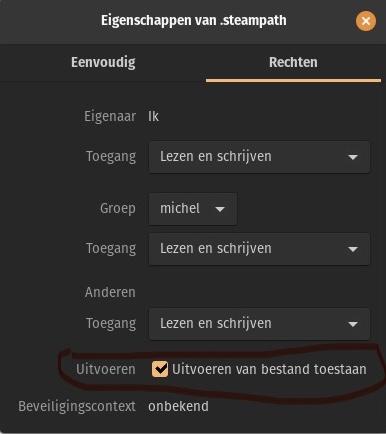
- The file needs permission to be executed, you can do this by 2 ways. The first one is by terminal, the second one by right clicking on the file (NVIDIA-Linux-x86_64-565.57.01.run) and change the permission of the file.
For option one: Open the terminal and write:
chmod +x ./NVIDIA-Linux-x86_64-565.57.01.run
For option two: See the picture below (enable execute below)
- Install the build essential package, those are needed for the nvidia driver.
Write in the terminal:
sudo apt install build-essential libglvnd-dev pkg-config
- Blacklist the Nouveau Nvidia driver otherwise the nvidia driver does not work proper. Write in the terminal:
sudo bash -c "echo blacklist nouveau > /etc/modprobe.d/blacklist-nvidia-nouveau.conf"
Write in the terminal:
sudo bash -c "echo options nouveau modeset=0 >> /etc/modprobe.d/blacklist-nvidia-nouveau.conf"
- Check if the nouveau driver is blacklisted.
Write in the terminal:
cat /etc/modprobe.d/blacklist-nvidia-nouveau.conf
- If everything is done
Write in the terminal:
sudo update-initramfs -u
Step 7 is for Zorin OS users, Pop! OS already comes with dkms installed
- Install dkms, this is needed so you don't need to reinstall the nvidia driver anymore after a kernel upgrade. Write in the terminal:
sudo apt-get install dkms
- Now we are going to install the nvidia driver. We switch to text mode. Write in the terminal:
systemctl set-default multi-user.target
- Now we have to reboot the system. Write in the terminal:
reboot
- Now we have booted into text mode. Login with your username and password.
- When your logged in we are going to remove/delete older nvidia drivers. Write:
sudo apt remove --purge ^nvidia-.*
- When the purge is done write:
sudo apt-get autoremove
Optional: This will uninstall traces of the older nvidia driver. Just to make sure the purge was done correctly.
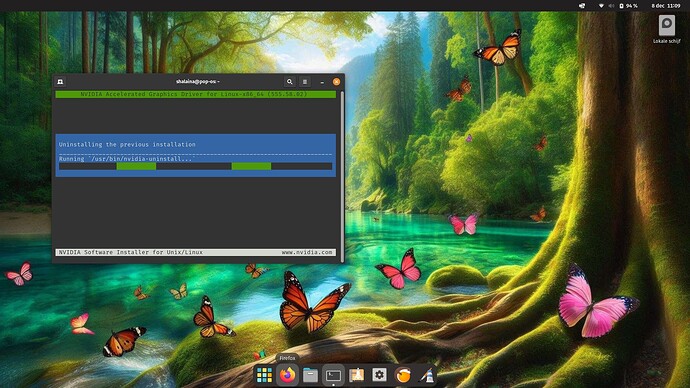
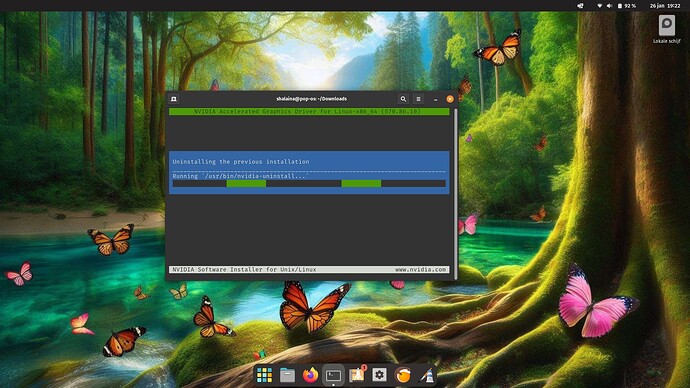
sudo ./NVIDIA-Linux-x86_64-565.57.01 --uninstall
- Install the nvidia driver. Write:
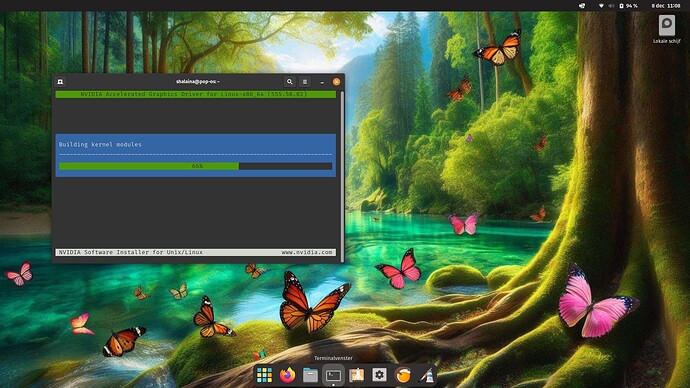
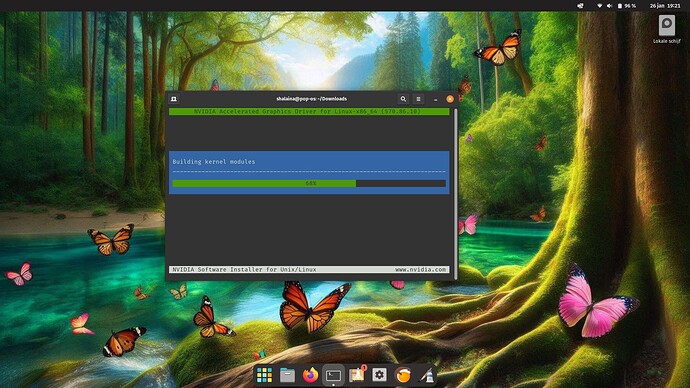
sudo ./NVIDIA-Linux-x86_64-565.57.01.run
- Follow the instructions (hit everything on yes).
*** If you encounter a error while installing about “failed building kernel modules” don’t panic. You have to install a newer GCC version. You can follow this tutorial after you rebooted back to your system. I followed the steps till step 5 from medium 2.
- When the installation is done we need to have root access, write:
sudo -i
- Now you have to write this to get your desktop enviroment back:
systemctl set-default graphical.target
- Now we are going to reboot the system, write
reboot
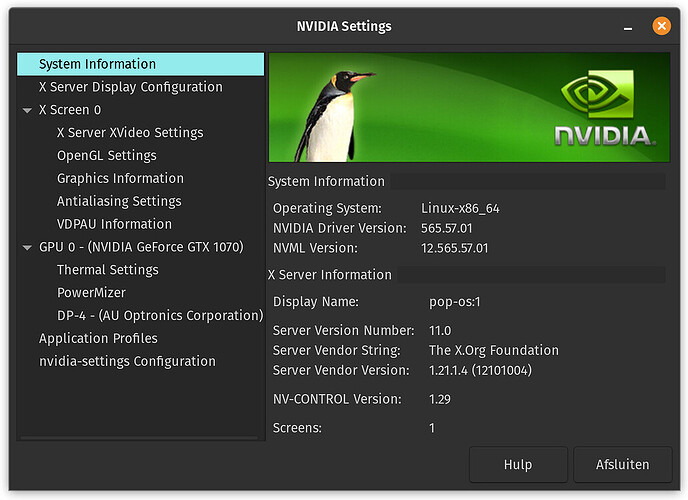
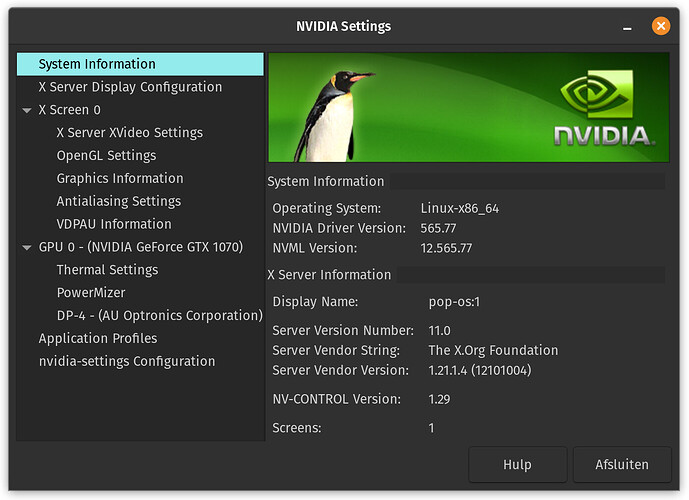
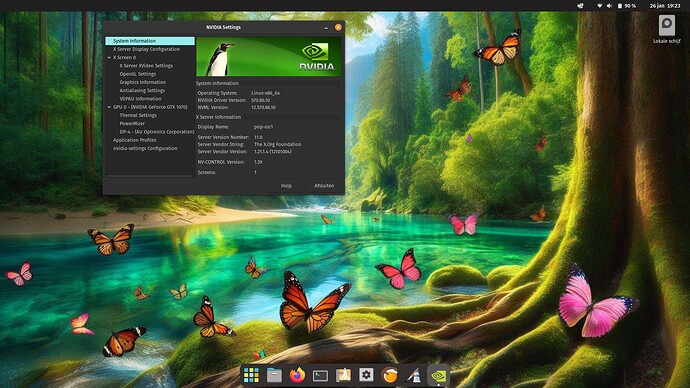
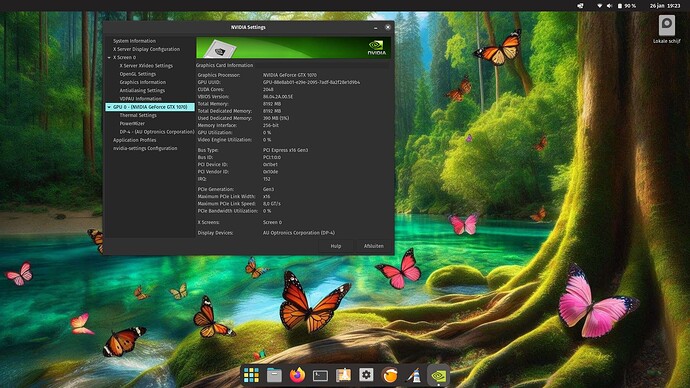
- To confirm the driver is working open nvidia x server settings (save the configuration file too), if the driver is not in use it will open a blank screen. In terminal write:
sudo lshw -c display
- When the configuration says "configuration: latency=0" you have to disable secure boot in the bios (Zorin OS users).
Voilla, you have installed your nvidia driver manually.

