While Zorin is based on Ubuntu, there is a method of installing the distro in OEM mode. This topic can get outdated in the forums overtime, so this one should be easy enough to follow for those who are planning to sell computers who preinstall the OS, software and drivers for the end-user. This quick guide can somehow help you in a way to ensure the installation and preparation for the person who plans to use the computer is all set up for first time use.
Here's what this procedure does, if those who don't know: OEM (Original Equipment Manufacturer) setups let companies preinstall an OS, apps, and drivers. On Linux, you install the OS, use a temporary OEM account for setup and updates, then prepare the device for shipment and the end-user completes setup on first boot.
1. Preparing the installation media
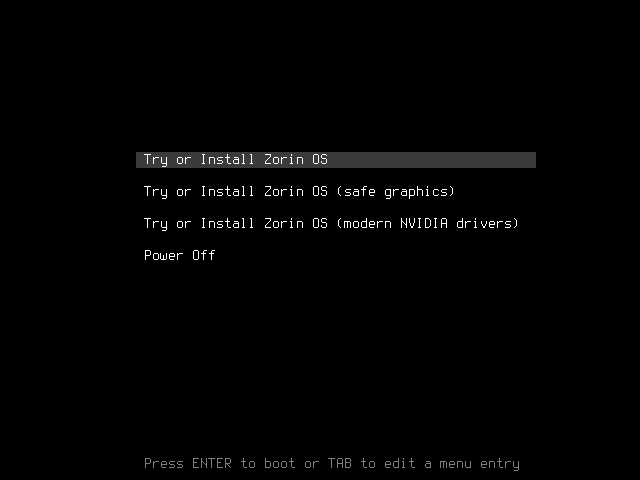
In order to set up, you need to reconfigure the boot parameters on the Zorin installation media. In common terms, you need to change the strings on the "Try or Install Zorin OS" option on the installation boot menu.
On this screen, if this option is highlighted by default (which it always does), press the E key to open up a window where you can modify the boot parameter.

On that screen, pay attention to the line of linux. That is the default string that is used to boot Zorin into the installation screen:
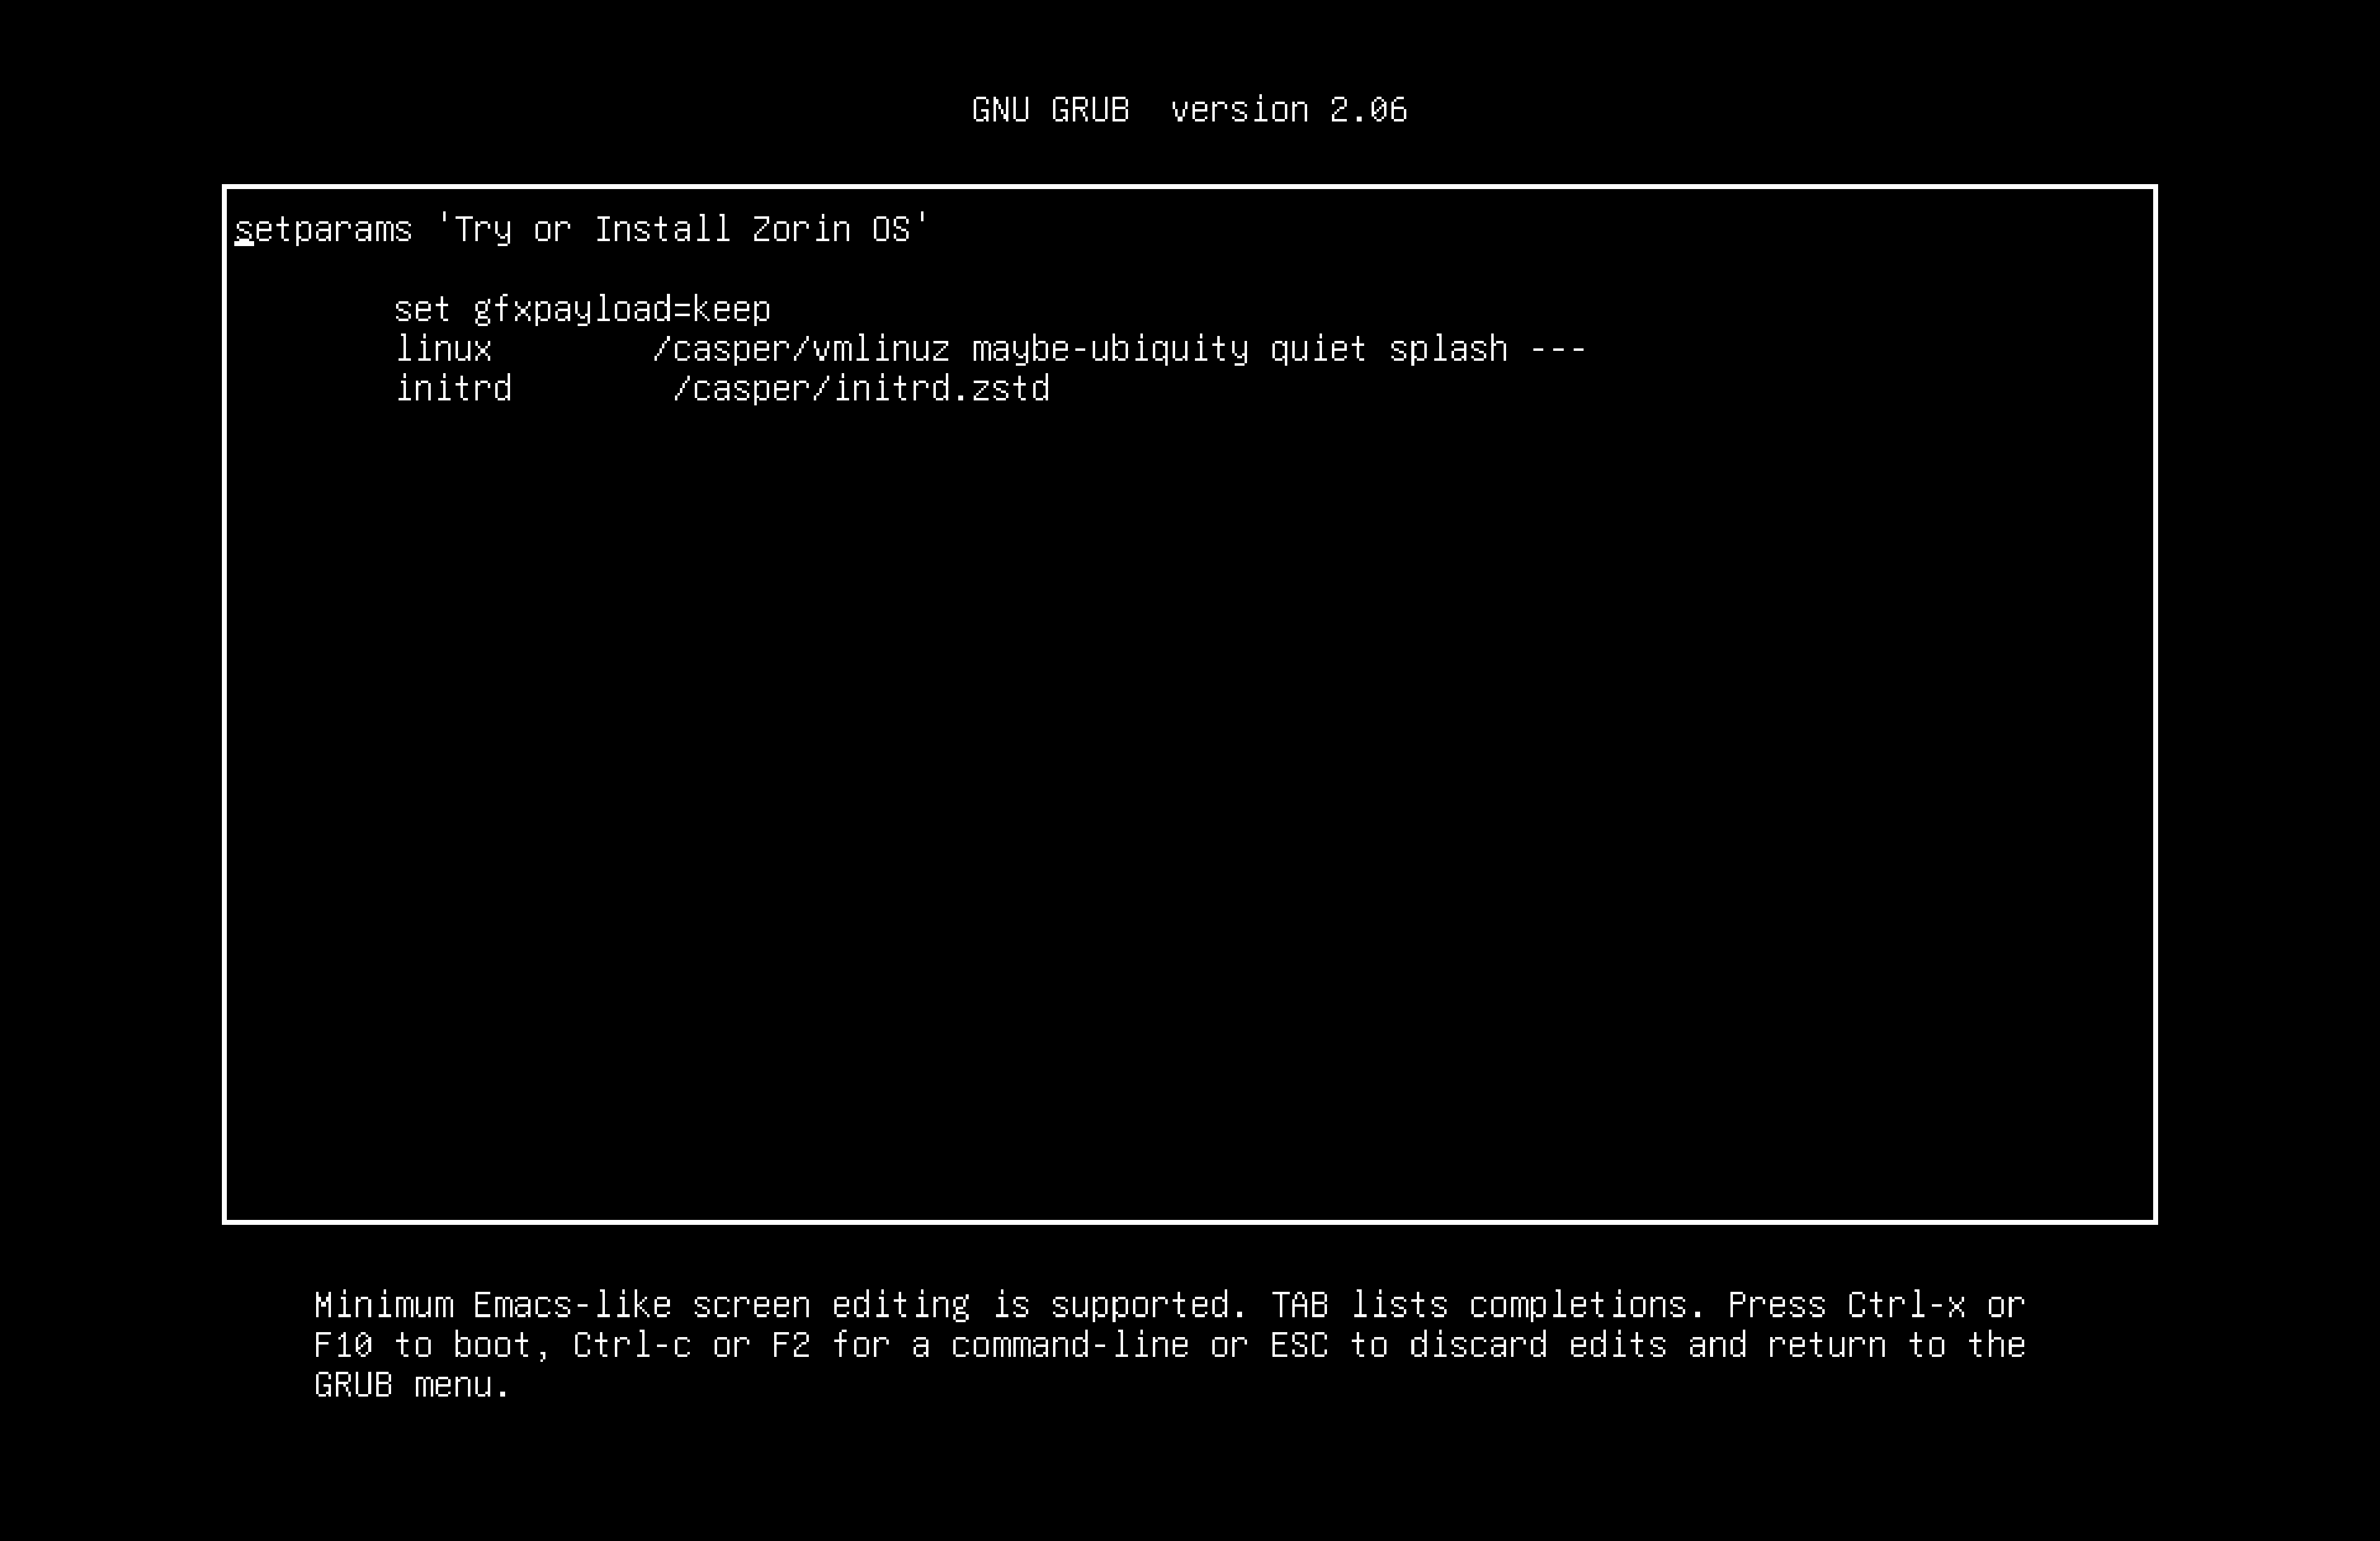
As we are focused on the maybe-ubiquity parameter, we need to modify this line to allow ubiquity stay only on the installation screen instead of choosing the option to either Try or Install Zorin on the computer.
2. Booting into OEM mode and Install Zorin OS
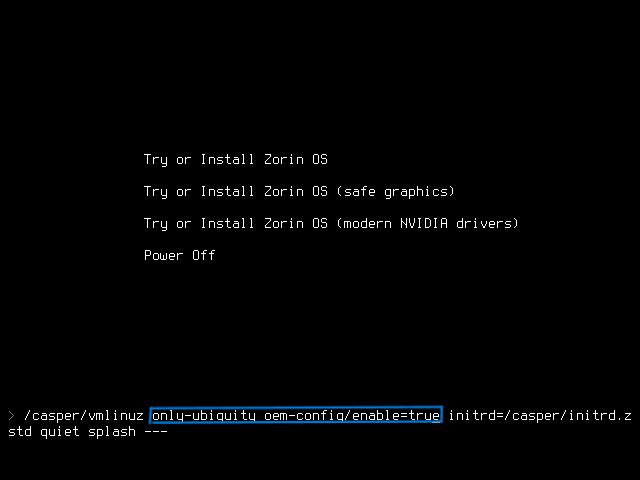
To activate OEM Mode on the installation media, replace maybe-ubiquity as only-ubiquity then add oem-config/enable=true into the parameter. When done, it should be like this (look at the blue box that is highlighted):
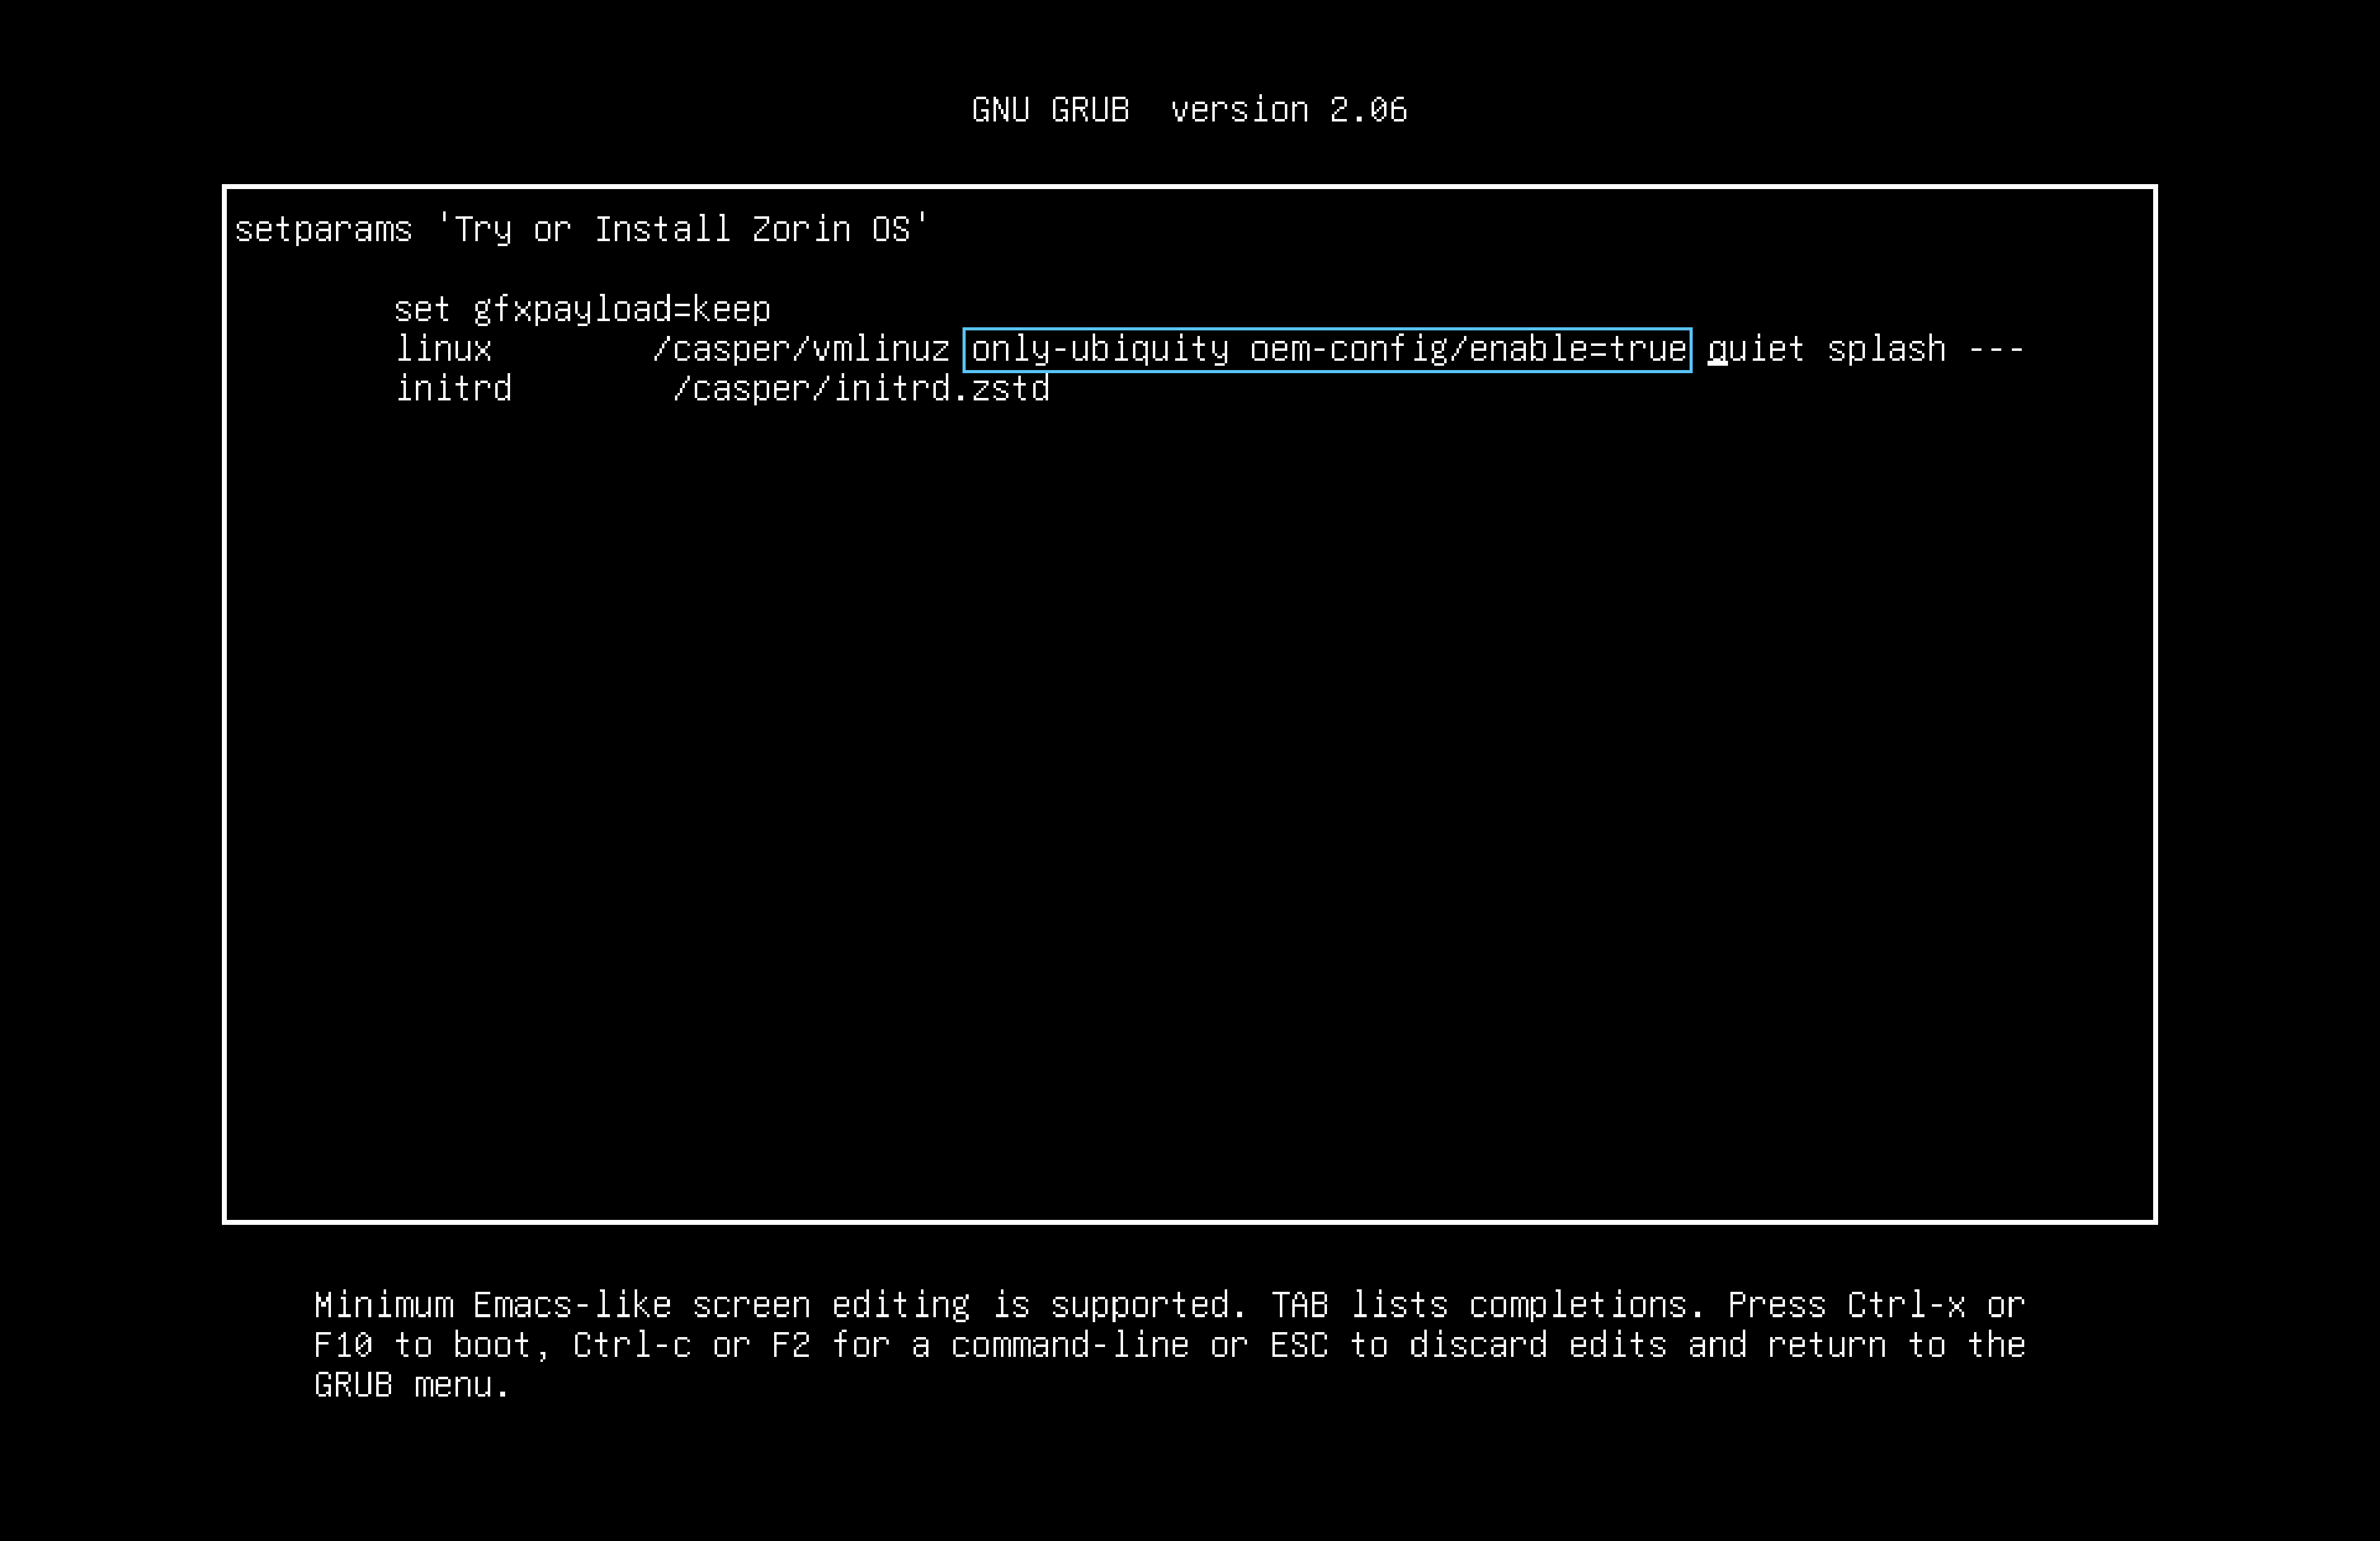
When done, press either F10 or Ctrl + X to immediately boot to Zorin with the modified parameter, enabling OEM mode in the process!
As you reach to the installation screen, you will see that the title bar will indicate that you successfully entered OEM mode, seeing also the Try or Install buttons absent from the language menu and ready to install Zorin to preconfigure the computer based on the configuration you want to set for the end-user.
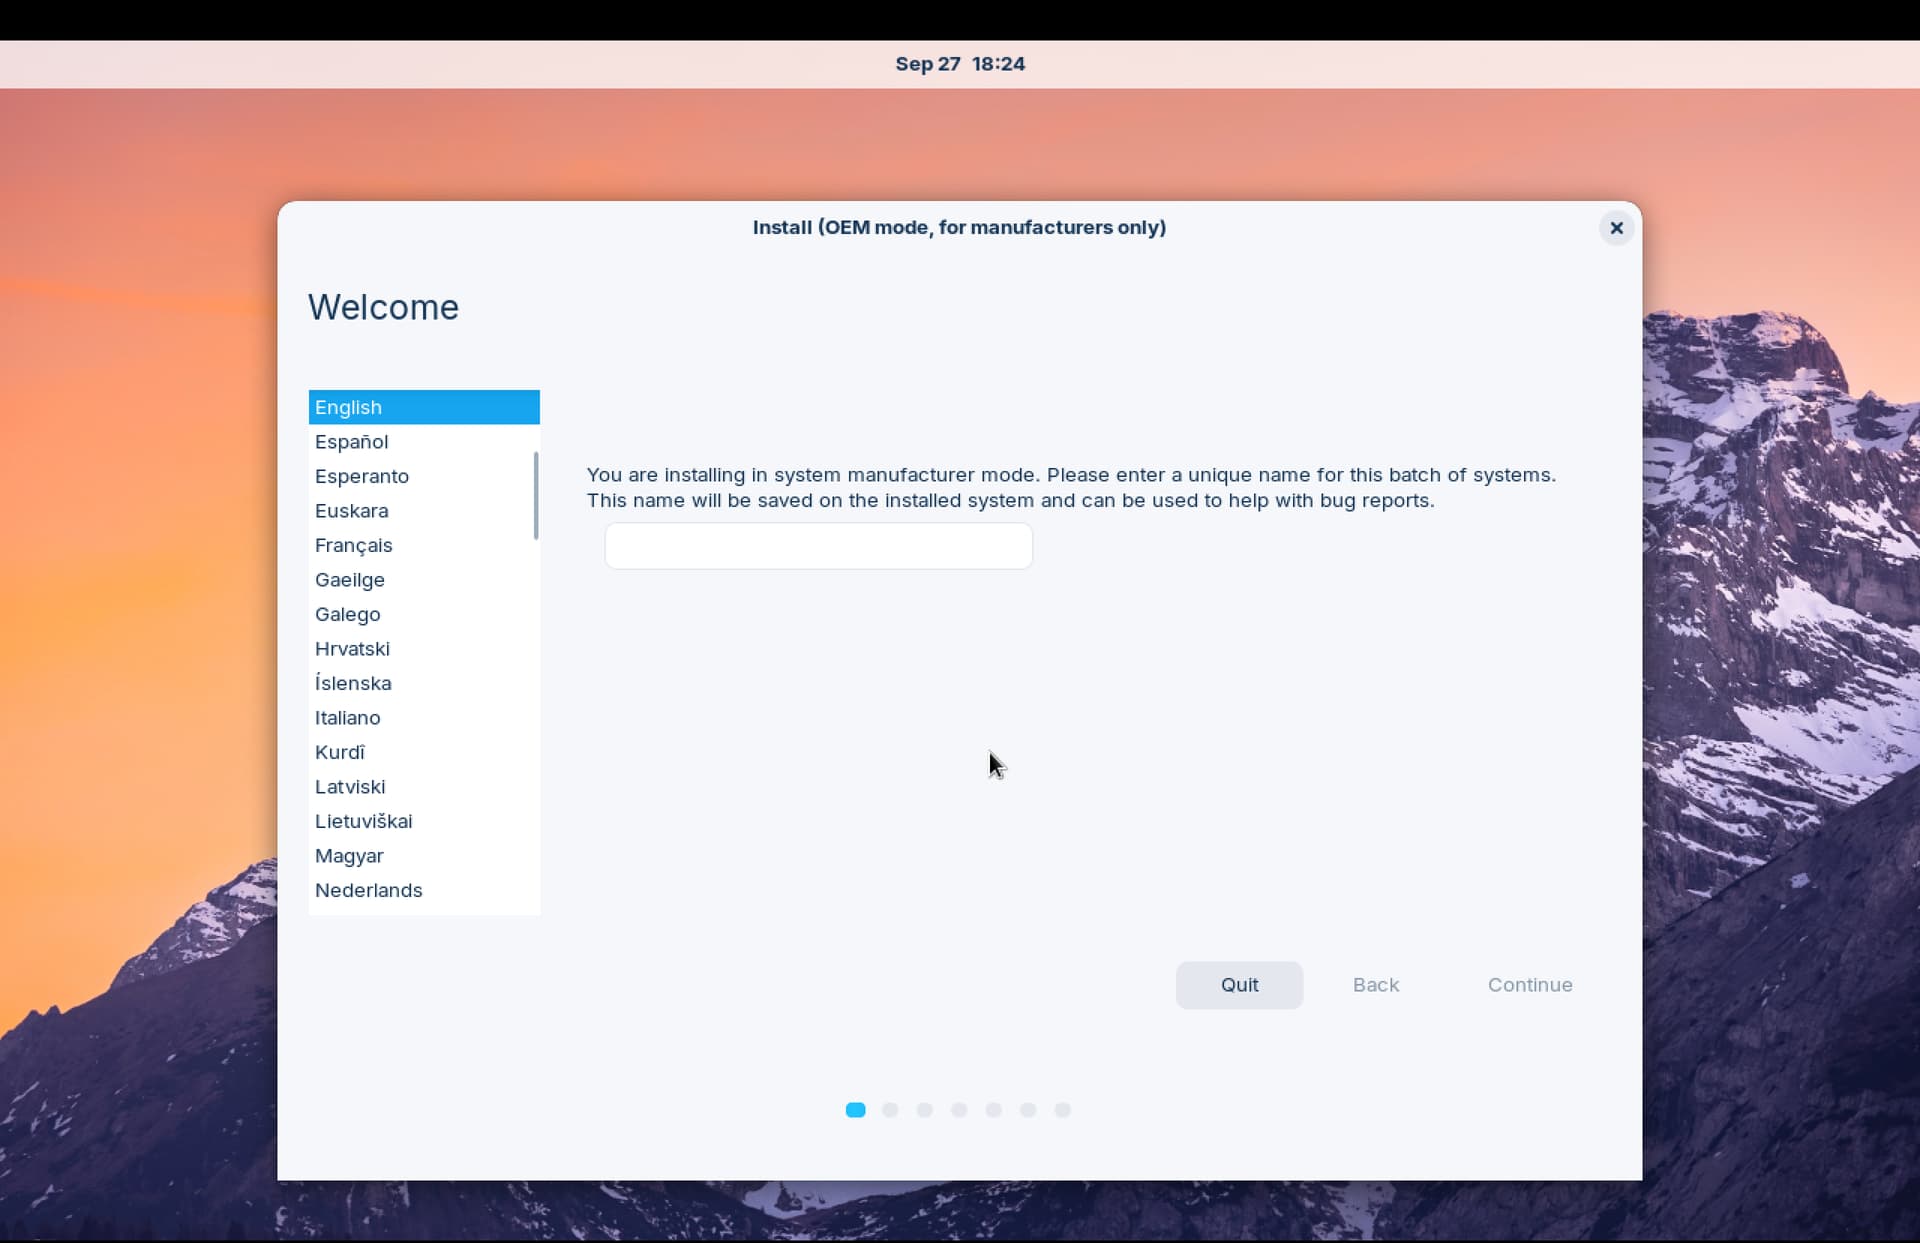
At this point forward, set up the name for the batch of the system, configure the keyboard layout, allow updates, configure the storage for installation, and set time zone.
As you reach for the account creation screen, this is no ordinary account that you're creating. While OEM mode is enabled, you are creating an account that is not permanent to the system. Its purpose is to allow you to configure the computer and setup the software, apps, and drivers to be included for the end-user.

3. Configuring the computer and Preparation
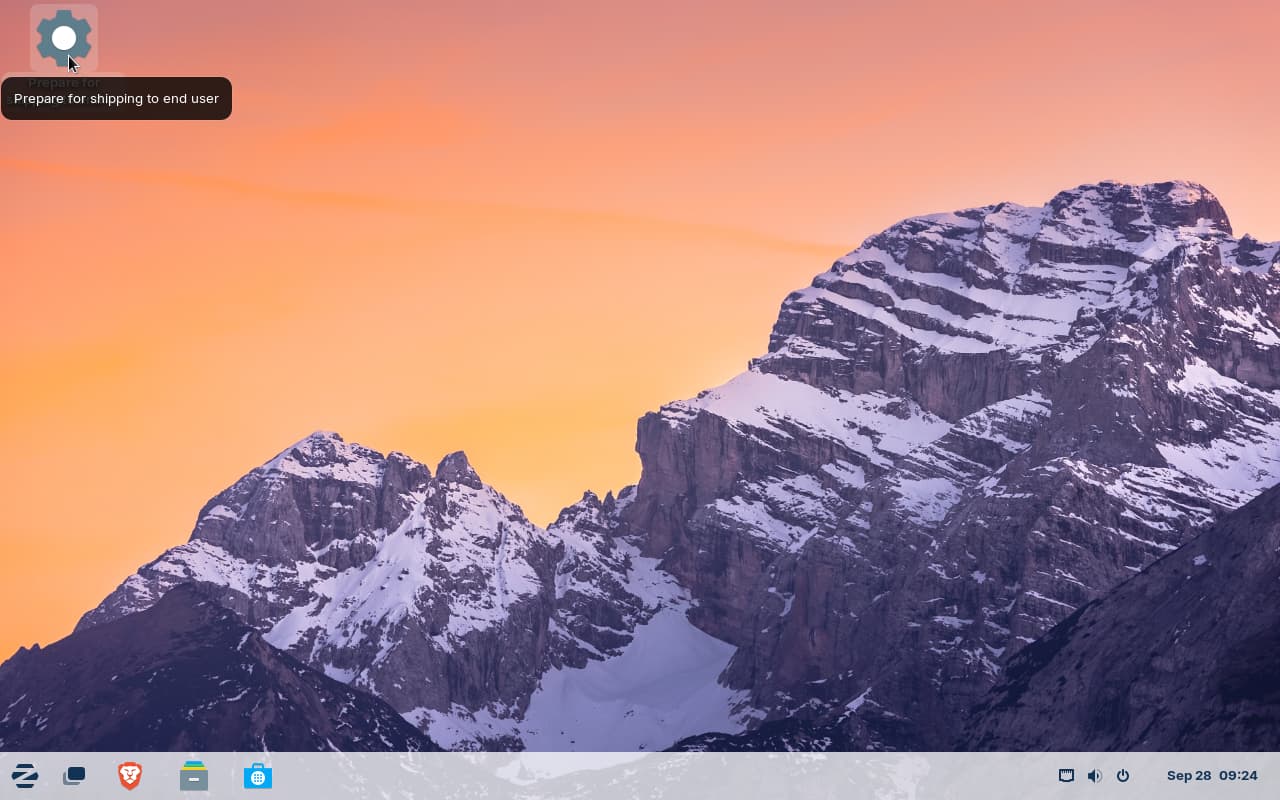
Once you reach the desktop, what should you do next? As an OEM temporary user, you will proceed to install any applications and drivers the computer needs to function. Although most applications are already included with Zorin OS Core, you also have the option to install additional software and drivers. When finished, you should see an icon on the desktop indicating that the system is ready to be prepared for shipping and the end-user.
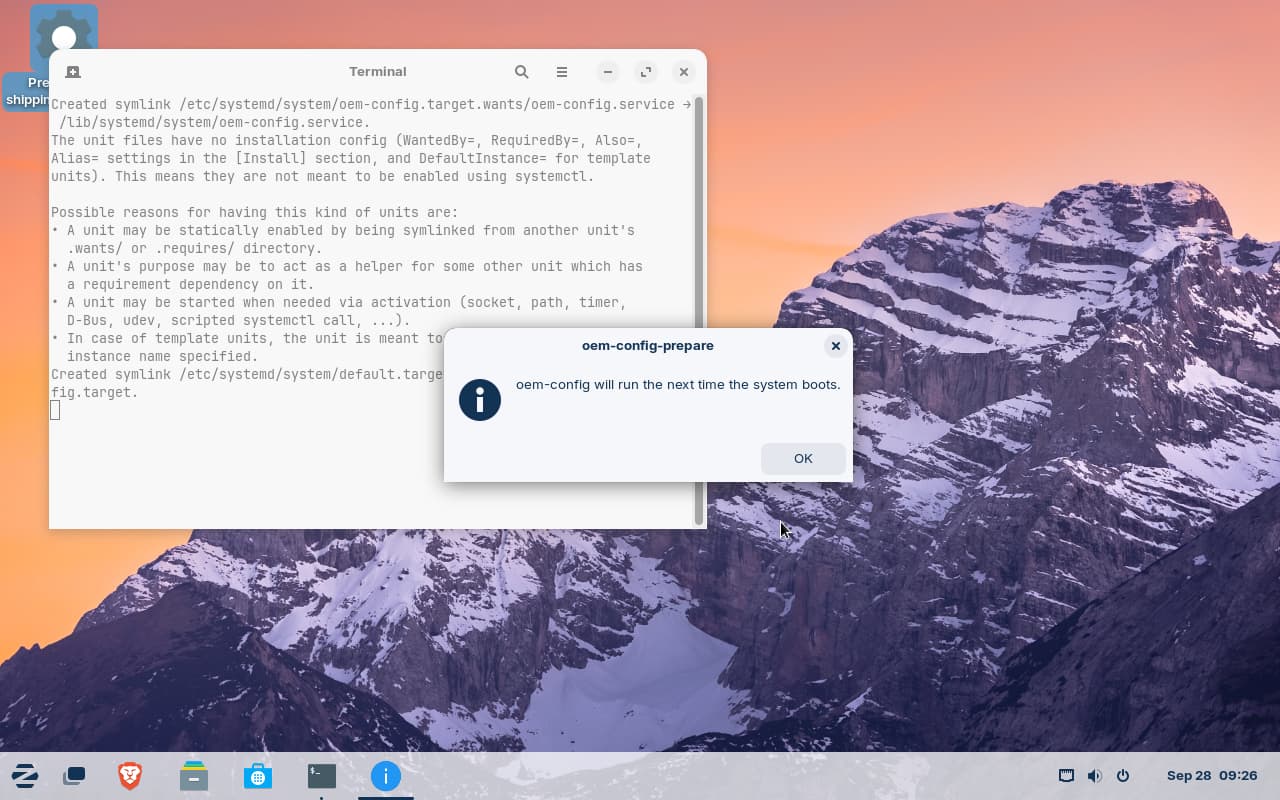
After clicking this icon, a message will appear notifying you that the next time the computer boots up, the end-user will complete the initial setup. All traces of the OEM temp user will be completely erased from the computer.
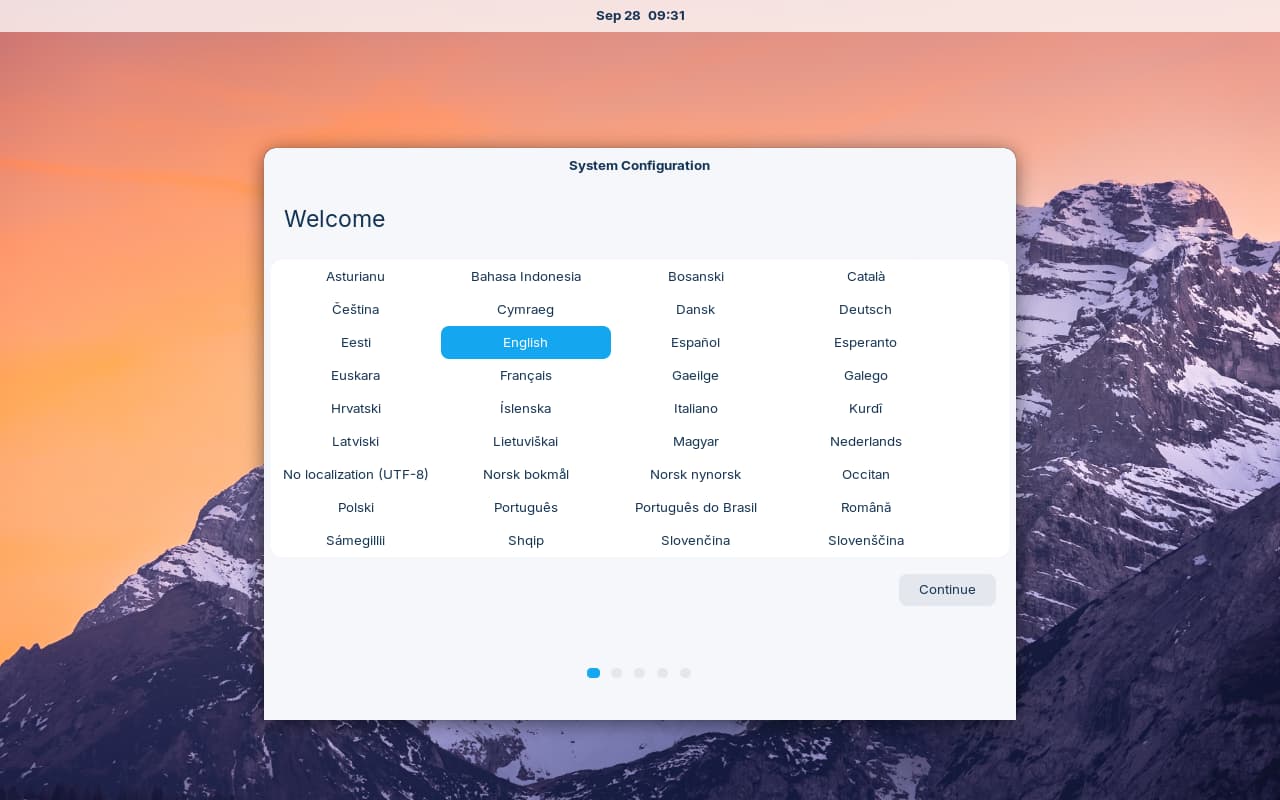
4. From the perspective of the end-user
After shipping and configuration, the next time when the computer boots up, the first screen that the end-user will see is the first time setup screen. From here, you setup your language, keyboard layout, time zone and your account.
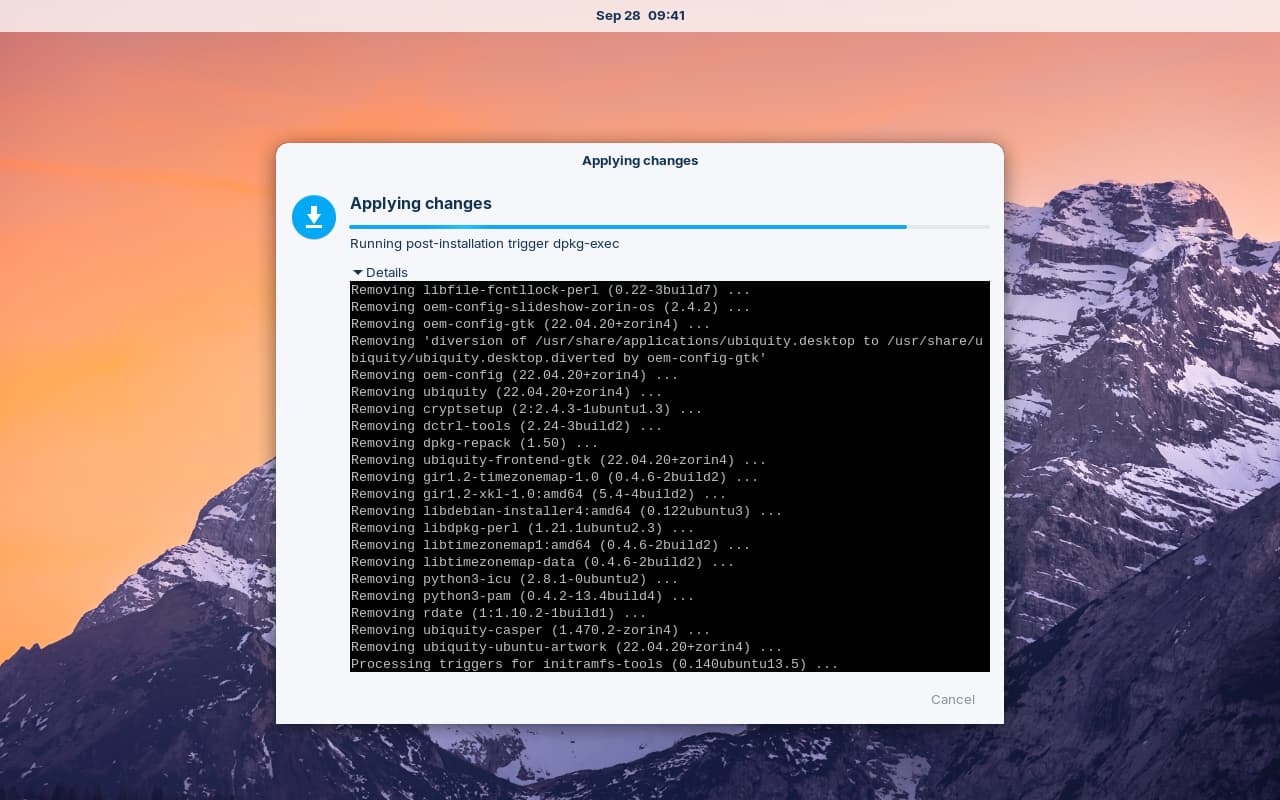
After when you do the initial setup, the OS will do it's post-installation scripts to erase all traces of all OEM configuration tools and the computer will be fully setup and ready to go!
5. Setup complete and explore the world of Zorin OS!
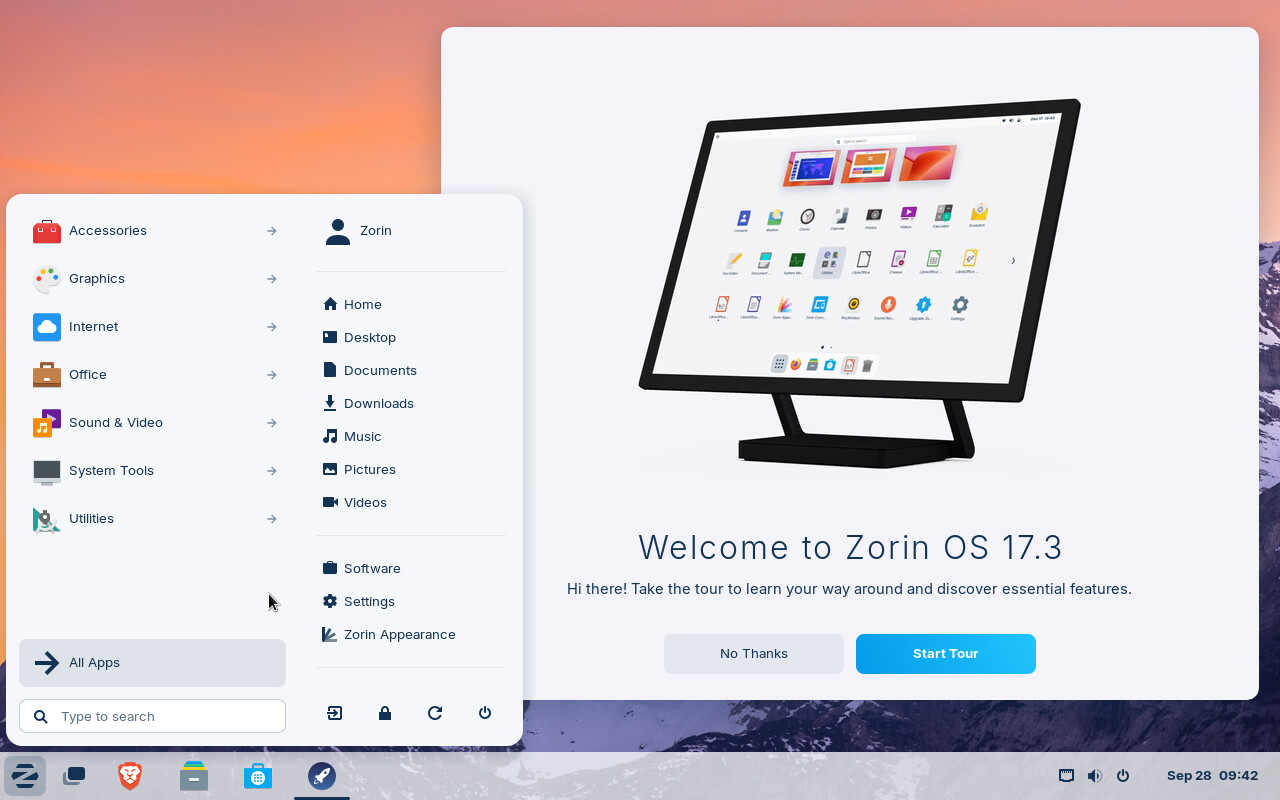
Congratulations! ![]() You have achieved installing, configuring, and setting up Zorin in OEM mode and the end-user is ready to explore the world of Zorin OS with its preloaded or additional apps and drivers.
You have achieved installing, configuring, and setting up Zorin in OEM mode and the end-user is ready to explore the world of Zorin OS with its preloaded or additional apps and drivers.