That might be down to Canonical or Team Zorin I suspect. We don't have access to that information. Everyone on the forum with the exception of the Brothers Zorin are unpaid volunteers.
Curious to know which version of Mint you were using, Ubuntu or Debian Edition (LMDE).
In the meantime try this in respect of your issue (note I used Ubuntu 24.04 in search as that is what Zorin 18 is based on):
”To save scans from a scanner to a shared folder on Ubuntu 24.04, you can use the SANE daemon (saned) to share the scanner over the network and configure a shared directory for storing the scanned files.
First, ensure your scanner is working locally by running scanimage -L to verify it is detected. If it is not detected, troubleshoot the local scanner setup before proceeding.
Next, configure the SANE daemon to run as a server. On Ubuntu 24.04, which uses systemd, create the necessary service files. Create /etc/systemd/system/saned.socket with the following content:
# Defaults for the saned initscript, from sane-utils
# To enable under systemd please read README.Debian
# Set to yes to start saned under SysV
RUN=no
# Set to the user saned should run as
RUN_AS_USER=saned
[Unit]
Description=saned incoming socket
[Socket]
ListenStream=6566
Accept=yes
MaxConnections=1
[Install]
WantedBy=sockets.target
Then create /etc/systemd/system/saned@.service with:
[Unit]
Description=Scanner Service
Requires=saned.socket
[Service]
ExecStart=/usr/sbin/saned
User=saned
Group=saned
StandardInput=null
StandardOutput=syslog
StandardError=syslog
# Environment=SANE_CONFIG_DIR=/etc/sane.d
SANE_DEBUG_DLL=255
Enable and start the socket service:
sudo systemctl enable saned.socket
sudo systemctl start saned.socket
sudo systemctl status saned.socket
Configure access by editing /etc/sane.d/saned.conf and adding your network subnet, for example:
## Access list
192.168.1.0/24
Ensure the saned user has proper permissions to access the scanner device. For some scanners, such as HP models, add the saned user to the lp group:
sudo adduser saned lp
Restart the saned service to apply changes:
sudo systemctl restart saned.socket
On client machines, configure the scanner access. For Linux clients, edit /etc/sane.d/net.conf and add the server's IP address:
## saned hosts
192.168.1.15
Set a connection timeout:
connect_timeout = 60
After configuration, clients can use tools like xsane or simple-scan to access the shared scanner. Scans can be saved directly to a local directory on the client.
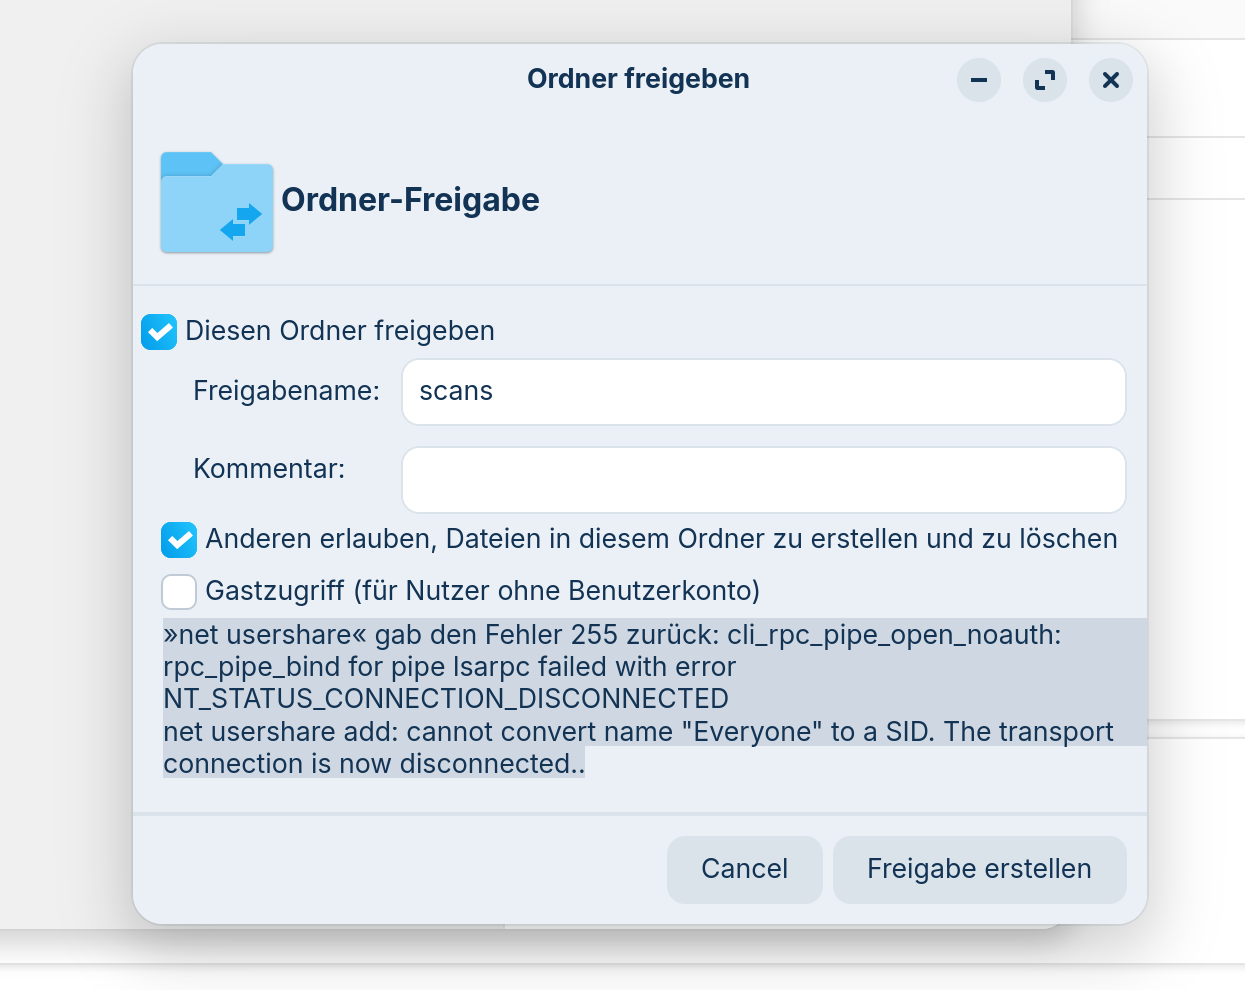
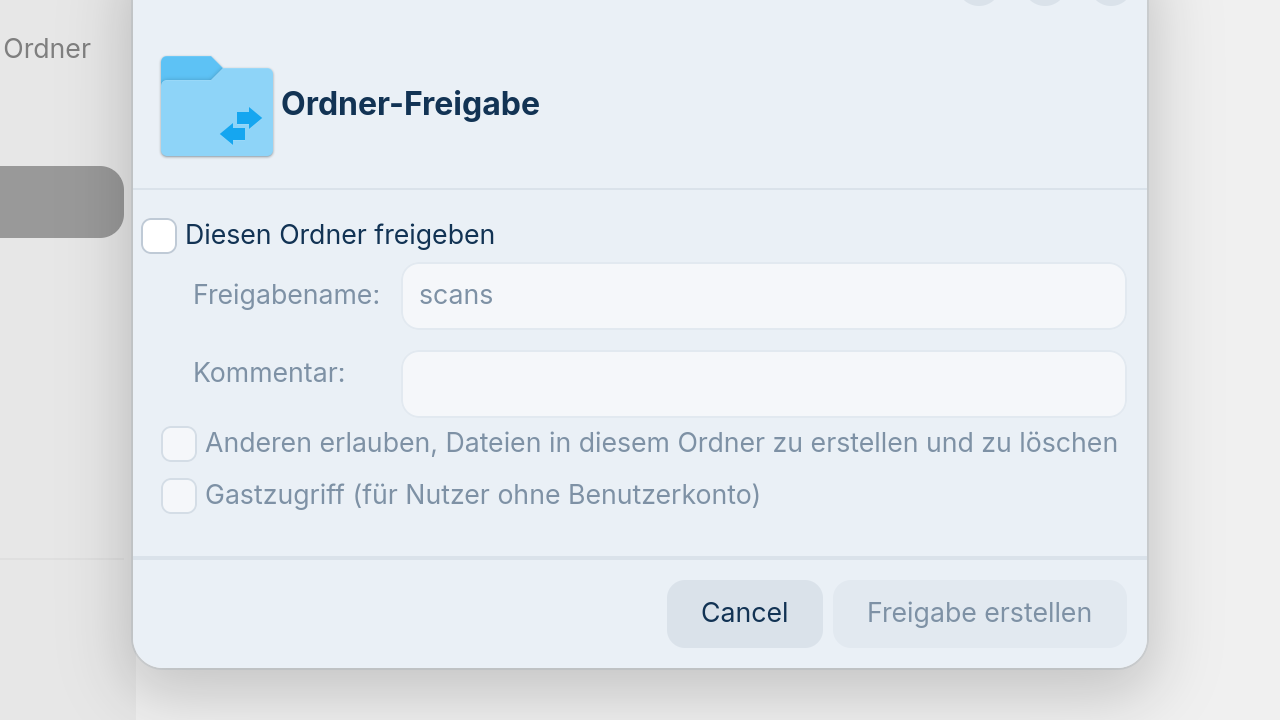
To save scans to a shared folder on the server, create a dedicated directory for scanned files, for example /home/matt/Scanned , and ensure it is writable by the saned user or the user running the scan. You can then configure the scanning software to save files to this directory. If you want to share this directory over the network using Samba, set up a share in /etc/samba/smb.conf :
[Scanned]
path = /home/matt/Scanned
writeable = yes
browsable = yes
guest ok = no
Ensure the Samba service is running and the directory permissions are correct. Clients can then access the shared folder using the path //server_ip/Scanned and provide credentials if required.
AI-generated answer. Please verify critical facts.”