- Download a third-party icon theme. You can find many community-created icon themes on Pling.com
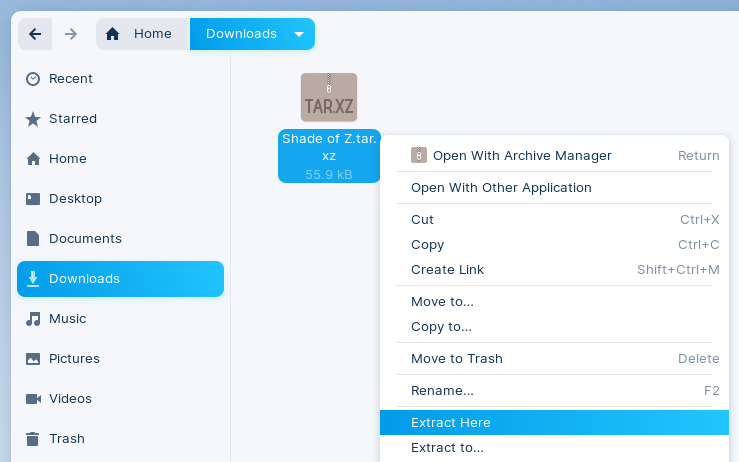
- Launch the Files app and open the "Downloads" folder
- Right-click on the downloaded theme file and select "Extract Here"
- Select the newly-extracted folder, right-click on it and select "Copy". Please make sure that there is a file named "index.theme" directly inside this folder.
- Return to your Home folder in the Files app.
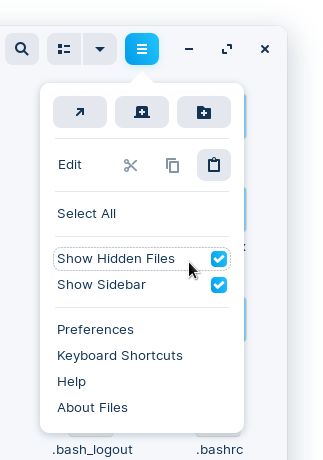
- Open the app menu to enable the "Show Hidden Files" option.
- Navigate to .local > share
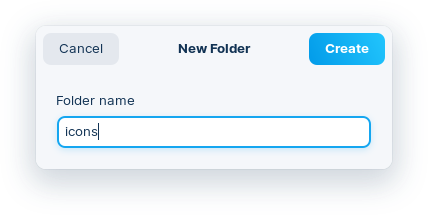
- If the "icons" folder doesn't exist here, right-click on an empty spot in the folder to create a "New Folder" with the name "icons". This name is case-sensitive, so it should be written in lower-case characters only.
- Open the "icons" folder and right-click > Paste to install the theme locally.
- Return to your Home folder.
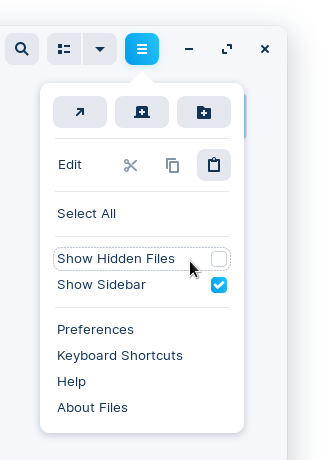
- Open the app menu to disable the "Show Hidden Files" option.
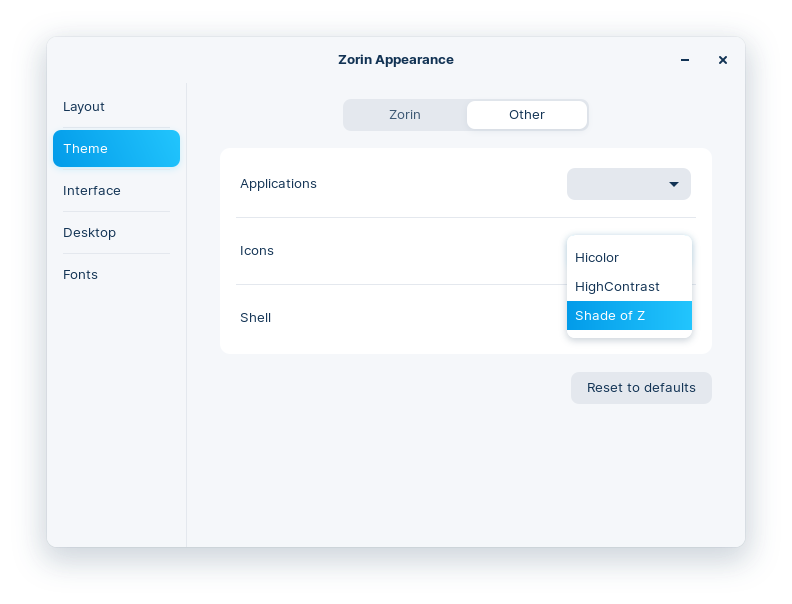
- Open the Zorin menu and search & open "Zorin Appearance"
- Navigate to the "Themes" category and select the "Other" tab.
- Open the "Icons" drop-down menu to select the newly-installed third-party icon theme.
You should now see the selected third-party icons throughout the desktop.