How to Use and Install Rescuezilla Back-Up Software
Website ....... https://rescuezilla.com
If you are using dual boot or using dual drives please be sure to remember which drive you want to clone and where you want the backup to go ..... almost all of the instructions and photos will have drop down multiple choices for you to choose from ..... all the photos in the below instructions came from my own Rescuezilla backup so your choices will not be the same or in the same order .....
- Download the Rescuezilla software and put it where you can find it again ....
- You need a bootable flash drive to put the Rescuezilla app on .... use a program of your choice
- Shutdown your computer ..... plug the Rescuezilla thumb drive in
- Start your computer in Bios mode and make the bootable flash drive #1 boot ..... close and restart your computer Rescuezilla should open
- Select your language .... but be quick as you won’t have a lot of time to do this
- Rescuezilla splash screen will appear .... Photo #1

- You can plug in the device where you want to save your backup ....
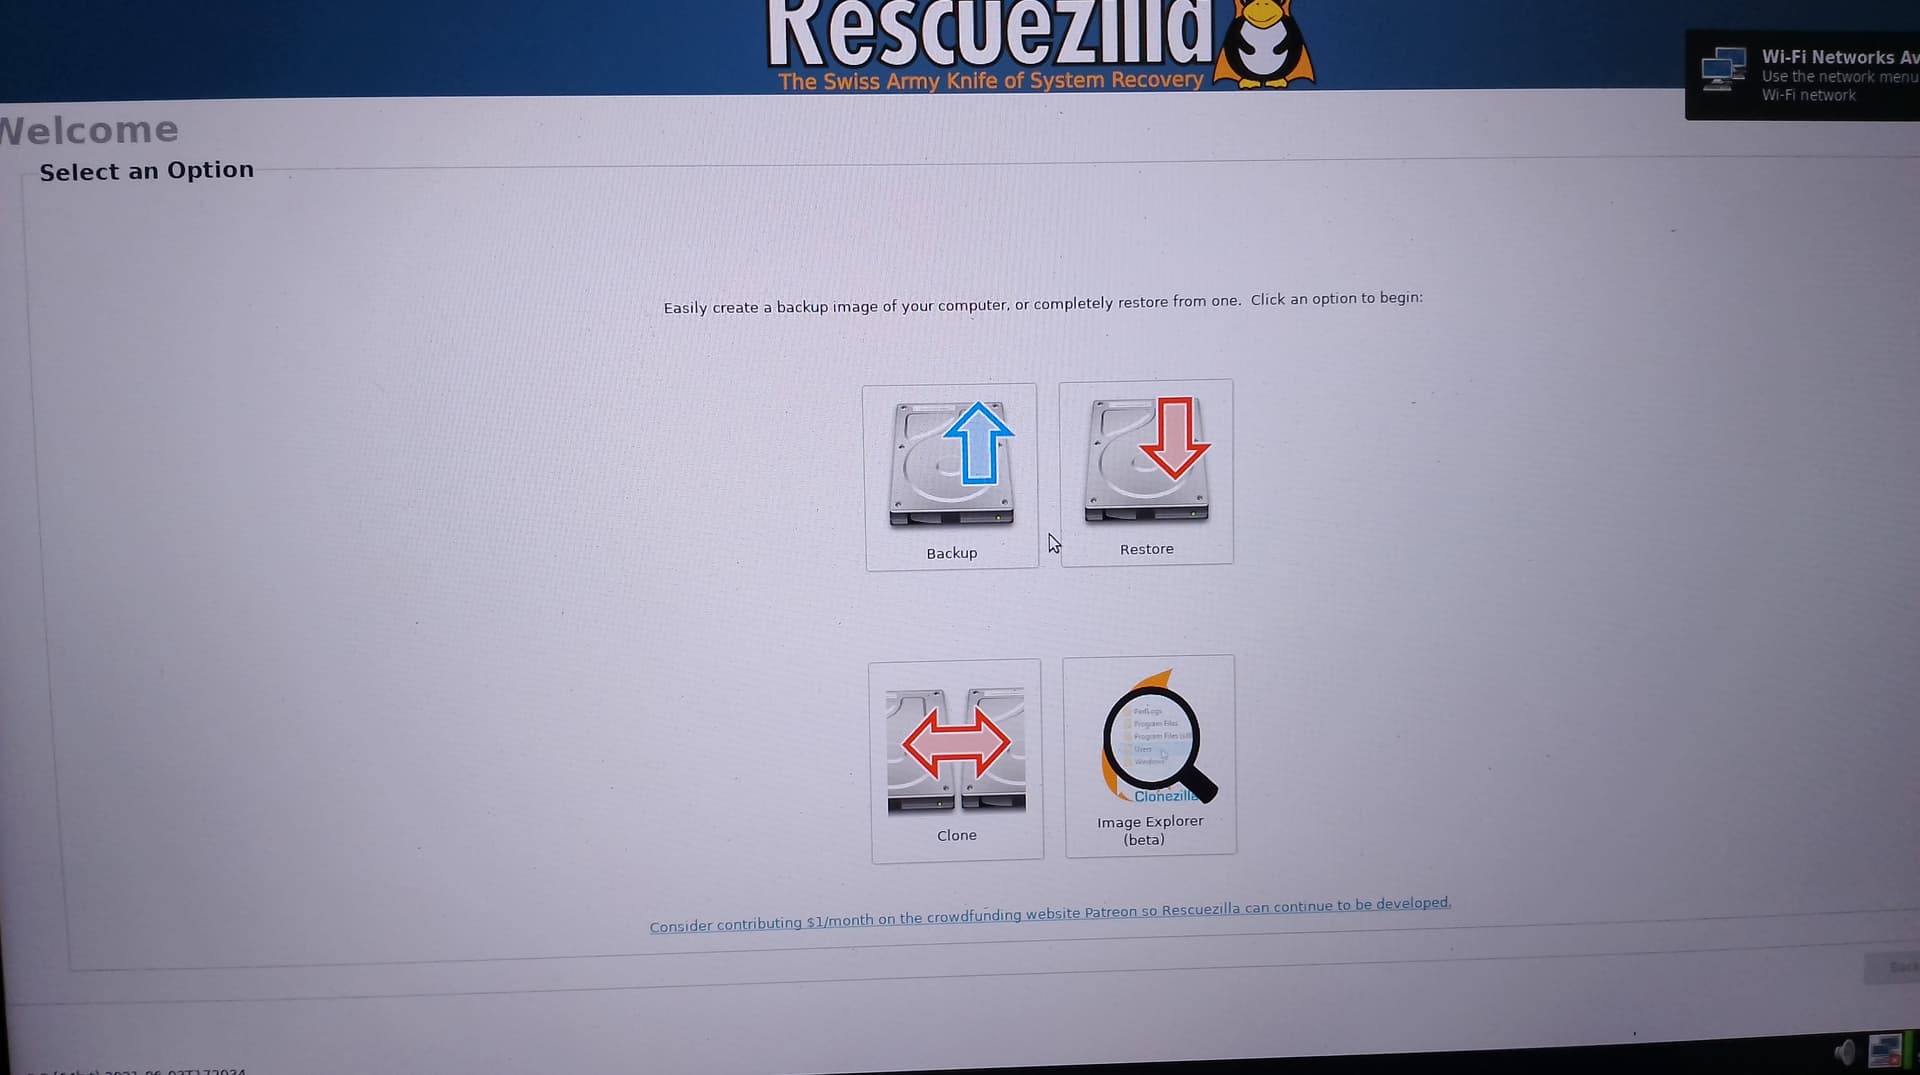
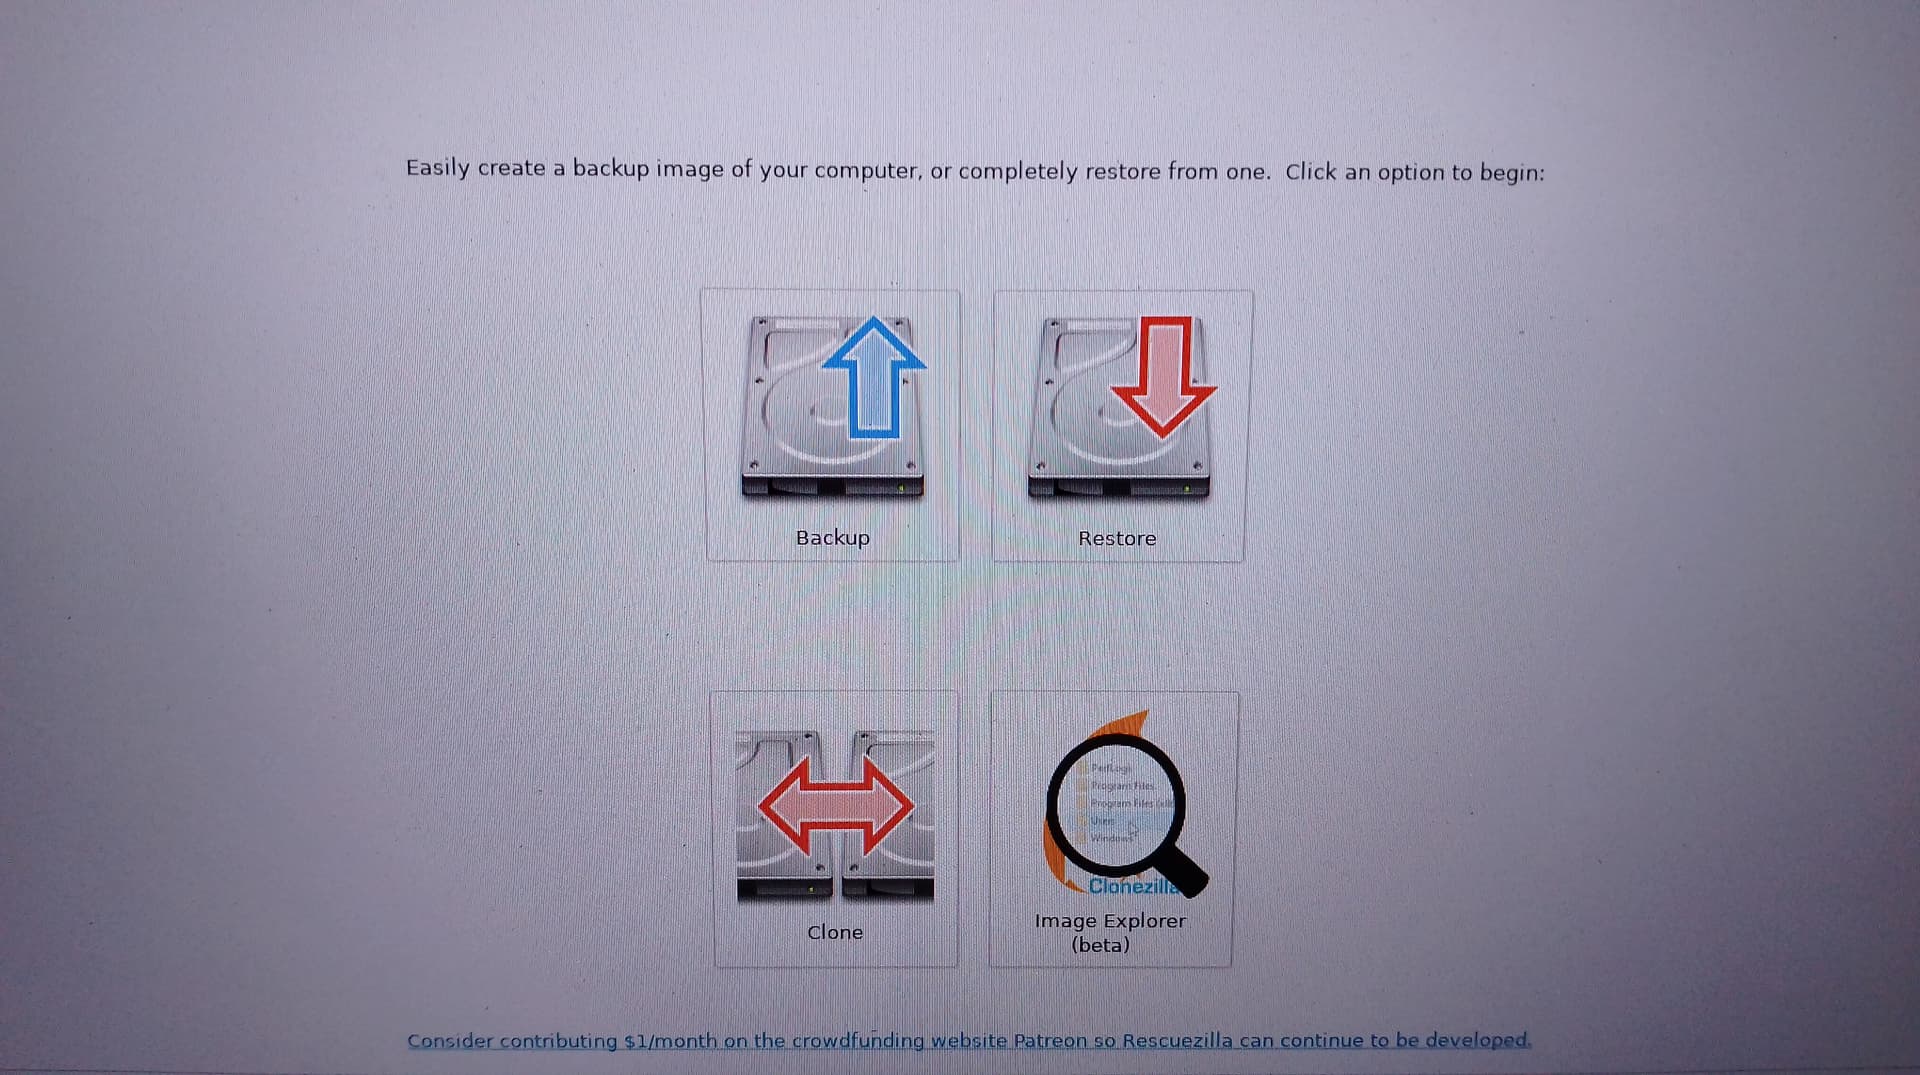
- A screen will appear showing you some choices you can make ...... Photo #2
a) Backup
b) Restore
c) Clone
d) Image Explore
- You will choose Backup
In the steps below click on the button in the lower right hand corner to advance ..... go back or quit .....
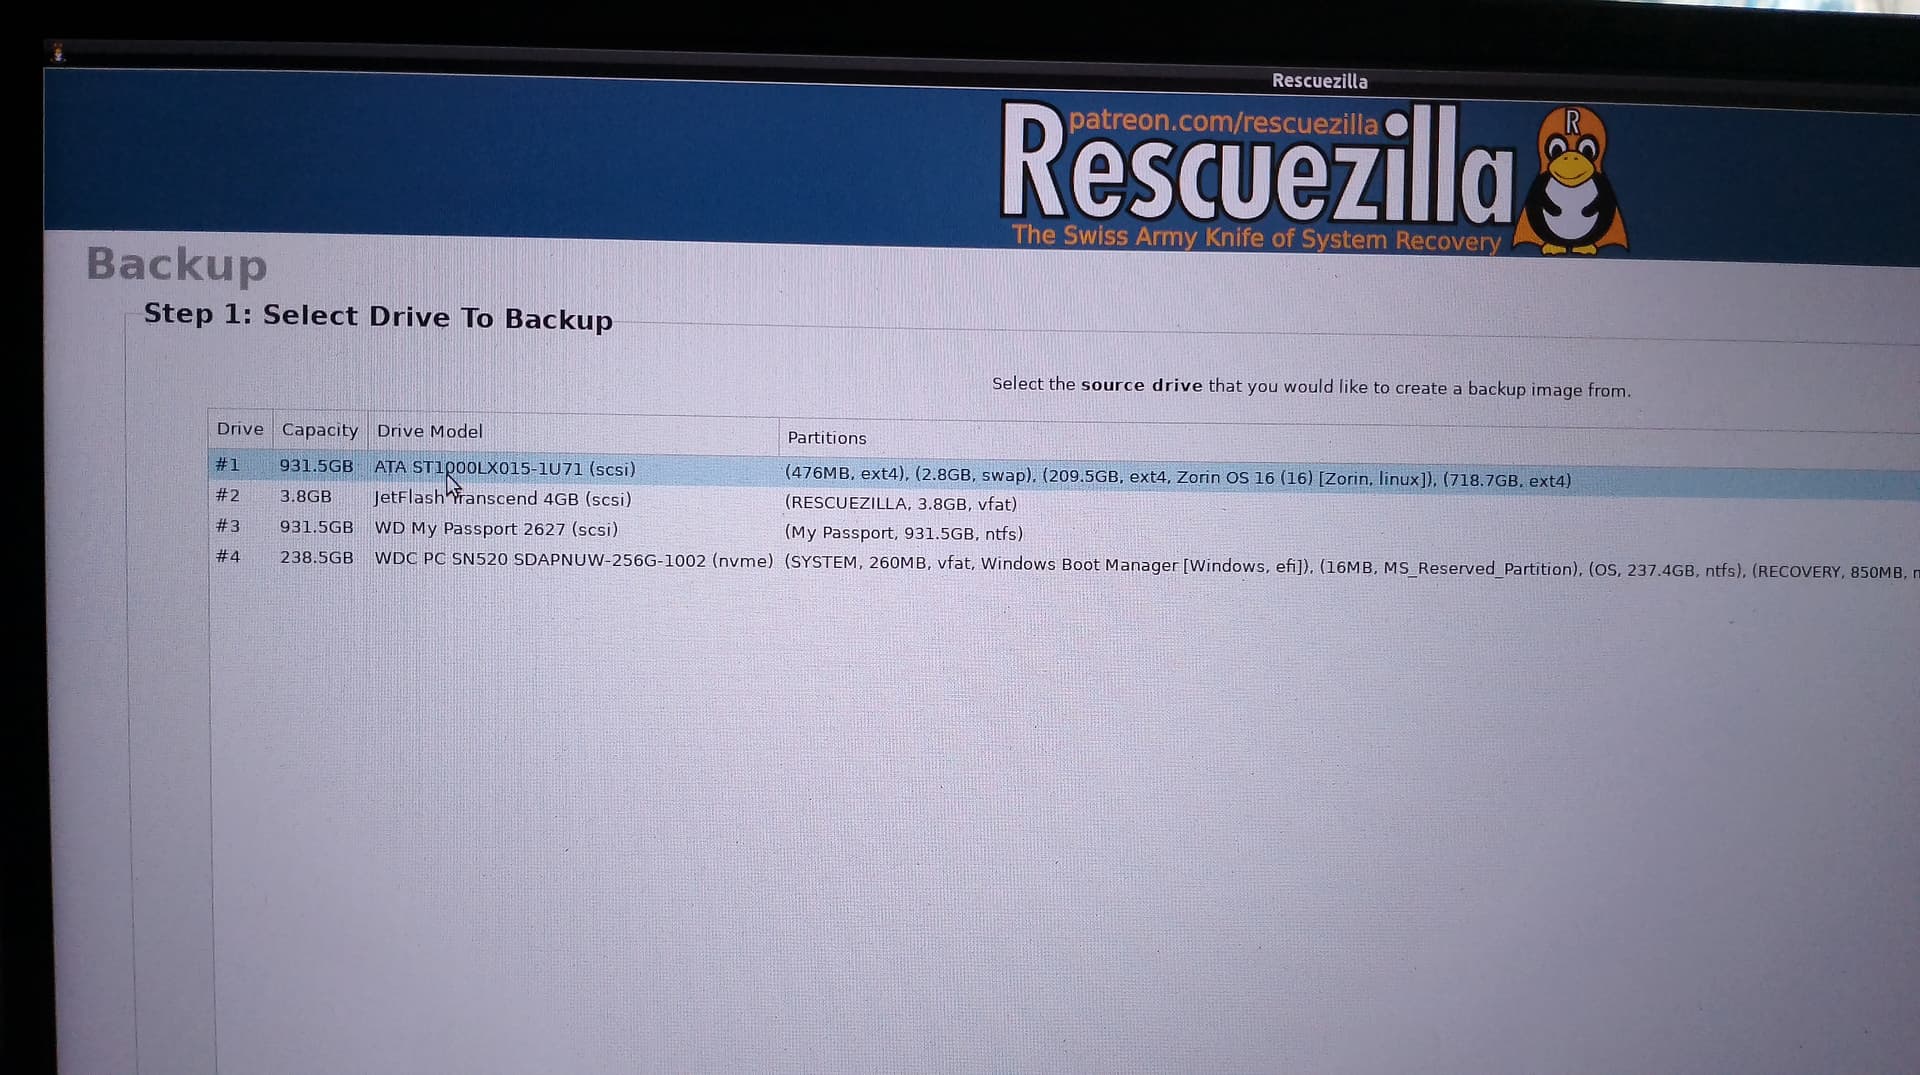
- Select the Drive you want to backup and hit ENTER ..... Photo #3
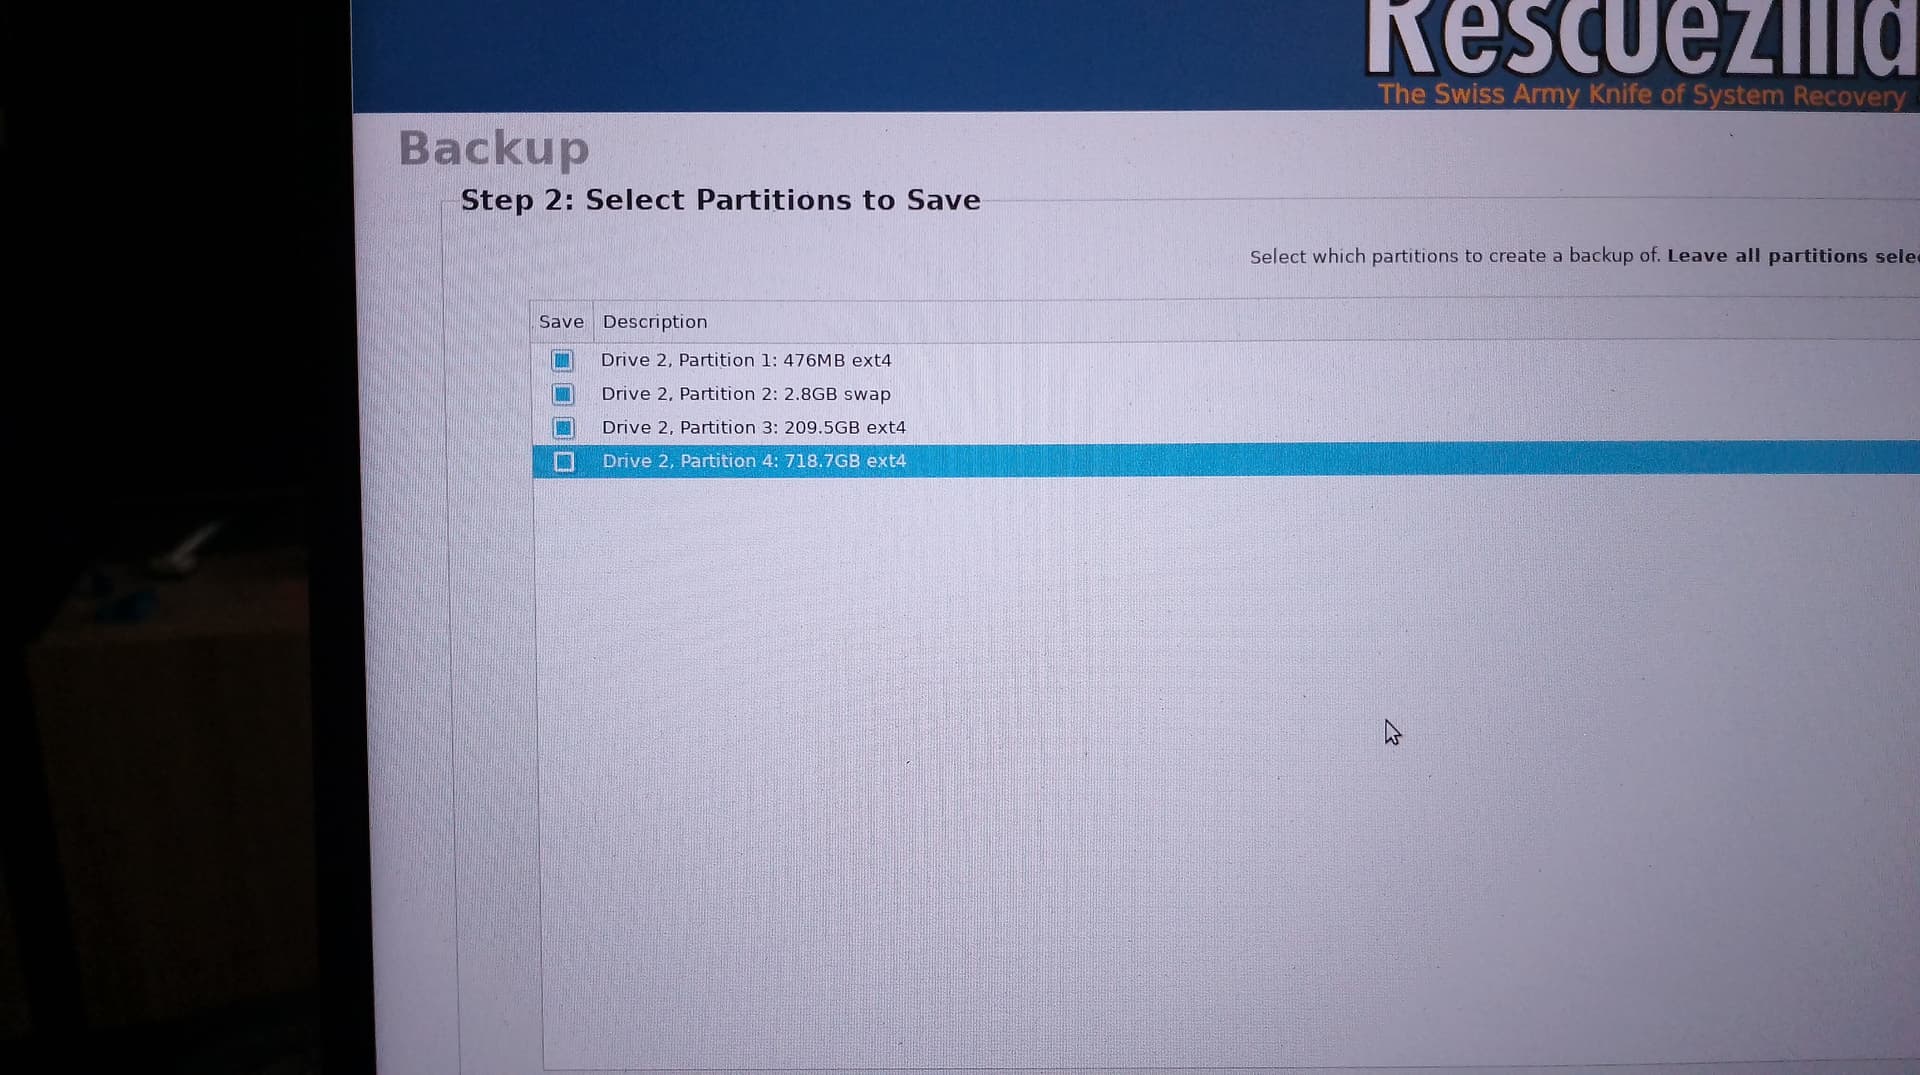
- Select the Partition to create a backup ..... Photo #4
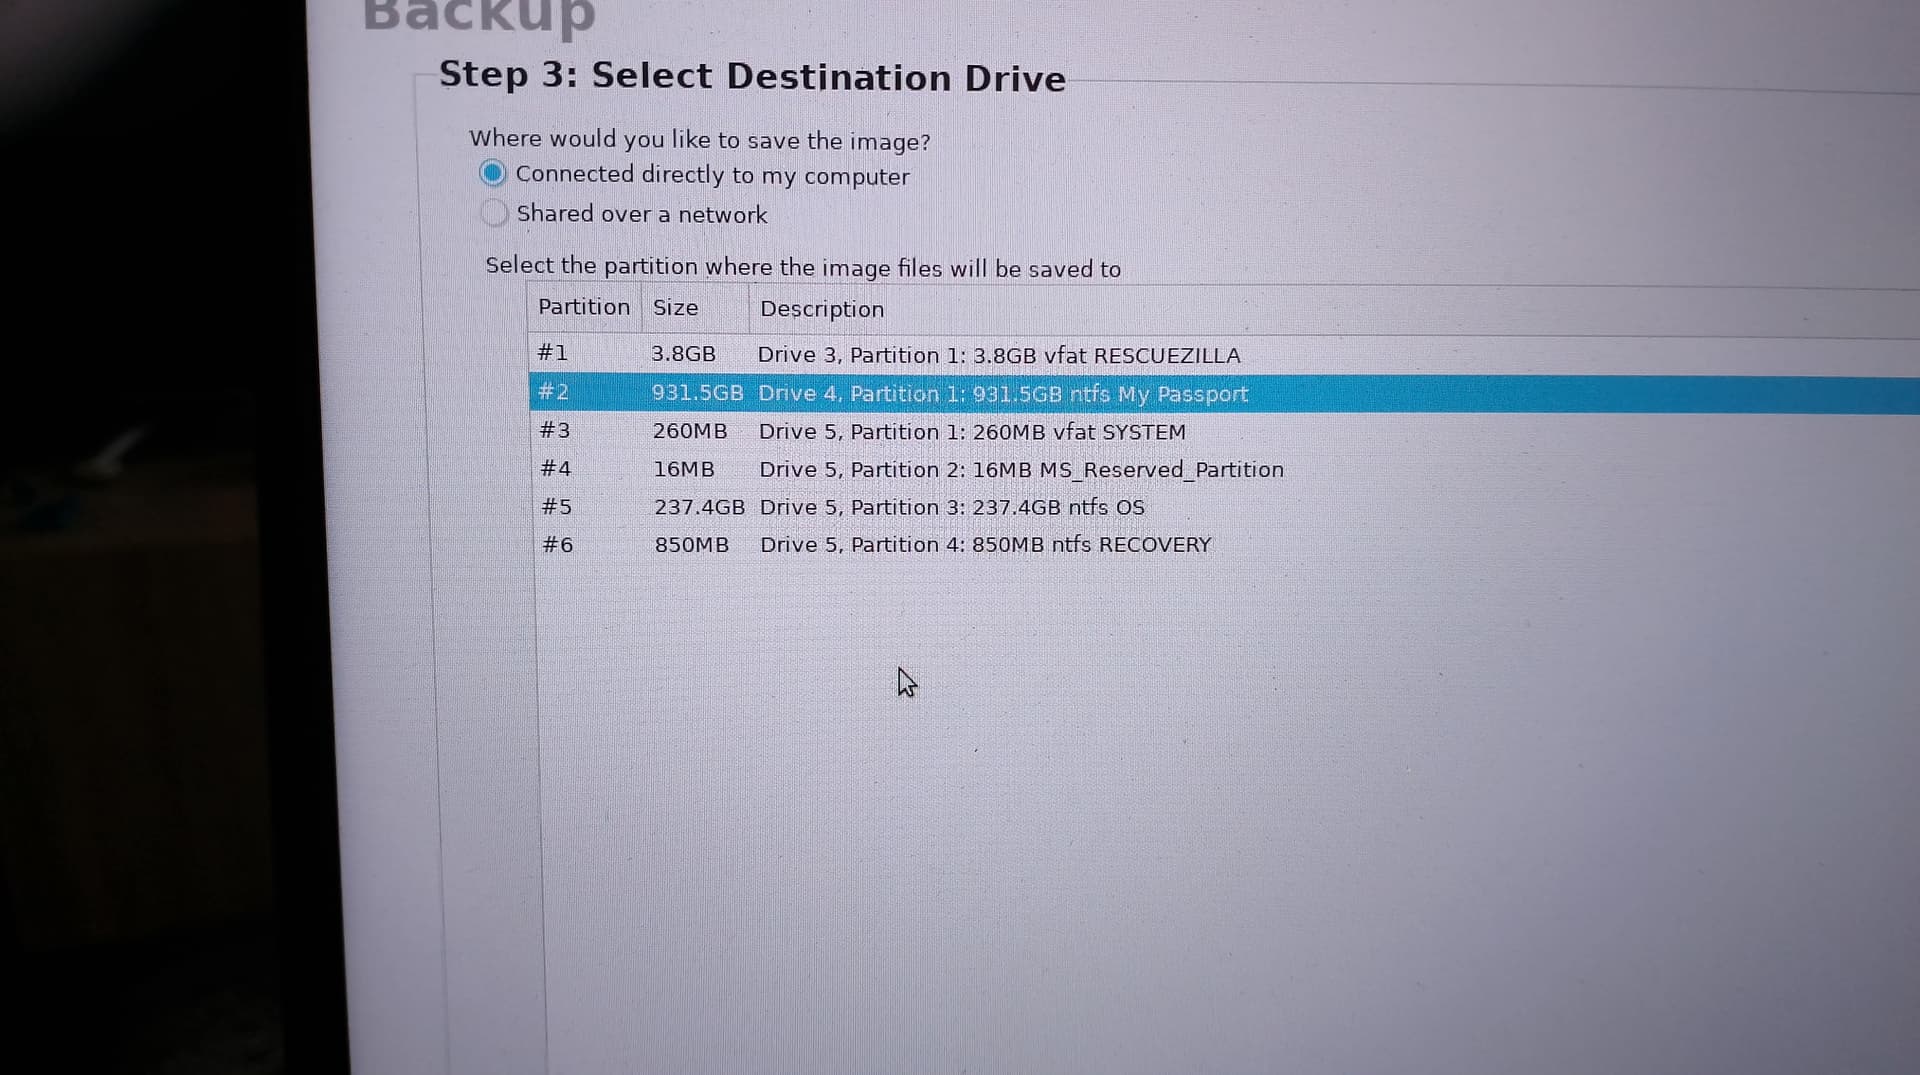
- Select the Destination Drive where your Backup will go ..... Photo #5
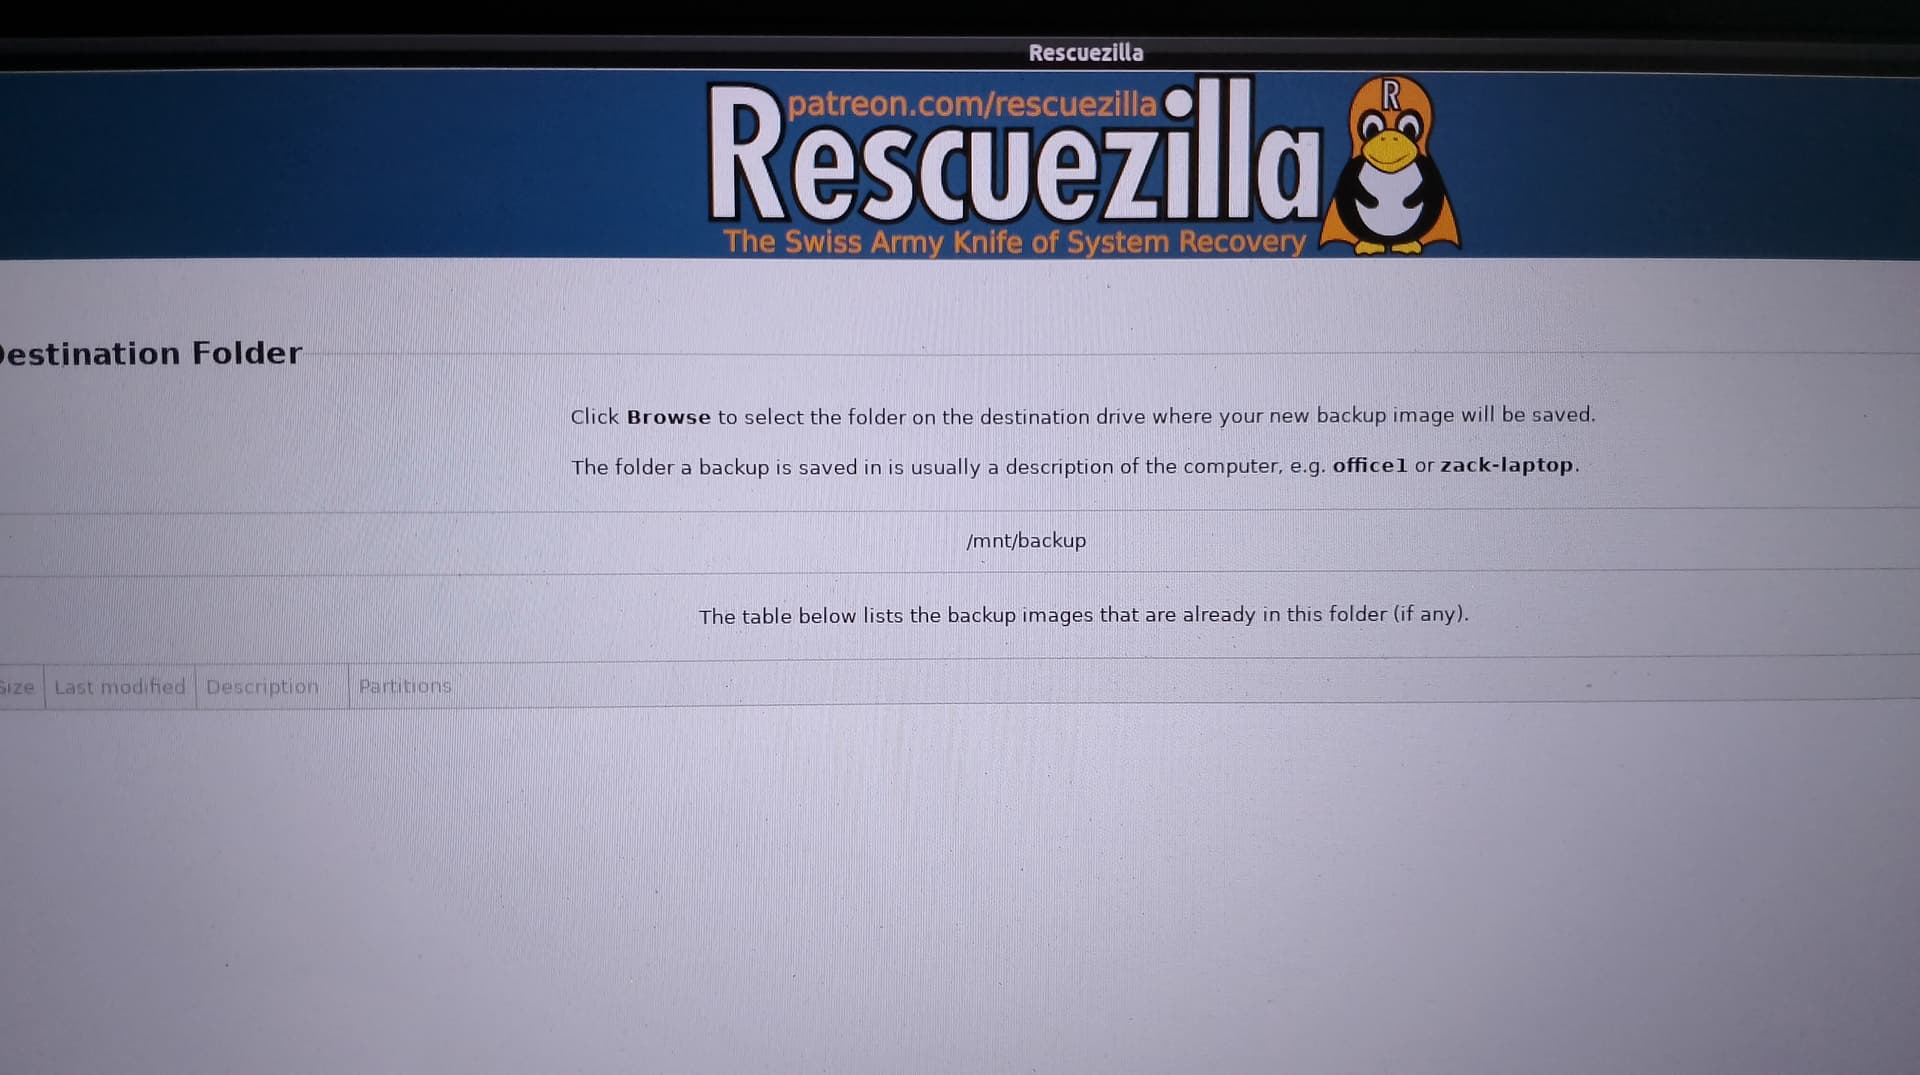
- Click BROWSE to select the folder on the Destination drive where the new backup image will be saved ..... Photo #6
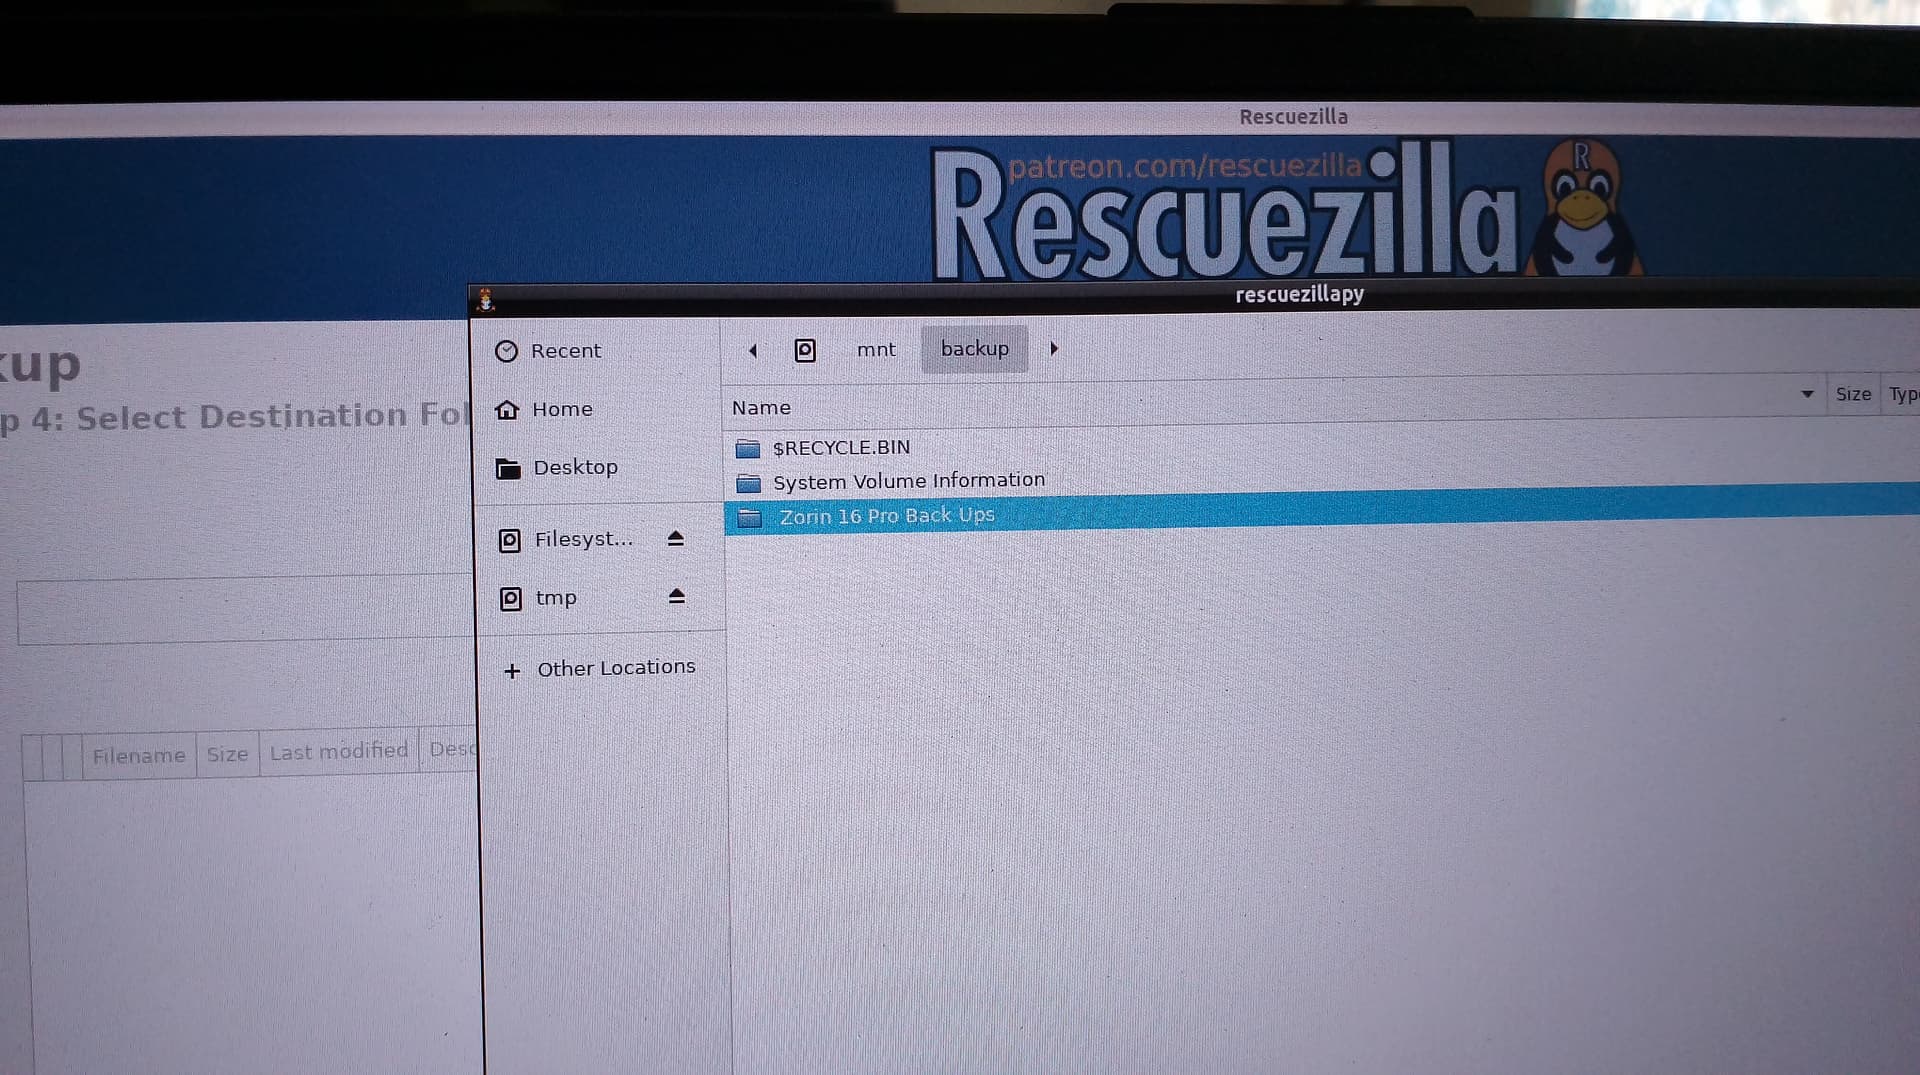
- If there is no folder make one and select a name for it ..... Photo #7
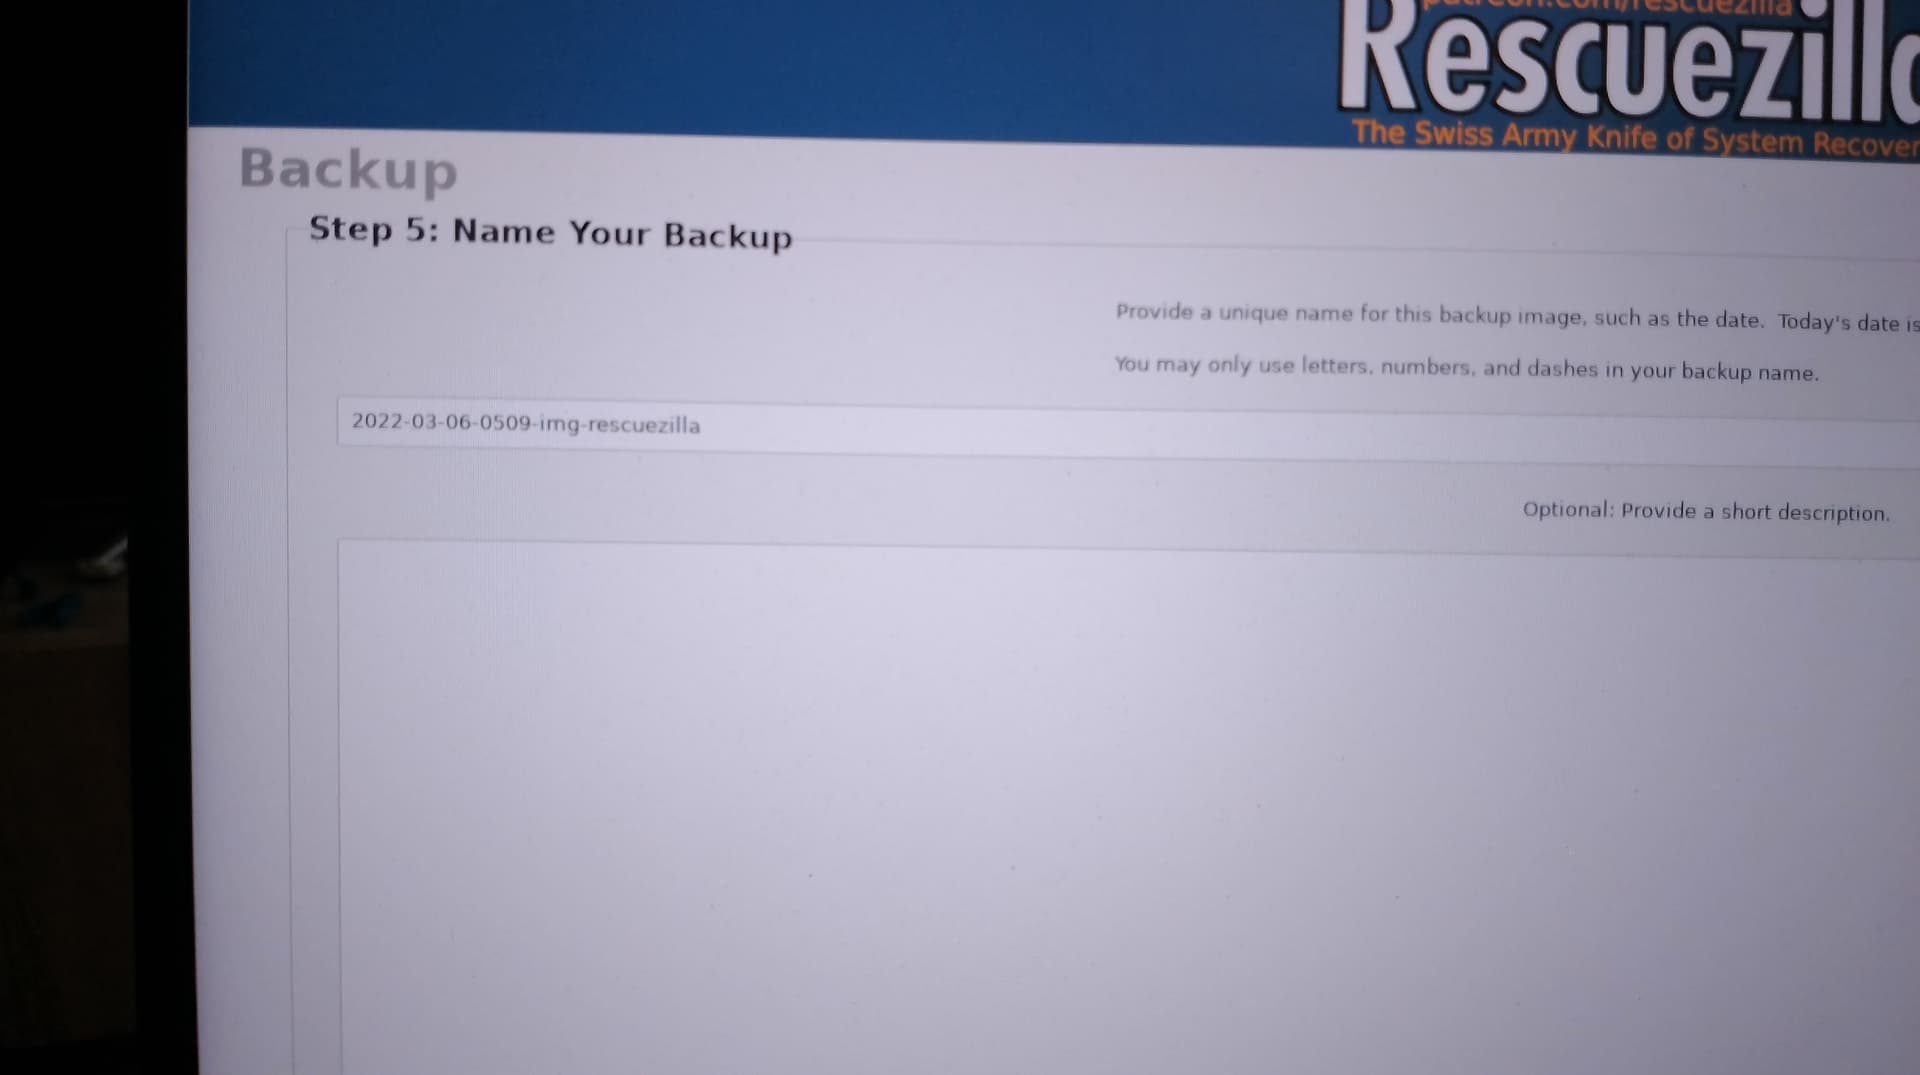
- Name your backup file so you can identify it later should you need to install it ..... #8
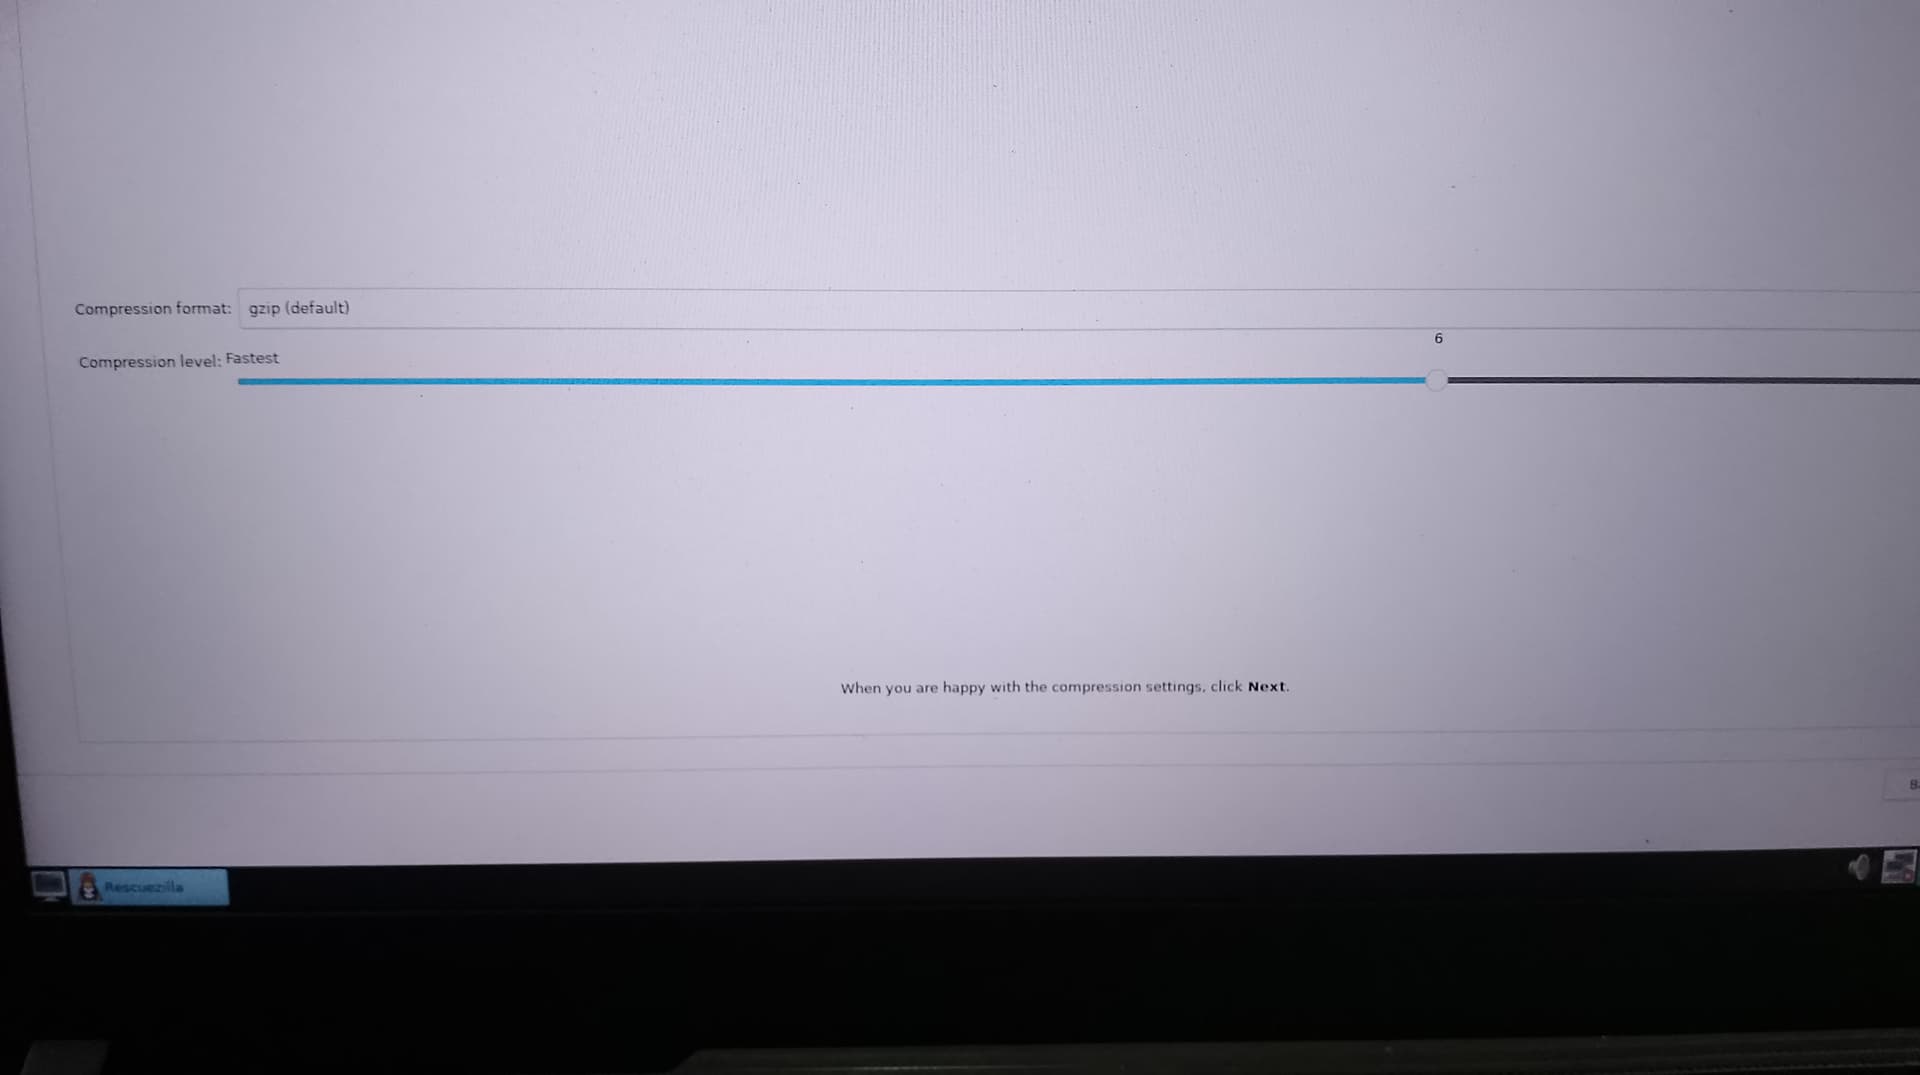
- Choose your compression rate .... I always use the default setting but up to you .... Photo #9
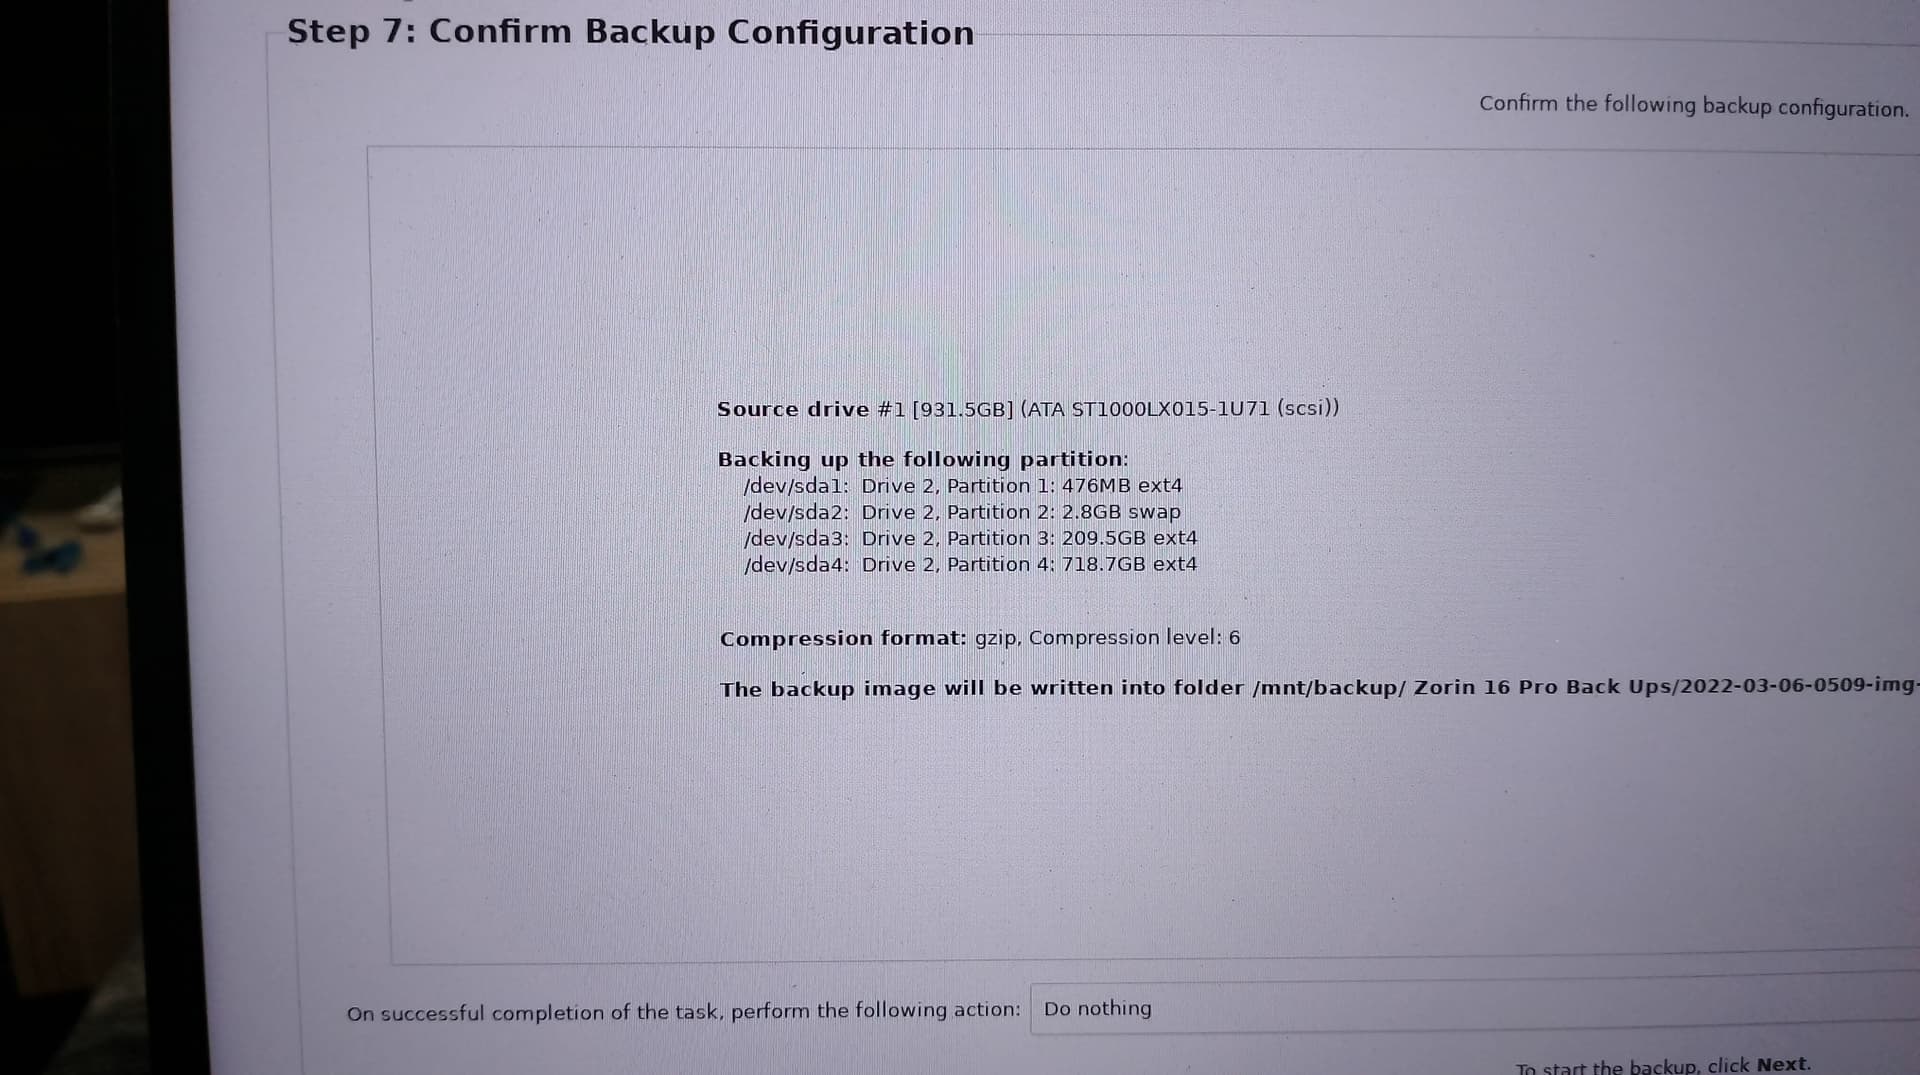
- This screen will show you what will be done ..... if you see something you don’t like or want click the BACK button ..... your last chance before the Bckup starts ..... Photo #10
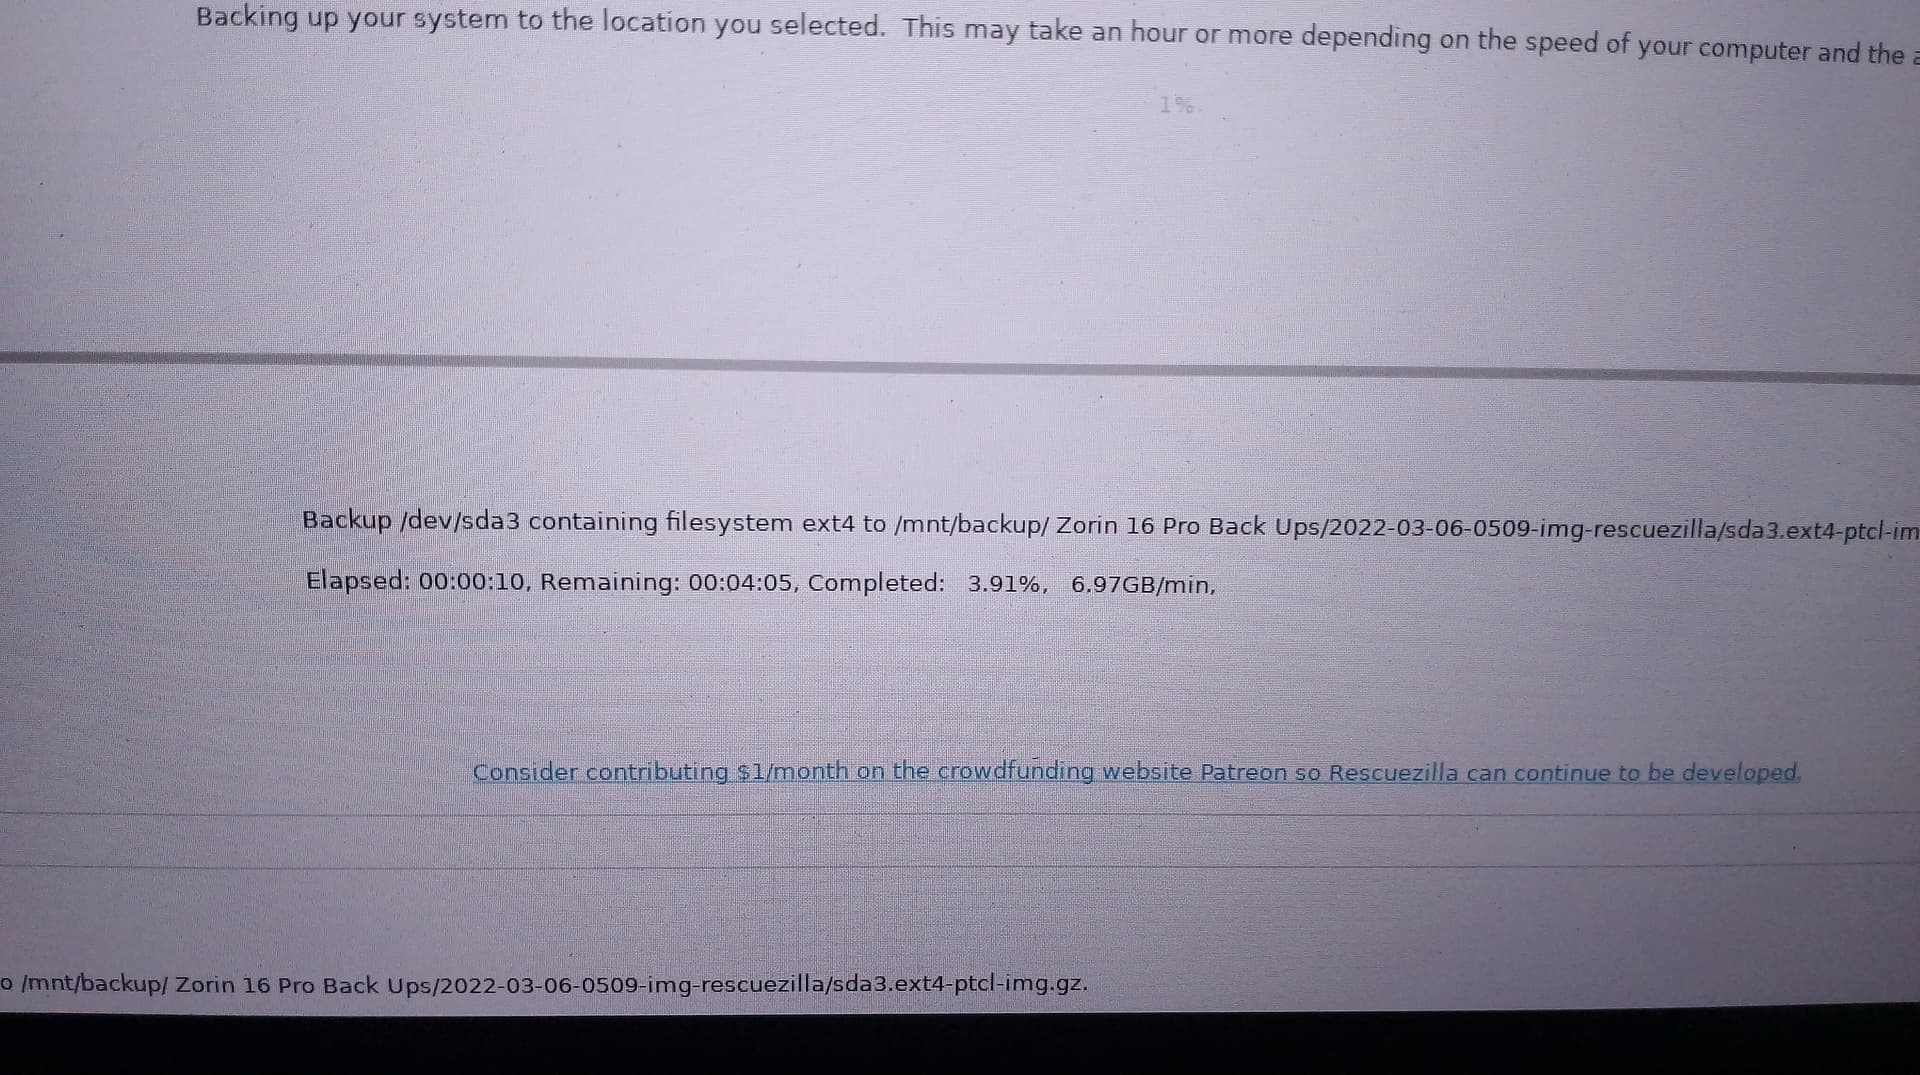
- The magic begins ...... so sit back have a beverage of your choice and wait ..... my last one took approx. 30 mins ....Photo # 11
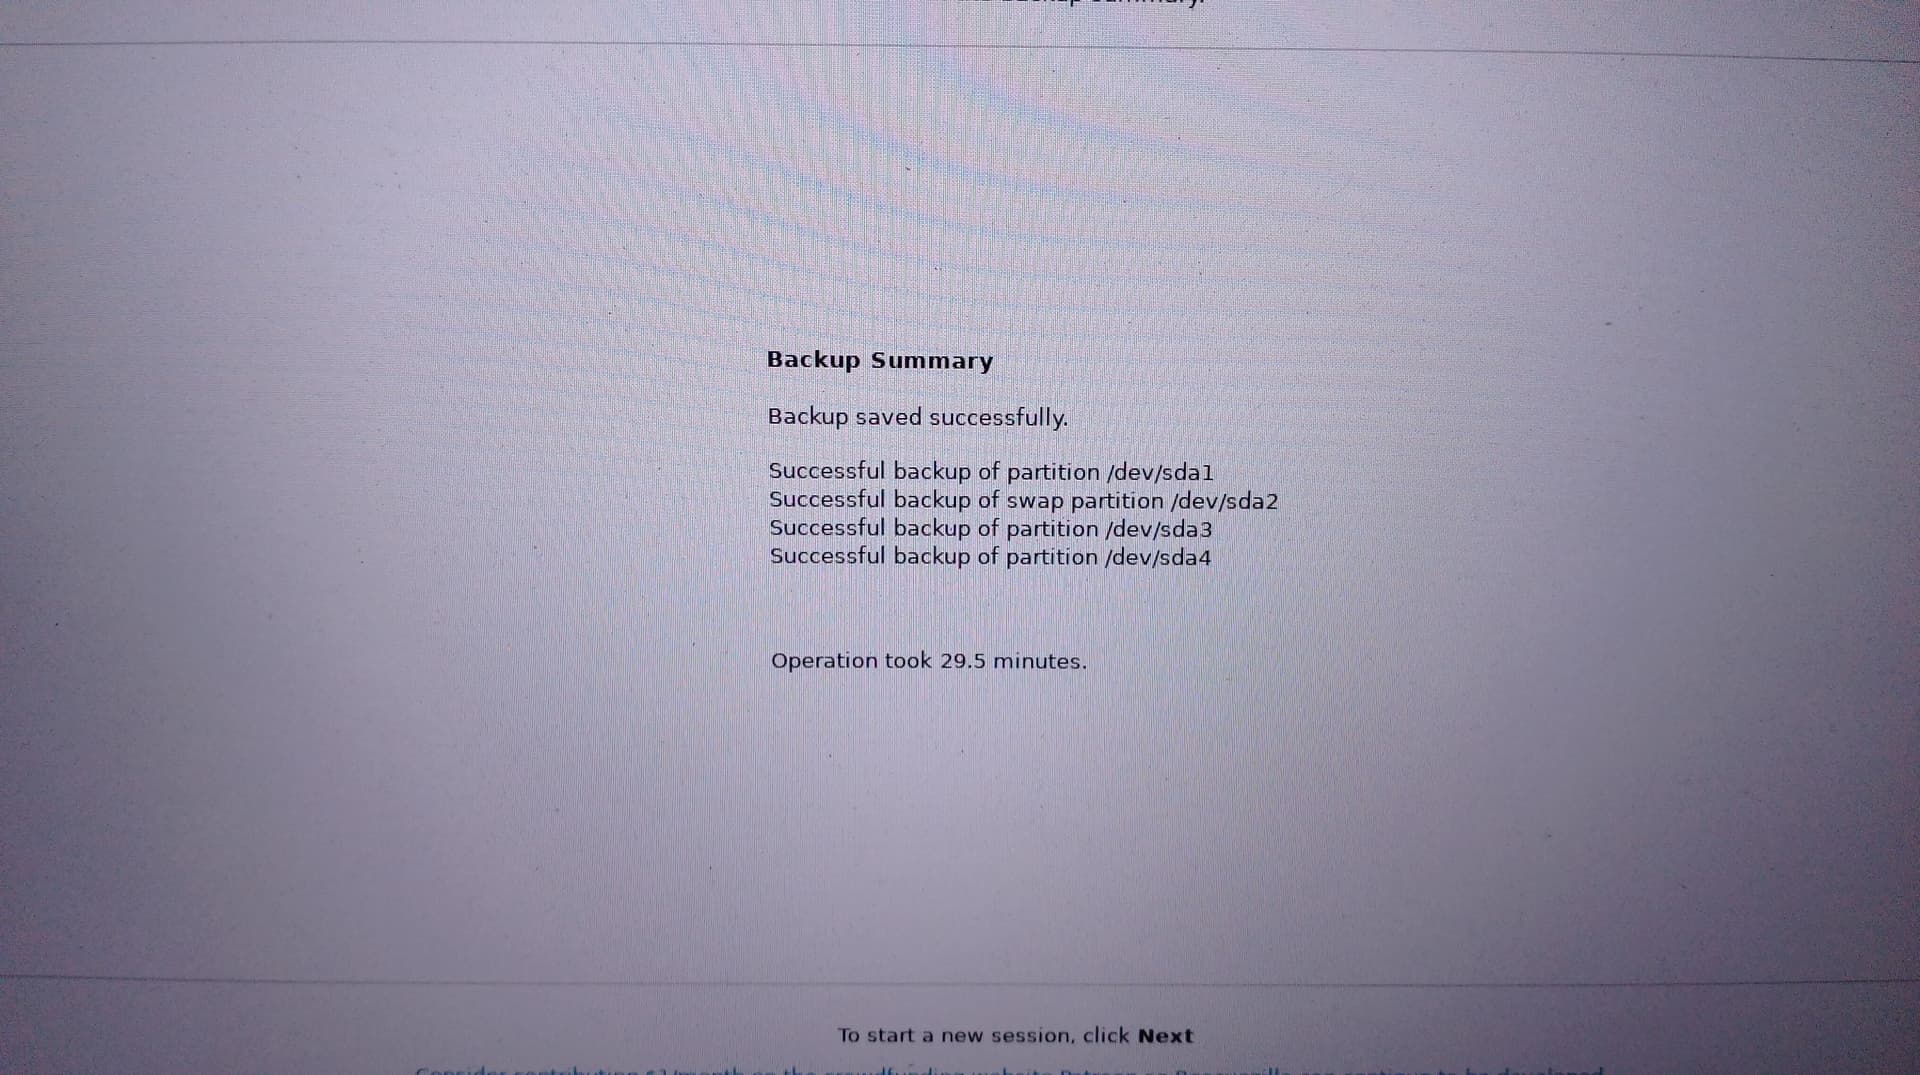
- Your backup summary and time it took to backup everything ..... Photo # 12
- You are now back to the home screen ..... Photo #13
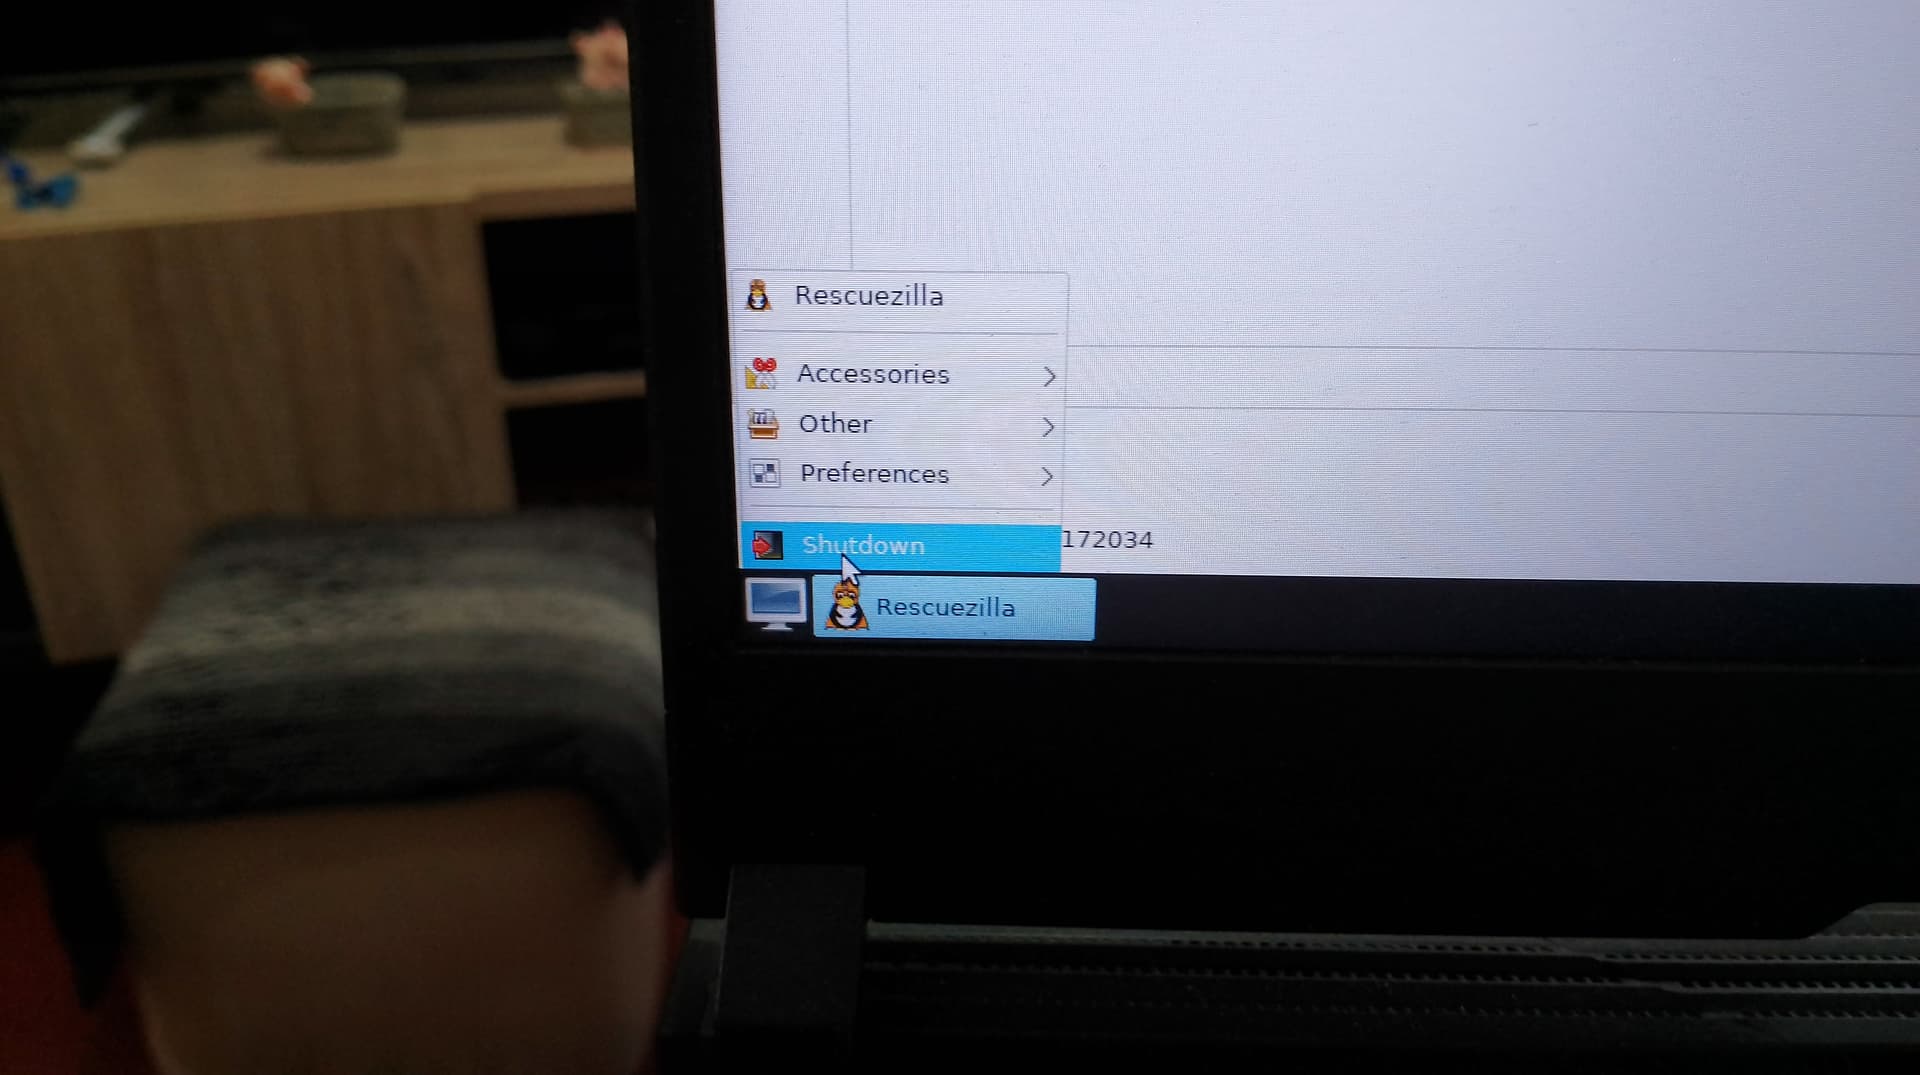
- Go to the left had lower corner and click on the little computer monitor and choose Shutdown from the drop down menu ..... Photo #14
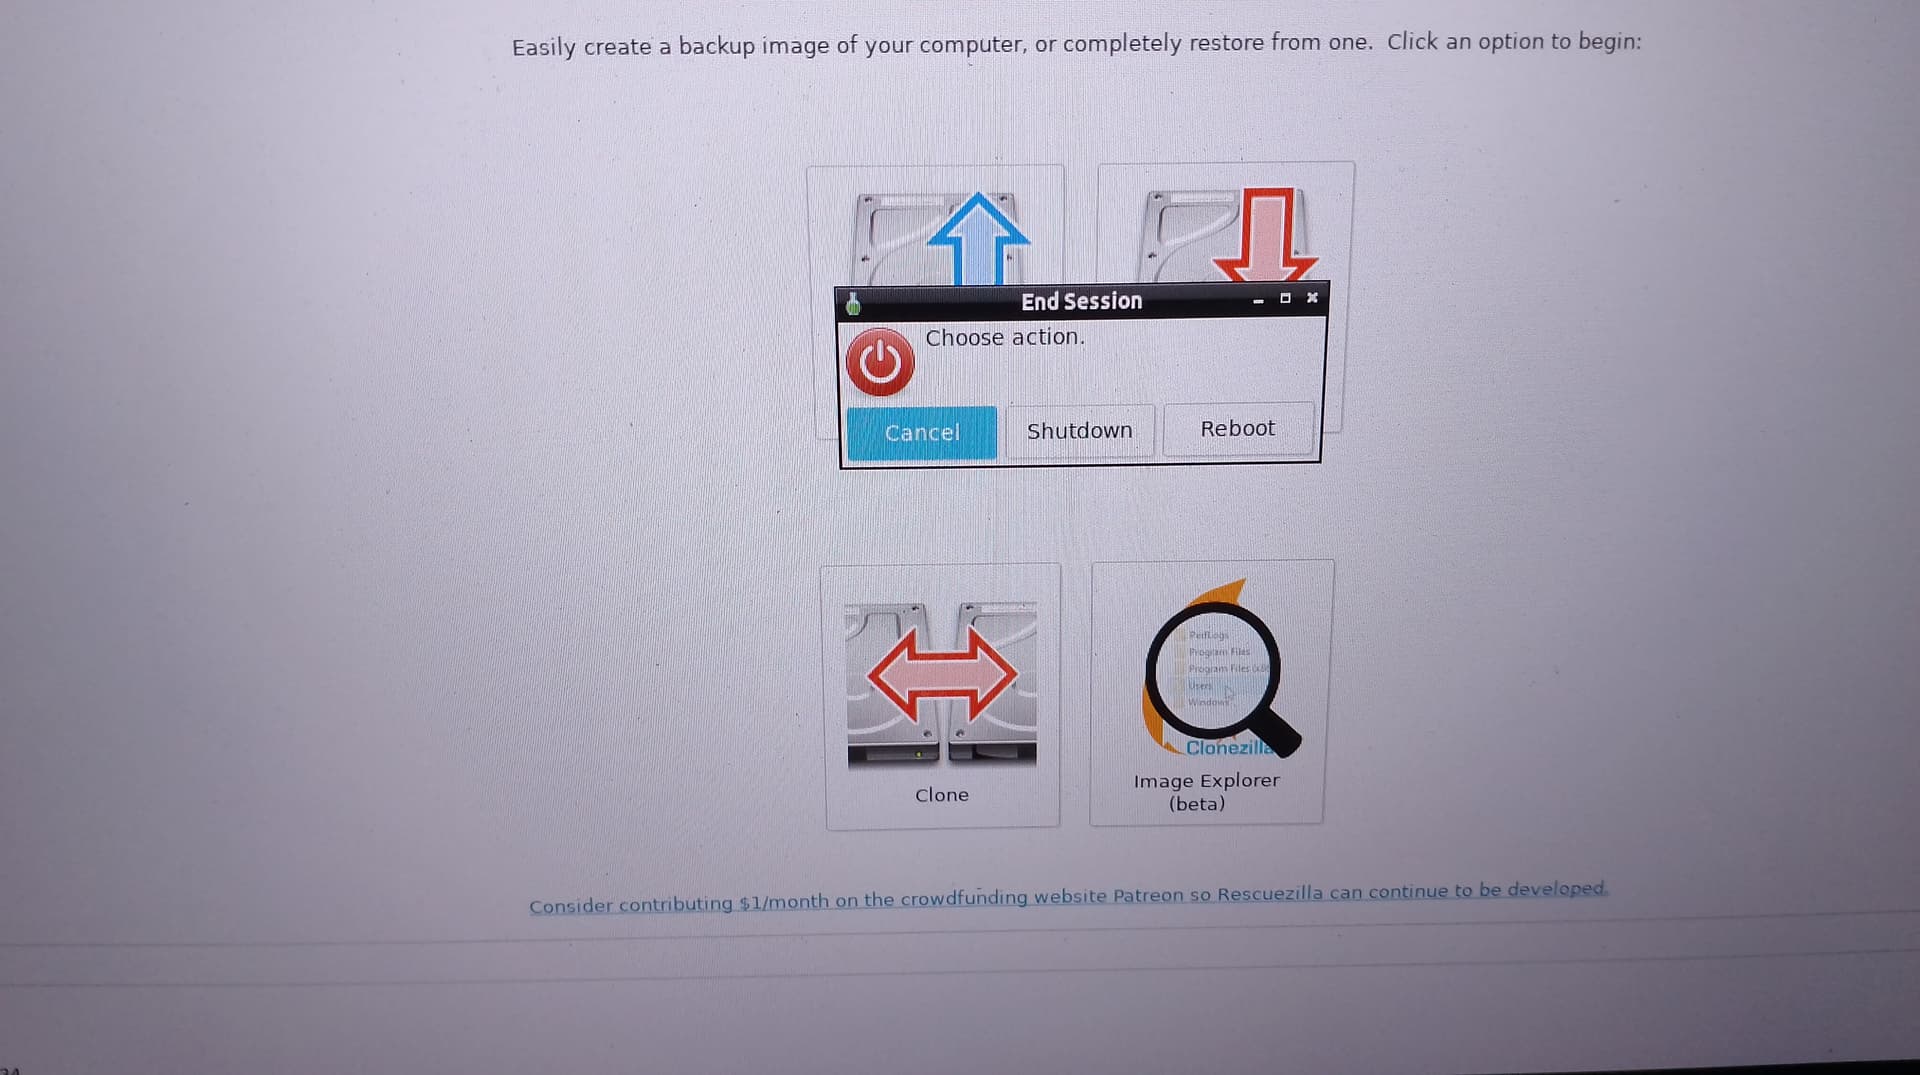
- If you wish to exit the program choose Shutdown again in the pop up screen and you are finished ..... Photo # 15
Congratulations you have just backed up your drive with Rescuezilla ..... I hope this tutorial as been of some help to you .....