Update: 04/02/2022 :-Added an instruction and cleaned GNOME installation guide.
Update: 15/03/2022 :-Modified an instruction. Replaced most images with better ones. Added LXDE and LXQt images. Added credits to the images. Added UKUI installation guide.
Linux users are often very experimental and want to try something new just because exploring Linux is fun. I have noticed that many users in this forum use a different DE (Desktop Environment) in their respective operating systems which may arouse curiosity among other users. I have also noticed that many here have broken their OS while installing a new desktop environment.
Thus, I felt the need to create a tutorial that would help others install the DE of their choice.
Important! Read these instructions before proceeding:
- You will NOT get the latest version of the Desktop Environment. You will need to add third party PPA for that, which I don't recommend because they may not be stable. For example: You will not get GNOME 40 or above in Zorin OS 16, instead you will get GNOME 38.
- I do not recommend installing a new DE unless the current one does not fit your needs. If you want the best experience consider using a distro that uses the DE of your choice out of the box.
- There are chances that you might break your OS while installing the new DE, so make sure to create a backup before you proceed.
- If you don't like your new DE, do not remove it straightaway, you might start liking it after sometime. However, if you still don't like it, I have also mentioned the removal instructions of each DE.
- Having several desktop environments can cause themeing issues like the same icon theme or gtk theme might be applied to other desktop environments.
- There are more desktop environments out there, but I have taken the pain of covering only the popular ones.
- While following the steps do not read and follow altogether. First read the complete guide and then follow.
- After installing/removing remember to reboot your computer for the changes to take effect.
- Whenever you are trying to remove a DE, first switch to the original/different DE and only then should you follow the "Removal" procedure.
- Not all packages that were installed will be removed when you remove a DE. You can keep them or if you don't want to keep bloat, simply remove them using Synaptic package manager.
- You can have several desktop environments at the same time but I do not recommend that because you might have issues like missing icons or too many icons for the same application or you may also run out of storage.
Note: Apart from themeing issues, I have experienced bugs and problems at startup. This usually happens when you install a DE, say cinnamon or kde plasma, and when you start GNOME; startup applications like cinnamon-menu and latte-dock are likely to cause problems. - In case you break anything or can't figure out something don't panic and post your problem in the General Help section of this forum.
- If you wish to modify this tutorial....Feel free to do so (only if the modification is necessary) or ask any active member of the forum to do it. However, keep in mind to respect the formatting.
KDE Plasma
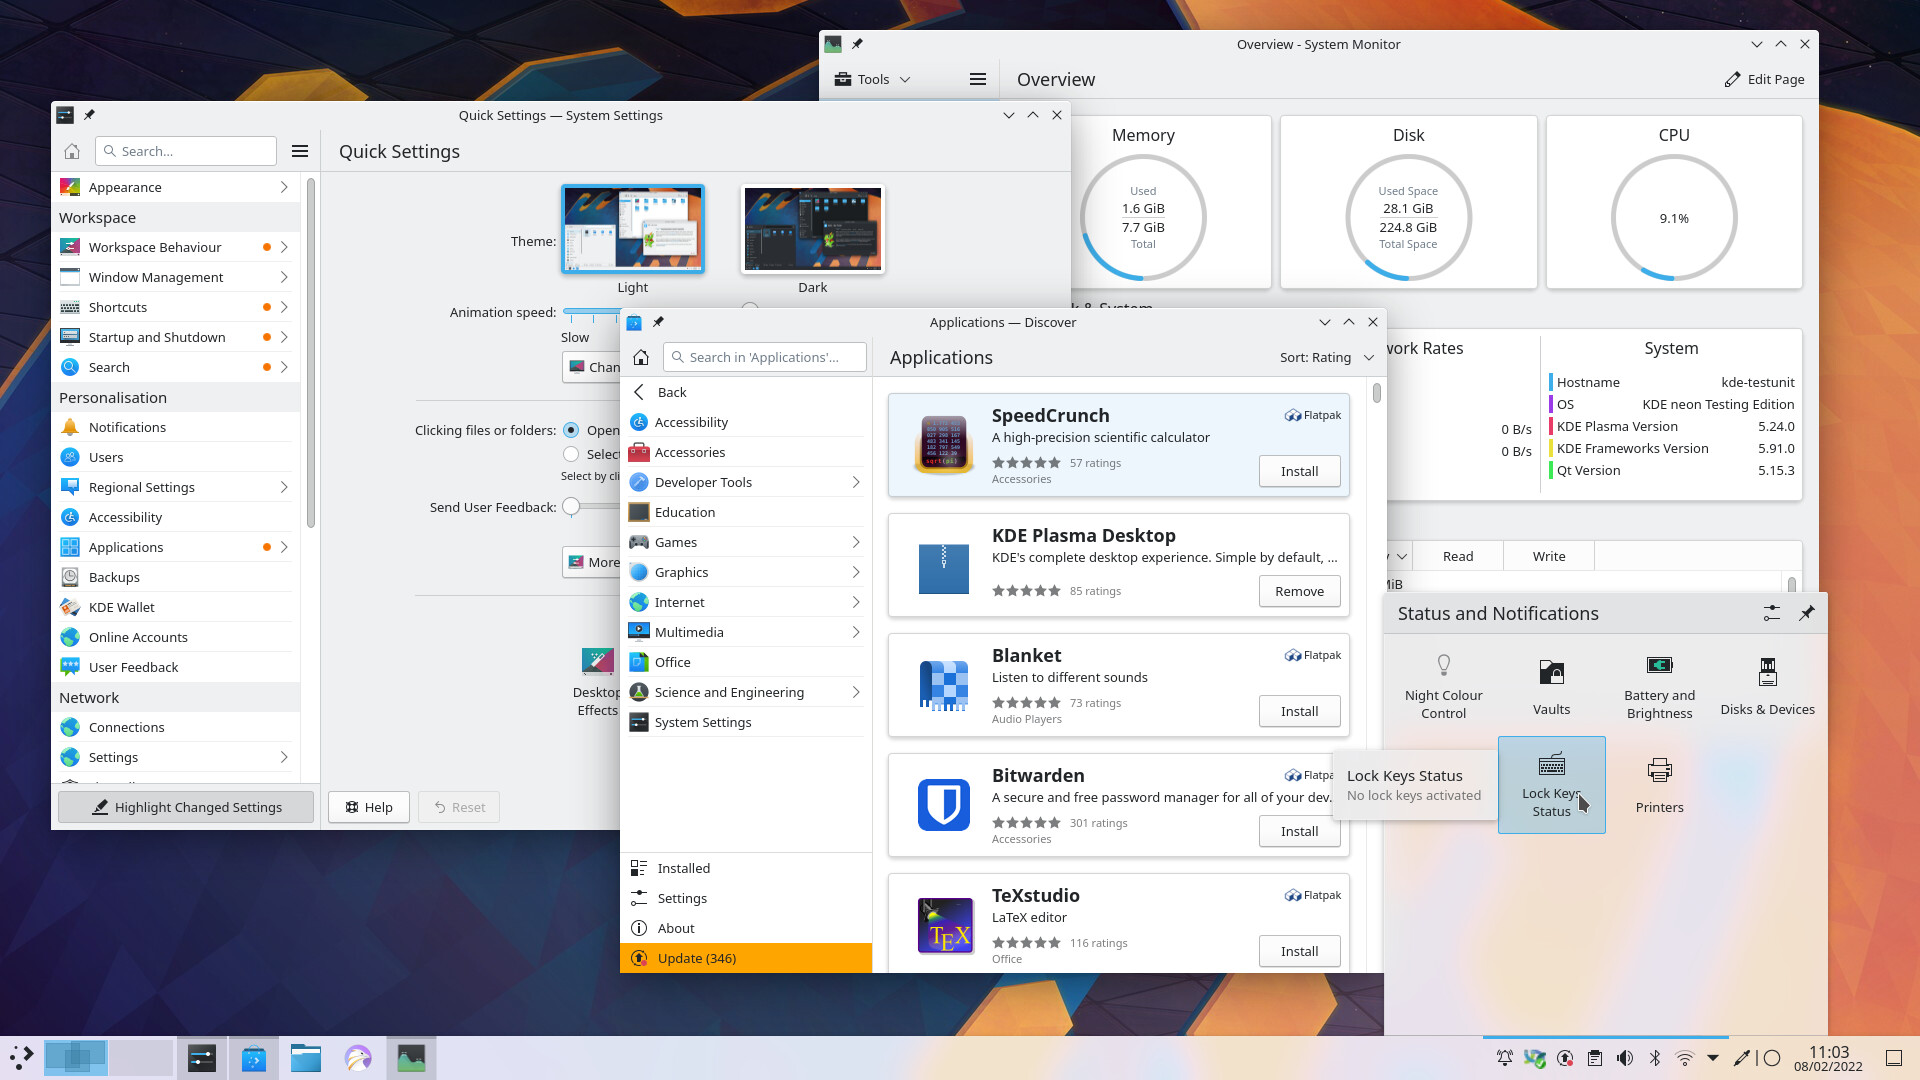
(Image Credit: kde.org)
Installation:
To install KDE Plasma Desktop, open the terminal and enter the following command:
sudo apt install kde-plasma-desktop
After you enter your password a prompt will appear asking you to choose your Display Manager. At this point you should choose whichever display manager you prefer. SDDM is KDE's display manager. I hate the default SDDM but you would be surprised to see how much configurable it is as compared to GDM.
Once this is done, the remaining packages will be configured. Now reboot your computer after the installation and you will get the option to boot into KDE Plasma session from the lock screen
Removal:
To remove KDE Plasma, open the terminal and run:
sudo apt-get remove --autoremove kde-plasma-desktop
If you want to purge the local data also then use this command instead:
sudo apt-get purge --autoremove kde-plasma-desktop
Note: When you remove KDE Plasma, some KDE applications and components will remain. Now, you can keep these if you want but it is unnecessary to keep the bloat. So, install synaptic package manager:
sudo apt install synaptic
Now, open synaptic and scroll the sidebar until you find "KDE Desktop Environment (universe)". Mark all the installed packages for removal (installed packages are marked with green). After marking them all, click on Apply Changes. Wait for synaptic to remove the packages and then you are done.
GNOME

(Image Credit: gnome.org)
Installation:
To install GNOME open the terminal and simply enter the command:
sudo apt-get install gnome-session
After that you will get a pop-up asking you to choose your Display Manager. You can choose GDM if you want but lightDM is more configurable. After the rest of the installation is done, you can log out and change the session to GNOME in order to get into it.
Removal:
Remove GNOME using:
sudo apt-get purge --autoremove gnome-session
XFCE
(Image Credit: @Elegant_Emperor)
Installation:
To install XfCE, open the terminal and simply run:
sudo apt-get install xfce4 xfce4-goodies
That's it!
Reboot and change the session to XFCE to use it and enjoy!
Removal:
Run the following command in the terminal:
sudo apt-get purge -- autoremove xubuntu-icon-theme xfce4-*
Cinnamon
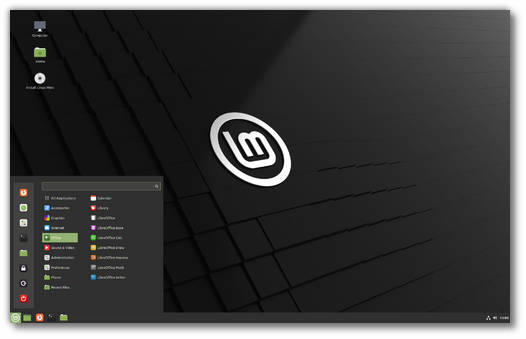
(Image Credit: linuxmint.com)
Installation:
Open the terminal and enter:
sudo apt-get install cinnamon
Alternatively, you can install the cinnamon-core package which contains the cinnamon desktop environment as well as some other essential components.
To install that run:
sudo apt-get install cinnamon-core
Reboot your computer and change the session to Cinnamon in the login screen whenever you wish to use it.
Removal:
In the terminal run:
sudo apt-get remove cinnamon
or if you installed the cinnamon core package then run:
sudo apt-get remove cinnamon-core
MATE
(Image Credit: mate-desktop.org)
Installation:
In the terminal run:
sudo apt install mate-desktop-environment
Change the session to MATE in the login screen whenever you wish to use it.
Removal:
Open the terminal and run:
sudo apt-get remove mate-desktop-environment
Budgie
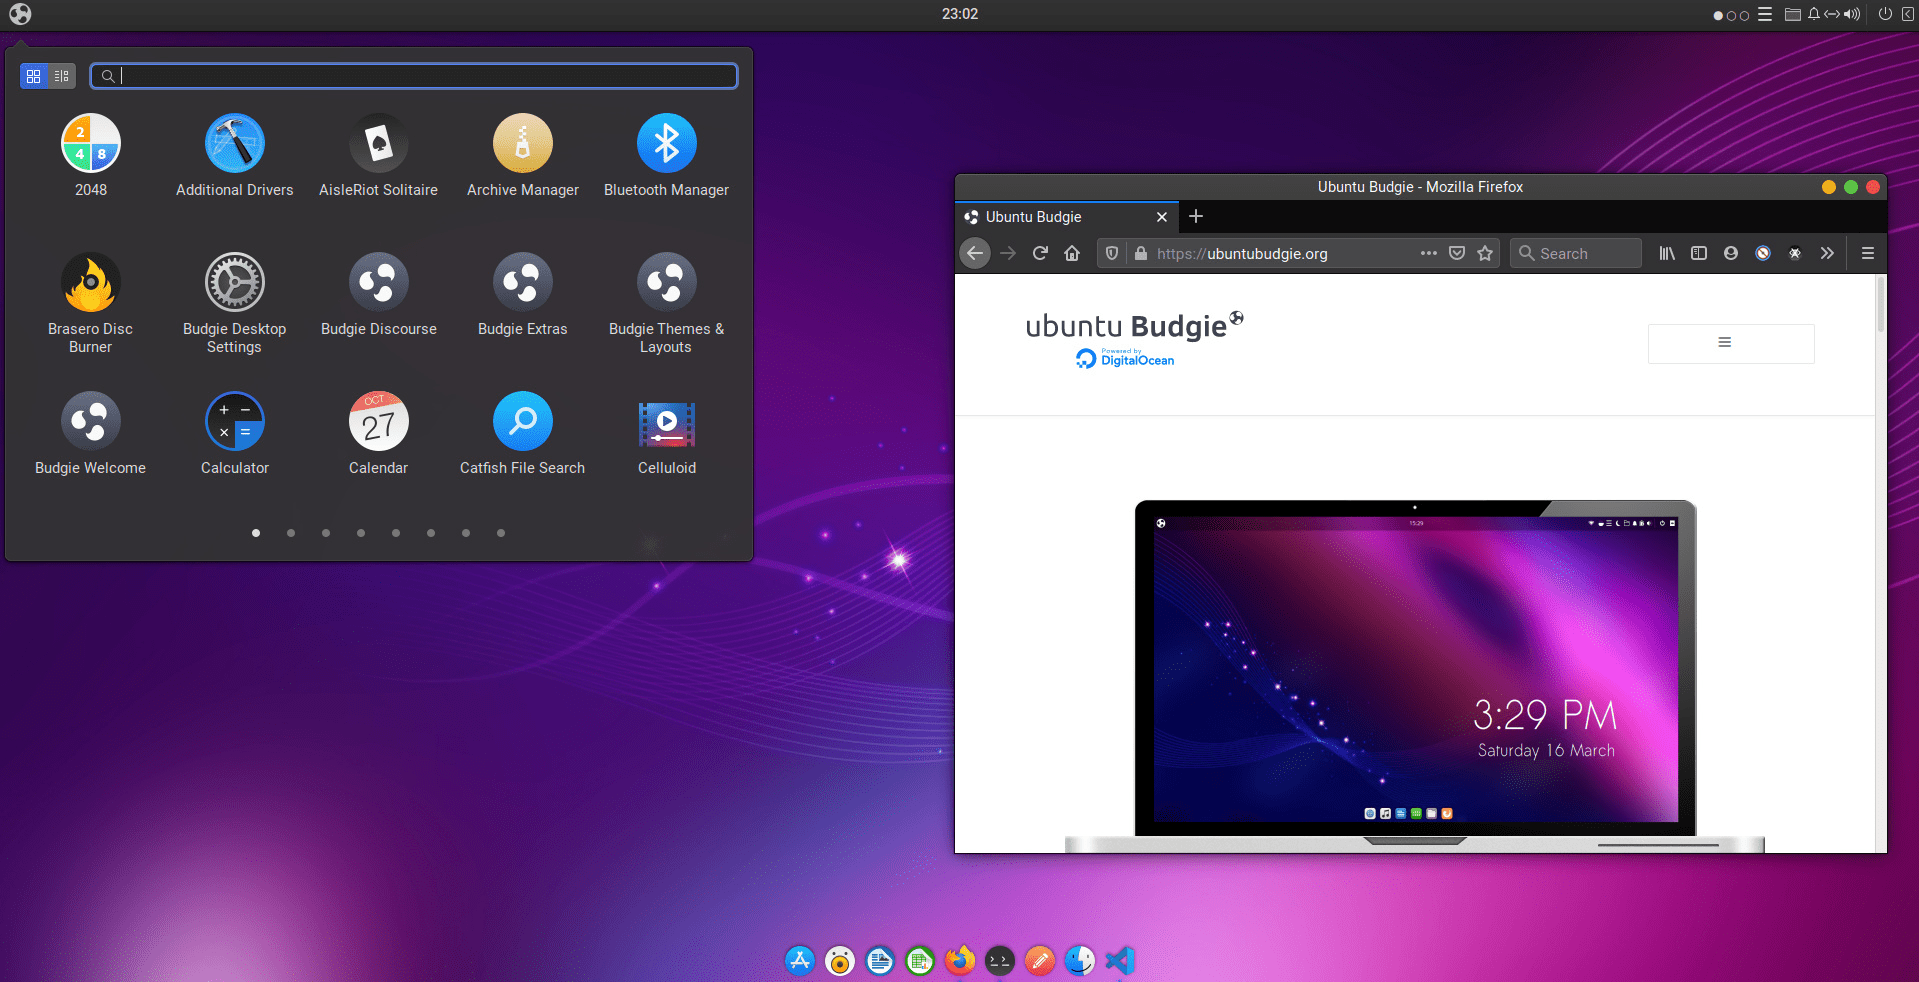
(Image Credit: ubuntubudgie.org)
Installation:
To install Budgie, simply run this command in terminal.
sudo apt install ubuntu-budgie-desktop
When everything is done downloading, you will get a prompt to choose your display manager. Select ‘lightdm’ to get the full Budgie experience.
After the installation is complete, reboot your computer. You will be then greeted by the Budgie login screen.
Removal
Open the terminal and run:
sudo apt-get remove --autoremove ubuntu-budgie-desktop ubuntu-budgie*
LXQt
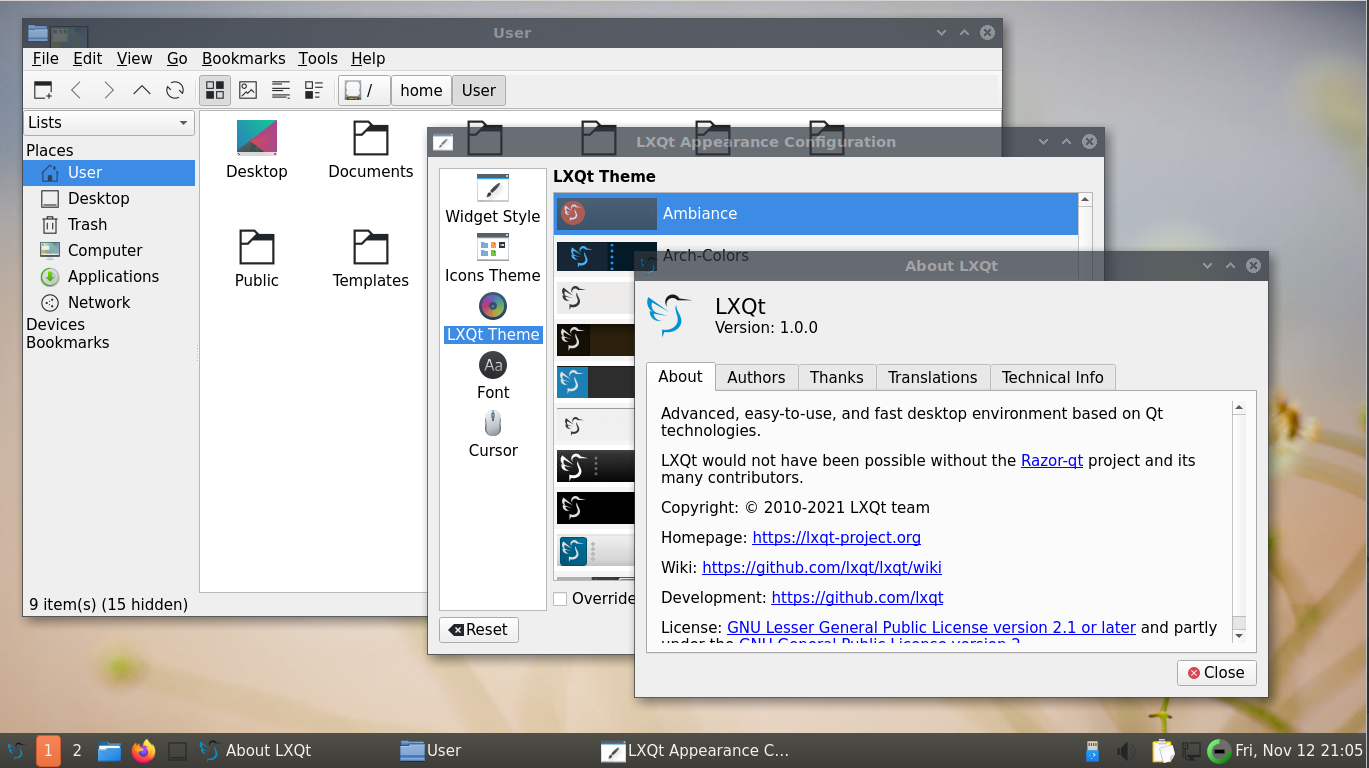
(Image Credit: lxqt-project.org)
Installation:
Open the terminal and run:
sudo apt install lxqt
After the installation, reboot your computer.
Removal:
In the terminal run:
sudo apt-get remove --autoremove lxqt
LXDE
(Image Credit: lubuntu.me)
NOTE: LXDE is not maintained anymore
Installation:
Open the terminal and run:
sudo apt-get install lxde
Reboot your computer after the installation.
Removal:
Remove LXDE by opening the terminal and running the command:
sudo apt-get remove --autoremove lxde
UKUI
(Image Credit: ukui.org)
Installation:
To install the UKUI DE open the terminal and enter the following command:
sudo apt install ukui-desktop-environment
After the installation get over, log out and the log back in after changing the session in the login screen.
Removal:
Type in the following command in the terminal and press enter:
sudo apt remove --purge ukui* && sudo apt autoremove
Finally... If you had installed lightdm/sddm and want to remove them.
Remember that there are no restrictions on display managers no matter which DE you are using.
However, if you still want to use GDM/lightdm, open the terminal and run:
For gdm:
sudo dpkg-reconfigure gdm3
and select gdm when the prompt appears.
For lightdm:
sudo dpkg-reconfigure lightdm
and select lightdm when the prompt appears.


 but sometimes this help really and repair why? Because you forget stress and your mind see a mistakes.
